Quick and Easy | Deep Cleaning | Without Paint Thinner | Dried Oil Paint Brushes
Before we head into learning how to clean oil paint brushes, check out our previous Toolkit article - Acrylic vs Oil Paint - The Main Differences. Find out the key differences between oil and acrylic paint to help you decide which one suits your painting style best.
TABLE OF CONTENTS
How To Clean Oil Paint Brushes - Quick and Easy
How To Get Oil Paint Out Of Brushes - Removing Excess Paint
Oil Paint Brush Cleaner - Rinsing Out
How To Clean Oil Paint Brushes - Deep Cleaning
How To Wash Oil Paint Brushes - Soap and Warm Water
Drying and Reconditioning
Cleaning Without Paint Thinner Or Solvent
How About Dried Up Brushes?
Learning how to make your oil paint brushes' lifespan last for as long as you can will save you a lot of money in the long run. It's a great idea to invest in a good quality set as they can last you for a long time - as long as you take the time to properly care for them. I know it can seem like a time-consuming and tedious thing to do, but you'll thank yourself when you realize you haven't had to buy any new ones for quite a while.
The most common method is by using either turpentine or oil paint thinner. The downside to this is you'll also get exposed to harsh chemicals that give off harmful vapors that you breathe in, especially in a not so well-ventilated environment. And may even cause some skin irritation due to prolonged exposure. But thankfully nowadays, there are more and more eco-friendly alternatives cropping up to choose from.
Now, let's help you avoid your brushes getting into such a sad state before their time. If you're like me and have favorites among your brushes, you definitely want to know how to clean oil paint off brushes the right way. Keep those precious brushes with you for as long as you can!

How To Clean Oil Paint Brushes - Quick and Easy
Before everything else, this quick and easy way is only applicable to brushes that you know you'll be using again in the next few days. For those special painting sessions that take an extended but continuous period of time to finish. If you plan to take long breaks between painting sessions, don't use this approach. Your brushes will harden and it's a very hard and laborious process to go back from that.
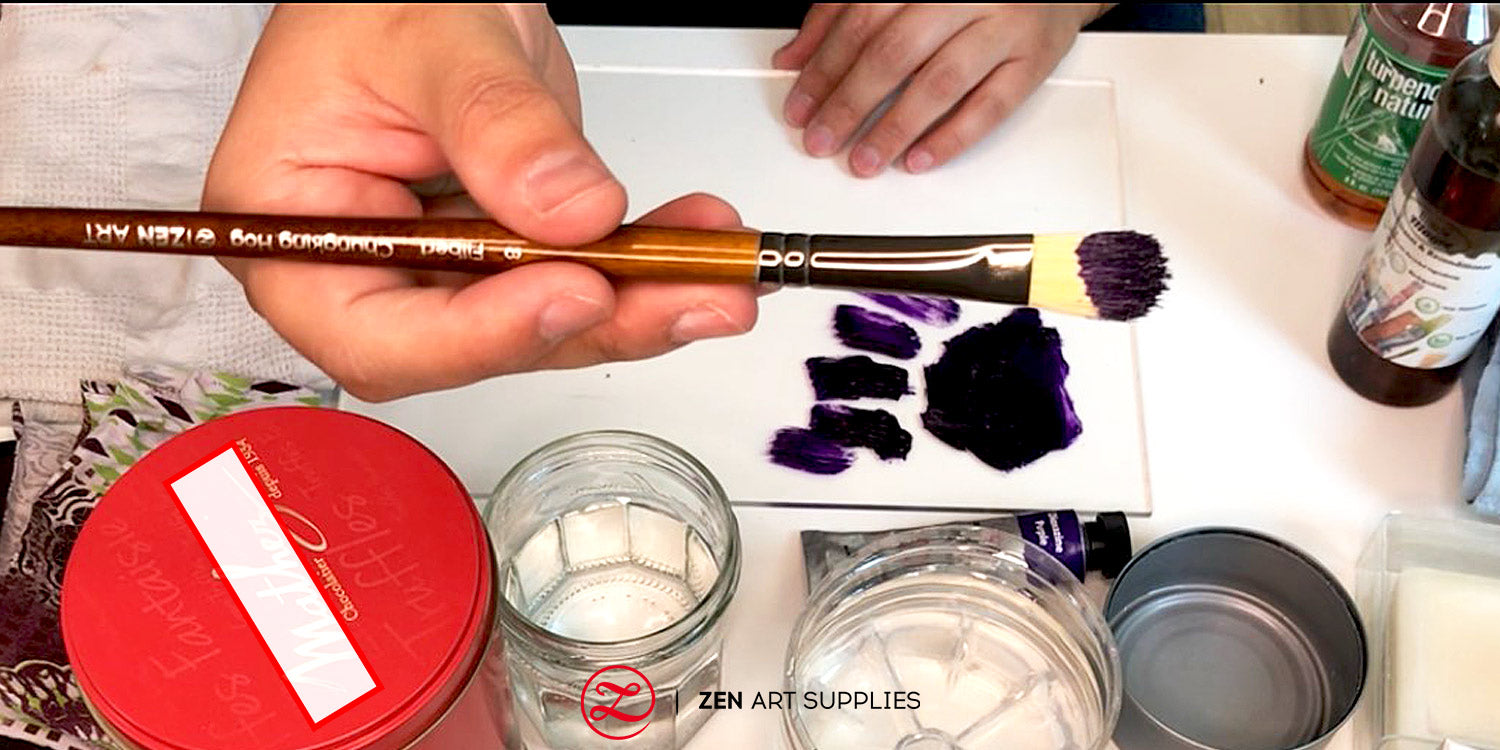
Here's a Filbert Chungking Hog Brush loaded with a very staining color (Dioxazine Purple) as our sample brush to be cleaned in this how-to guide:
How To Get Oil Paint Out Of Brushes - Removing Excess Paint
- The first thing you need to do is to remove as much excess paint as you can by wiping it off on your palette or better yet using old newspapers or other recycled paper you have on hand. Then use a rag or in my case, a toilet paper or paper towel to remove some more of the paint that's still leftover. Wipe off as much as you can while making sure to remain gentle with your brush, always wipe off in the direction of the bristles or hair and don't use stabbing motions.


Oil Paint Brush Cleaner - Rinsing Out
- Next, get your choice of brush cleaning product and pour some in your prepared container. I have asthma myself, so I prefer to use odorless/ low odor and more eco-friendly cleaners that are available. The traditionally used turpentine's odor and vapor is too strong for me.
- Knowing how to clean oil paint brushes in a non-toxic way is a useful skill to learn for any artist. A lot of the friendlier alternatives can also be used not just for cleaning your brushes, but as painting mediums as well. You don't need much, just pour a dash and it will be enough.
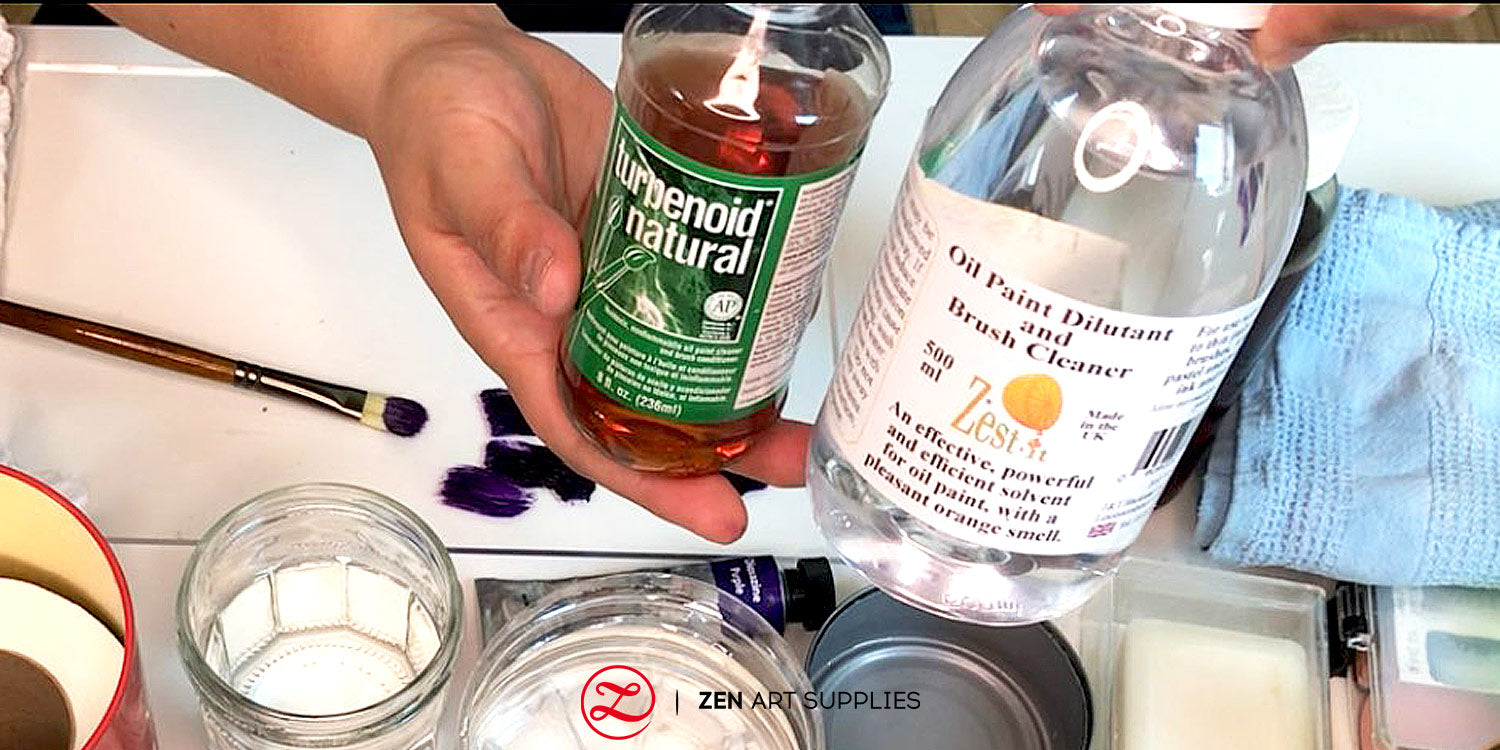

- Work your brush around the cleaning liquid rigorously in circular and swirling motions, you'll immediately see the paint getting rinsed off your brush. After quite a bit of that, remove your brush from the tin and wipe off as much of the liquid as you can using a rag or tissue paper. Repeat the process until you can clean out as much of the paint as you can. Add more of the brush cleaner if you think you need more.

- That is the longest step on how to clean oil paint brushes in a quick and easy way, and it's quite an important one. You can stop at that and lay your brush flat to dry. But I suggest checking your brushes to give it a quick dip in oil or a brush conditioner if it's looking too dry, and spread it evenly around the bristles or hair with your fingertips.
- Reshape the brush using your fingertips back to its original shape. And now, don't forget to lay it flat to dry to protect the glue and help keep its shape.
How To Clean Oil Paint Brushes - Deep Cleaning
If you're not going to be using your brushes for quite some time, then you must do a deep cleaning on them. Some paint will still be left especially at the base of the bristles or hair, around the ferrule. Once that leftover paint dries, it will harden and ruin the shape of your brush. And I know you don't want that! You'll still be doing the same steps mentioned above but with some extra steps added before the oil dipping and laying flat to dry.
- You start with the same process, by first wiping off the excess paint on paper and toilet paper.
- Followed by the rinsing of your brush in the brush cleaner. Keep rinsing and repeating this process until you get as much of the paint out as you can. Remember to be thorough but still taking care to be gentle with your brush. The goal is to clean the brush well, not to damage it.
- Now, make sure to wipe off as much as you can after all that repeated rinsing using your rag or toilet paper.
- And what follows is the additional and very important step for a deeper cleaning.
How To Wash Oil Paint Brushes - Soap and Warm Water
- Now it's time for the how to wash oil paint brushes part using soap and warm water for extra cleaning and washing! Run or dip your brush quickly under warm water. Then drag it back and forth across your soap bar to lather it up, don't push but instead use pulling motions. You can use a special brush cleaning soap or a regular soap bar, preferably the milder ones that aren't loaded with fragrance and added coloring.
- Useful Tip: Never clean your brushes using hot water. It will weaken the glue that holds your brush hair or bristles together and cause them to fall out. While cold water makes the brush hair stiffer. Using warm water is the best choice.
- You can use the palm of your hand or a rounded container (I use a detergent scoop that I set aside for this) to properly work the lather into the bristles or hair of the brush. Use circular swirling motions and make sure the soap gets in there to do its job, it should foam up nicely and you'll see the color start to change. That's the paint from your brush being soaped out.
- Some prefer to use a pair of rubber or surgical gloves during painting or brush cleaning to protect the skin from harsh chemicals or from some of the more toxic paints. You can do so if you want to err on the cautious side. Since ZenART Supplies' Oil Paints are non-toxic and free from harmful driers and solvent fumes, I don't need to worry much about some paint getting on my skin.
- Next, rinse the soap out of your brush under warm running water. And repeat the soaping process again, do this until the brush is completely clean. You'll see it when your brush foams up and it's no longer stained with color and when the running water that runs through your brush comes out clean. Remember, you don't want to leave any paint stuck at the base of the bristles or hair as much as possible. This step is the final and best way to clean oil based paint off brushes.
- I like to make sure that no soap residue is left in the bristles or hair by pressing using my fingertips at the middle section of the brush near the ferrule. Rinse some more if you feel that there's still some soap left.
- Then, you squeeze out as much of the water out, still using your fingertips. Keep in mind not to pull at the bristles, you don't want them to be loosened from the glue that binds them to the ferrule.
Drying and Reconditioning
- For this next part, you can use an old kitchen towel or a rag that you already have around. I usually have rags for painting and cleaning that are from an old t-shirt that I cut up. And use it to wipe off more of the water out of your brush. Remember to be gentle and wipe off in the direction of the bristles or hair! And don't pull! - I know I sound like a broken record by now, but I really don't want you to end up with loosened brush hair or bristles.
- Now your brush is as clean as it can be! Reshape it back to its original form and you can leave it to dry flat on a clean surface. It should lay horizontally so the glue inside and the shape won't be damaged.
- When you're just learning how to clean oil paint brushes, you might be tempted to stop and be done with it already since it's already clean. But you can go an extra step and recondition it. Don't worry, you don't have to do this every time you clean your brushes, just every now and then to help extend your brushes' life.
- Just think of it as your hair that you need to condition to maintain its quality. I recommend you do this especially for those brushes that are starting to look dry and brittle. This helps keep the brush conditioned, especially brushes with natural hair.
- I just quickly dunk my brush in and that's a good enough amount of product to recondition the bristles of my brush. Use your fingertips to gently but thoroughly massage it in to help it spread around evenly. Once you're done with that, reshape your brush hair or bristles back to its original form and leave it to dry on a clean and flat surface.
 This is what my brush looks like after a good deep cleaning and reconditioning. As I mentioned before, this brush has been with me for several years already and it's still looking great!

Cleaning Without Paint Thinner Or Solvent
- How to clean oil paint brushes without paint thinner or solvent? Is it possible? Yes it is!
- Wipe off the excess paint. Then use oil - linseed, walnut, or other vegetable oils - to remove the paint from the brushes. This will take a longer amount of time compared to when you use thinners, solvents or brush cleaners. So just have more patience and keep repeating until you get most of the paint out.
- After that, you follow it up the same way as the deep cleaning above - with soap and warm water cleaning. Then drying off with a cloth and reconditioning if deemed necessary. And finally reshaping and laying flat to dry.
How About Dried Up Brushes?
- How to clean dried oil paint brushes the kinder way - by using a good brush cleaning soap. Another way is by using by using a brush restorer. I prefer the kinder way as I try to stay away from harsh chemicals when I can.
- Rinse your hardened brush in warm water, swirl it on the soap, work into a good lather until it forms into a thick paste. Let it set into the bristles and leave it there. After a few hours it will start to soften the hardened bristles, give it a massage to see. Some of the paint will begin transferring on the soap, rinse in warm water and repeat. Keep doing this several times until you get as much of the paint out.
- Even though you can still clean hardened brushes, I truly don't recommend you allow your brushes to reach this juncture if possible. The paint stuck near the ferrules will be quite difficult to remove at this point.
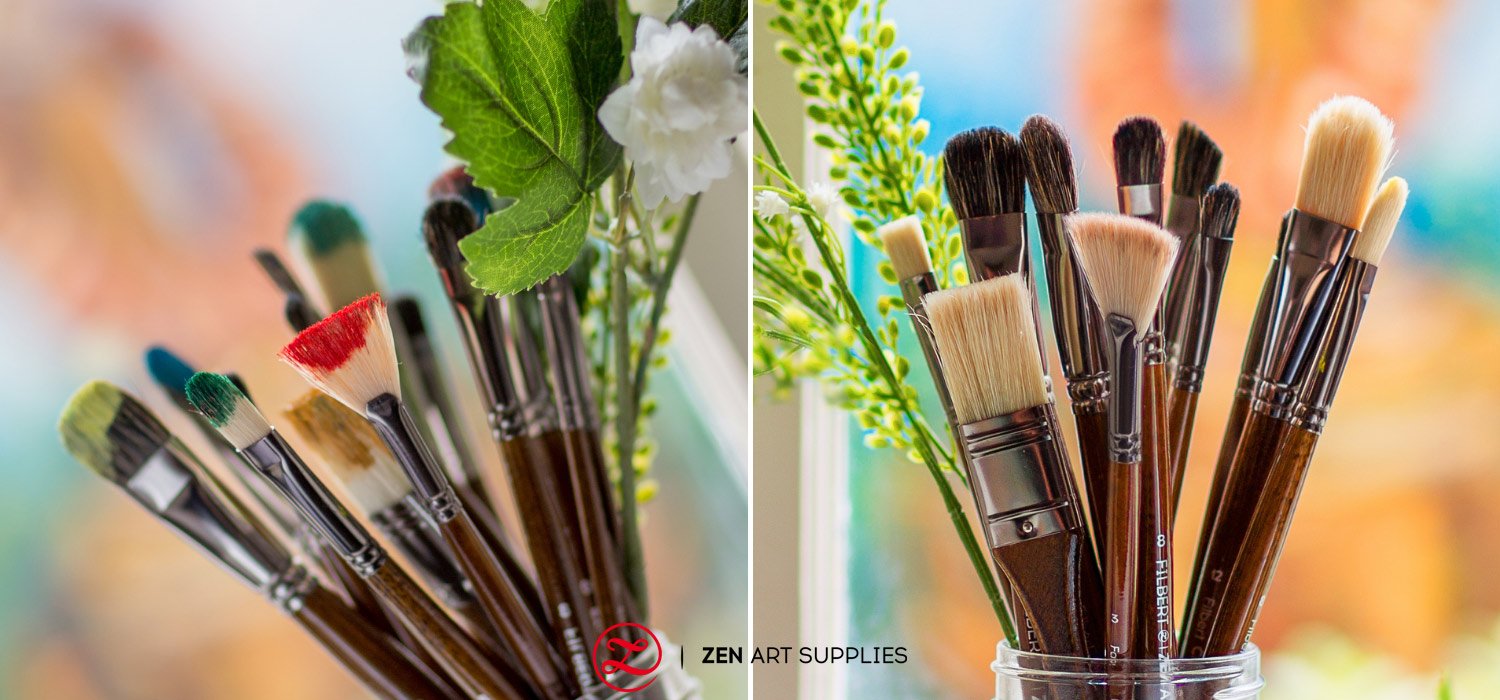
And that is how to clean oil paint brushes the quick and easy way and the deep cleaning way. With extra cleaning tips on how to clean without using paint thinner, and even dried up oil paint brushes. Remember, if you give your brush some love, it will love you right back! Painting with a neglected and dried up brush will be a difficult experience to say the least. So make sure to take care of your brushes and clean them properly. I find the cleaning part to be actually cathartic. It's so satisfying seeing the clean brushes lined up and ready for their next use. In the long run, you will save yourself from a lot of heartache. And you can use your hard earned money for other things instead of constantly buying new brushes!
You might also be looking for a handy guide to cleaning your watercolor brushes. Do check out our other article - How Do I Clean, Treat, and Store My Watercolor Paint Brushes? You'll find there a number of useful tips to help you take care of your treasured watercolor paint brushes.
We'd love to hear back from you!
How do you usually clean your oil paint brushes? Which way mentioned above do you think you'll be using the most? Do you find cleaning your brushes cathartic as well? Let us know what you think, we'd love to hear back from you. Feel free to leave a comment, and we'll be happy to answer any queries you have!
You might be interested to learn about the basic watercolor brush strokes, check this Toolkit article - Watercolor Strokes: A Beginner's Guide. It's an easy to follow guide into the different strokes you'll ever need to start out with. Until then, I hope you continue to follow the different cleaning methods in this article and have a great time painting!
- MEET THE AUTHOR -
 Ardak Kassenova is a London based contemporary artist, co-founder and creative director of ZenART Supplies. Her visual style-contemporary impressionism-share similar aesthetic qualities with those by the French Impressionists. After 20 years of a successful corporate career, becoming a mother to two wonderful girls, and with the continuous development of her practice by taking private lessons from the best artists she could find; Ardak decided it's time to align her life with her true passion, Art. Driven by this passion and her corporate leadership background, she co-founded ZenART.
"My heart and soul were always with Art, and since my childhood as long as I remember myself, I was dreaming to be an artist. I was painting after work, when I had time, and teaching myself through the books, videos, visiting art galleries and museums. I've been very curious about different techniques and styles, and therefore accumulated knowledge and experience on a variety of mediums."
Read more about Ardak Kassenova in this feature. Say hello to @ardak_zenart on Instagram!


