Joining in the spirit of the Holiday season, we have our personalized gifts, Christmas cards, and home decorations. But wait, let's not leave this one out of the set! Another fun thing to DIY this season is your own... *drumrolls*... Christmas tags! Refrain from buying those expensive and disposable cards from your neighborhood bookshops. Instead, we suggest that you create your very own personalized tags with watercolors. Imagine the reaction on your loved ones' faces when they see a personalized tag attached to their gift - complete with their name thoughtfully written by hand. It's a lot more meaningful to receive something that was handcrafted with love. With that being said, here are some really simple and fun instructions on how to make Christmas tags of your own !

Step 1: Start with a study!
On your trusty notebook or on a blank piece of paper, create a number of boxes using columns and rows. In these boxes, you will illustrate the different types of Christmas trees that you would like to use for your tag designs.

Christmas tree illustration study chart
You can also use other Christmas elements like glitter balls or poinsettia flowers. Feel free to use whatever sparks your interest! This step is necessary to make sure that you are prepared with your design before you transfer them onto the actual watercolor paper. As you might know by now, watercolors can be a bit tricky to use and hard to remedy once a mistake has been made, so it's better to be prepared. Create a variety of designs that you would like to work with.

Christmas tree swirl illustration
Step 2: Grab your choice of watercolor paper
After you have it, tape it onto your surface using an art tape to prevent it from moving. In the photo above, we can see the paper taped on the table using washi tape. With regards to your watercolor paper, there is no rule of thumb but the thicker you go, the better! It has to withstand the pressure of being in contact with other gifts, transport, being passed on, etc., so choose a watercolor paper that's at least 300 GSM to ensure that it will arrive in the hands of your loved ones in good condition. Using the same method you used with your trial tags, divide your paper into your desired number of columns. The size will depend on how big you want each tag to be. Then, proceed with painting your studies onto the actual paper.
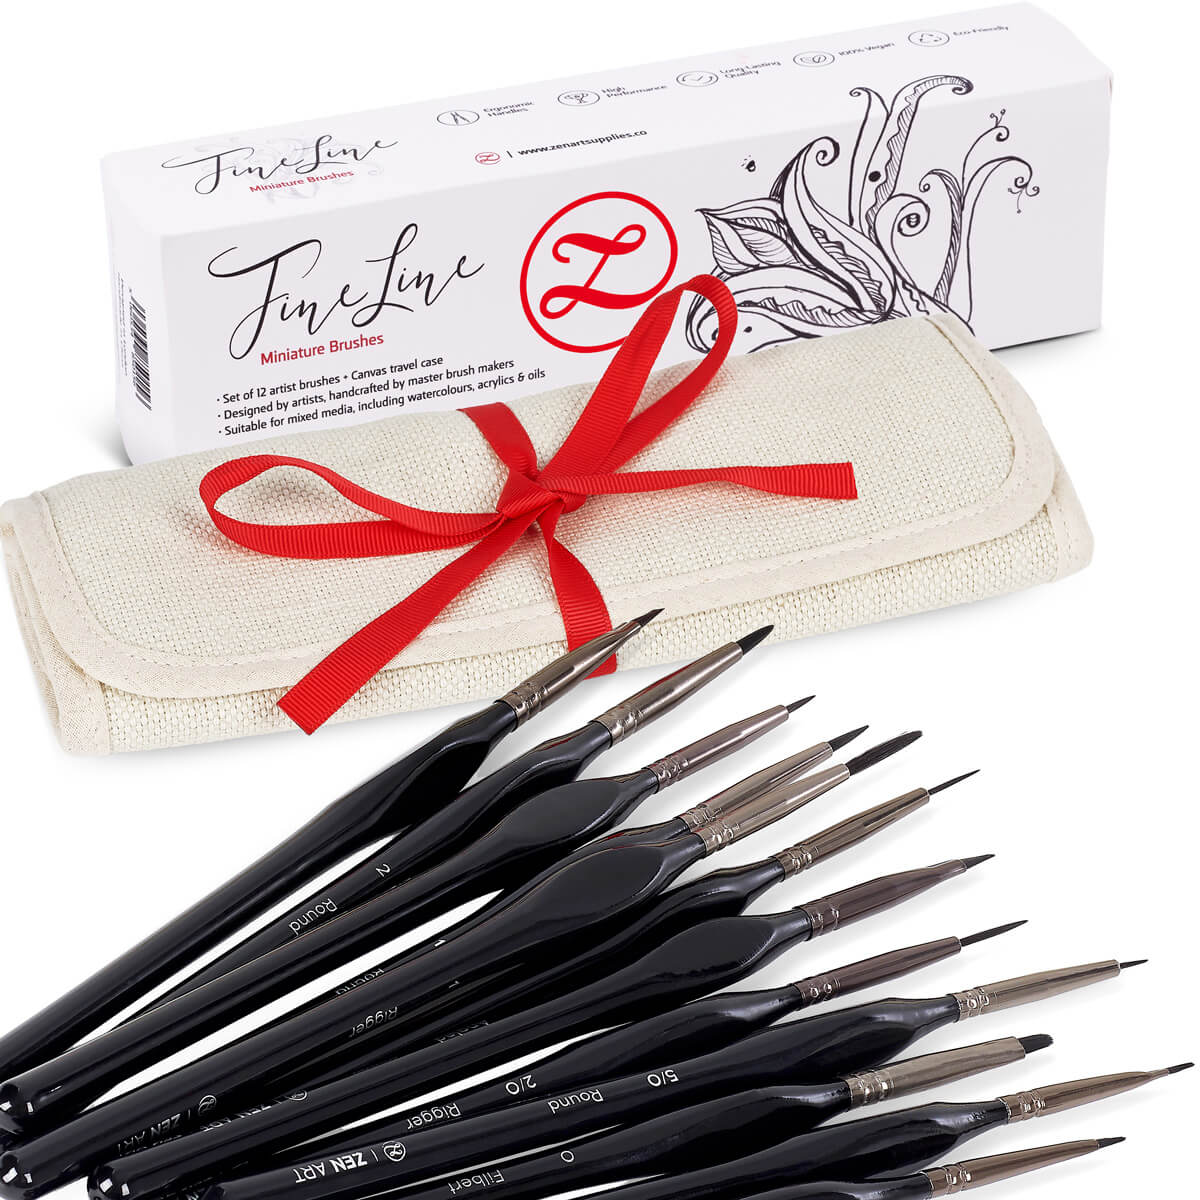
Continue painting your mini Christmas trees until you fill all of the boxes you've created! It would be fun to try different styles of painting, so use this opportunity to enhance your skill. Since this is not considered as an actual painting, it would be cool to play around with your watercolor techniques! The end result doesn't have to be perfect. The cuter and more experimental it is, the better. In this video tutorial, ZenART Ambassador Natalia uses the ZenART Supplies Watercolor Brush No. 3 to achieve those fine lines that are good enough for small details!
Step 3: Continue creating more designs!
Set aside your finished tree collection and grab another piece of watercolor paper! This time, you can refer to another design study that you did earlier. Creating a variety in your tag designs is also a fun way of experimenting with this craft. In Natalia's case, she chose Christmas wreaths as her second design.

First step of a Christmas wreath watercolour illustration
Step 4: Add small details here and there
You've probably heard the saying "It's all in the details" before, and there's a good reason behind that. We're pretty sure all artists will agree that details will make your mini watercolor work very interesting to look at. When doing a wreath illustration like the one shown in the photo above, add more circles of different colors and sizes. Explore with texture too! Natalia painted this wreath with varied colors, and she also included other designs in the composition that will make for two more tags. If you want to check out all of them, here is where you'll find the full video tutorial.

Adding details on Christmas wreaths watercolor illustrations
It is worth noting that Natalia used the same color palette for both the mini Christmas trees and the wreath designs! You can try incorporating and harmonizing colors of your choice for a more melodious vibe in your compositions.
Step 5: Write with love
Using a pen, write the names of your friends and loved ones inside the wreath. For the mini trees, you can write their names beneath the tree illustration, symbolizing that their presence is a gift this Christmas season. Don't skip this part, for this adds the perfect final touch to the personalized look of your tags.

Writing names inside Christmas wreaths watercolor illustration
Then once you're all done, we can now proceed with the fun part!
Step 6: Cut them up into individual tags!

Cutting personalized watercolor wreath tags
Using a cutter or a pair of scissors, carefully cut your tags into your desired shapes. Be sure to include some allowance on the sides, as well as an area where you can punch a hole to attach the string.


Finished product: personalized watercolor Christmas tags
So, here you go! Et voila! Here are the finished DIY Christmas tags, complete with names of your loved ones written on them. With your string of choice, wrap them around their respective Christmas gifts, and send them away! Trust us on this: Your loved ones will surely appreciate the effort you've put into creating something special for them.
Which one of the different tag designs did you like best? Let me know and leave a comment below! Also, if you are going to try this tutorial, share your results on the social web tagging #zenartsupplies and #zenartchristmaschallenge! See you there. Join our friendly art community Painting Inspiration Daily on Facebook. You can share your art and ideas, watch LIVE tutorials, and be inspired to paint!
- MEET THE AUTHOR-

Ardak Kassenova is a London based contemporary artist, co-founder and creative director of ZenART Supplies. Her visual style-contemporary impressionism-share similar aesthetic qualities with those by the French Impressionists. After 20 years of a successful corporate career, becoming a mother to two wonderful girls, and with the continuous development of her practice by taking private lessons from the best artists she could find; Ardak decided it's time to align her life with her true passion, Art. Driven by this passion and her corporate leadership background, she co-founded ZenART.
"My heart and soul were always with Art, and since my childhood as long as I remember myself, I was dreaming to be an artist. I was painting after work, when I had time, and teaching myself through the books, videos, visiting art galleries and museums. I've been very curious about different techniques and styles, and therefore accumulated knowledge and experience on a variety of mediums."
Read more about Ardak Kassenova in this feature. Say hello to @ardak_zenart on Instagram!


