Watercolor Christmas Trees | Delicate and Chunky Snowflakes | Christmas Ornaments
I've always found hand-made and hand-painted watercolor Christmas cards lovely and perfectly enjoyable for anyone to create. I find it so convenient as I tend to put off card making at the last minute. The characteristics of watercolor make it possible for a procrastinating card maker like me to still be able to churn out simple yet still very charming cards in a short amount of time. When I was young, my siblings and I would make hand-drawn or hand-painted cards to be sent to our loved ones living far from us. We would do them for birthdays, Valentine's Day, Mother's day, and of course for Christmas. As we grew up and lived near each other, Christmas cards turned into gift tags which are just as fun to create.

I'd like to share with you what I've made as a source of inspiration or for guidance if you'd like to recreate them. I'll show you quick step-by-step instructions for each one, and even downloadable PDFs of some of the designs. You can print them out and trace over them, or use them as a guide. From quick and easy choices to more detailed ones, and of course tweak or change them up to your heart's content!
TABLE OF CONTENTS: Looking for something in particular? Jump ahead using the links below:
Hand-painted Watercolor Christmas Cards
Simple Christmas Trees Using Lines and Strokes
Watercolor Christmas Tree With Metallic Decor
Delicate Watercolor Snowflake Using Masking Fluid
Chunky Watercolor Snowflake With Gouache
Intricate Watercolor Christmas Ornament
Hanging Watercolor Christmas Balls
Painting Inspiration Daily Christmas Cards
Hand-painted Watercolor Christmas Cards
Here are I'll be sharing with you a couple of Christmas card ideas I've prepared in various themes. Each theme will have a quick and easy version and a more detailed one if you're up for it. You can try them both out and of course, add more details or remove some if you wish, make changes to your heart's content. These are meant to inspire you so you don't have to copy them exactly.
Easy Watercolor Christmas Cards - Christmas Trees
Christmas trees are the easiest to do in my opinion. You can go from creating simple trees with just basic lines to very detailed ones and they'll all be immediately recognizable.
Simple Christmas Trees Using Lines and Strokes
I enjoyed doing this one, super easy and fun, and the possibilities are endless! You can just start with the basic lines and brush strokes and create rows of Christmas trees. In my version below I just used slightly varying greens - mixed from Lemon Yellow and Phthalo Blue and two other greens that are already available in my watercolor paints palette - the Allegro Palette from ZenART Supplies.

I used a 9x12" watercolor paper that I cut in half and then folded the two halves to create two cards for painting. Laying my card down in landscape orientation, I lightly drew three tree-shaped triangles evenly spaced apart. It's up to you if you want to tape down your paper or not. You won't be doing any heavy washes for this one.

Then I used three different greens and various brushstrokes and patterns to create quick and easy Christmas trees. Just straight lines starting from the top of the tree and branching outwards to create a triangular shape. Then, horizontal lines that go from top to bottom, using the previously drawn triangle pencil drawing as a guide. And lastly, a 6-tiered tree with branching out lines to form each level.

You can make smaller trees so you can paint more than three trees if you'd prefer that. I made another with six trees this time.

Watercolor Christmas Tree With Metallic Decor
For this DIY watercolor Christmas card, I made use of masking fluid. Applying masking fluid preserves the white of the paper and is such a fun thing to experiment with. Just like the trees above, I just started with a tree-shaped triangle to serve as a guide. Then added a star on top.
I applied the masking fluid using an angled color shaper brush/tool you can see in the photo below. The flexible silicone tip makes it ideal for applying precise details. Plus you don't need to worry about ruining it as the masking fluid just washes right off. This nifty tool is from our Verbena brush set, a 17 pc synthetic brush set designed especially for acrylic use.
You can choose to do whatever texture or pattern you'd like to have when applying the masking fluid. For mine, I chose a more natural and organic texture similar to a pine tree. Wait for it to fully dry before doing any painting.

I started by wetting the entire tree shape with jagged edges on both sides representing the branches and leaves sticking out. Then I applied a wash of Aureolin Green from the Allegro Palette. Followed by dabs of Phthalo Green - from the Sereno Palette - here and there to add depth.

For the star, I decided to do some layering using Hansa Yellow three times. With each layer being a larger circle than the last, it creates an illusion of a glowing halo surrounding the star. Now, leave everything to fully dry before moving on to the next step.

I just used my finger to gently remove the masking fluid, it comes off quite easily. And now you have a cool negative tree painting on your watercolor Christmas card. You can stop at this point if you'd like. Or you can add ornaments and decor to your tree.

I wanted some shimmer and sparkle so I used colors from our all-metallic watercolor set, the Prezioso Palette. Using the colors Gold and Bronze, I added hanging ornaments and tinsel wrapping around the tree.

And here's my finished decorated Christmas tree. It's festive enough with the metallics against the nice green of the tree. You can of course add more colorful ornaments if you wish to, have fun with it! With the masking fluid leaving parts of the tree in white, the ornaments you add will beautifully pop out.

Paint Snowflakes For Your Watercolor Christmas Cards
Another favorite of mine to paint in watercolor is the snowflake. With just one or two colors, you can create a very beautiful card painting. The beauty of snowflakes is enough, you really don't need to add much to it. Below I'll be painting two versions, one using masking fluid and another using the white of the paper and white gouache.
Delicate Watercolor Snowflake Using Masking Fluid
At certain temperatures, snowflakes can form in a triangular shape (threefold symmetry). But snowflakes are popularly depicted as having perfect symmetry with six arms branching out from a hexagonal center most times. It's quite challenging to paint around a delicately drawn snowflake to preserve the whiteness of the paper. And here is where the masking fluid comes to our rescue.
I found a snowflake pattern I liked and can be used freely without any copyright issues. I used it as my reference and drew the pattern on my watercolor paper card. Save this snowflake design if you want to use it, too. But feel free to create your own design!
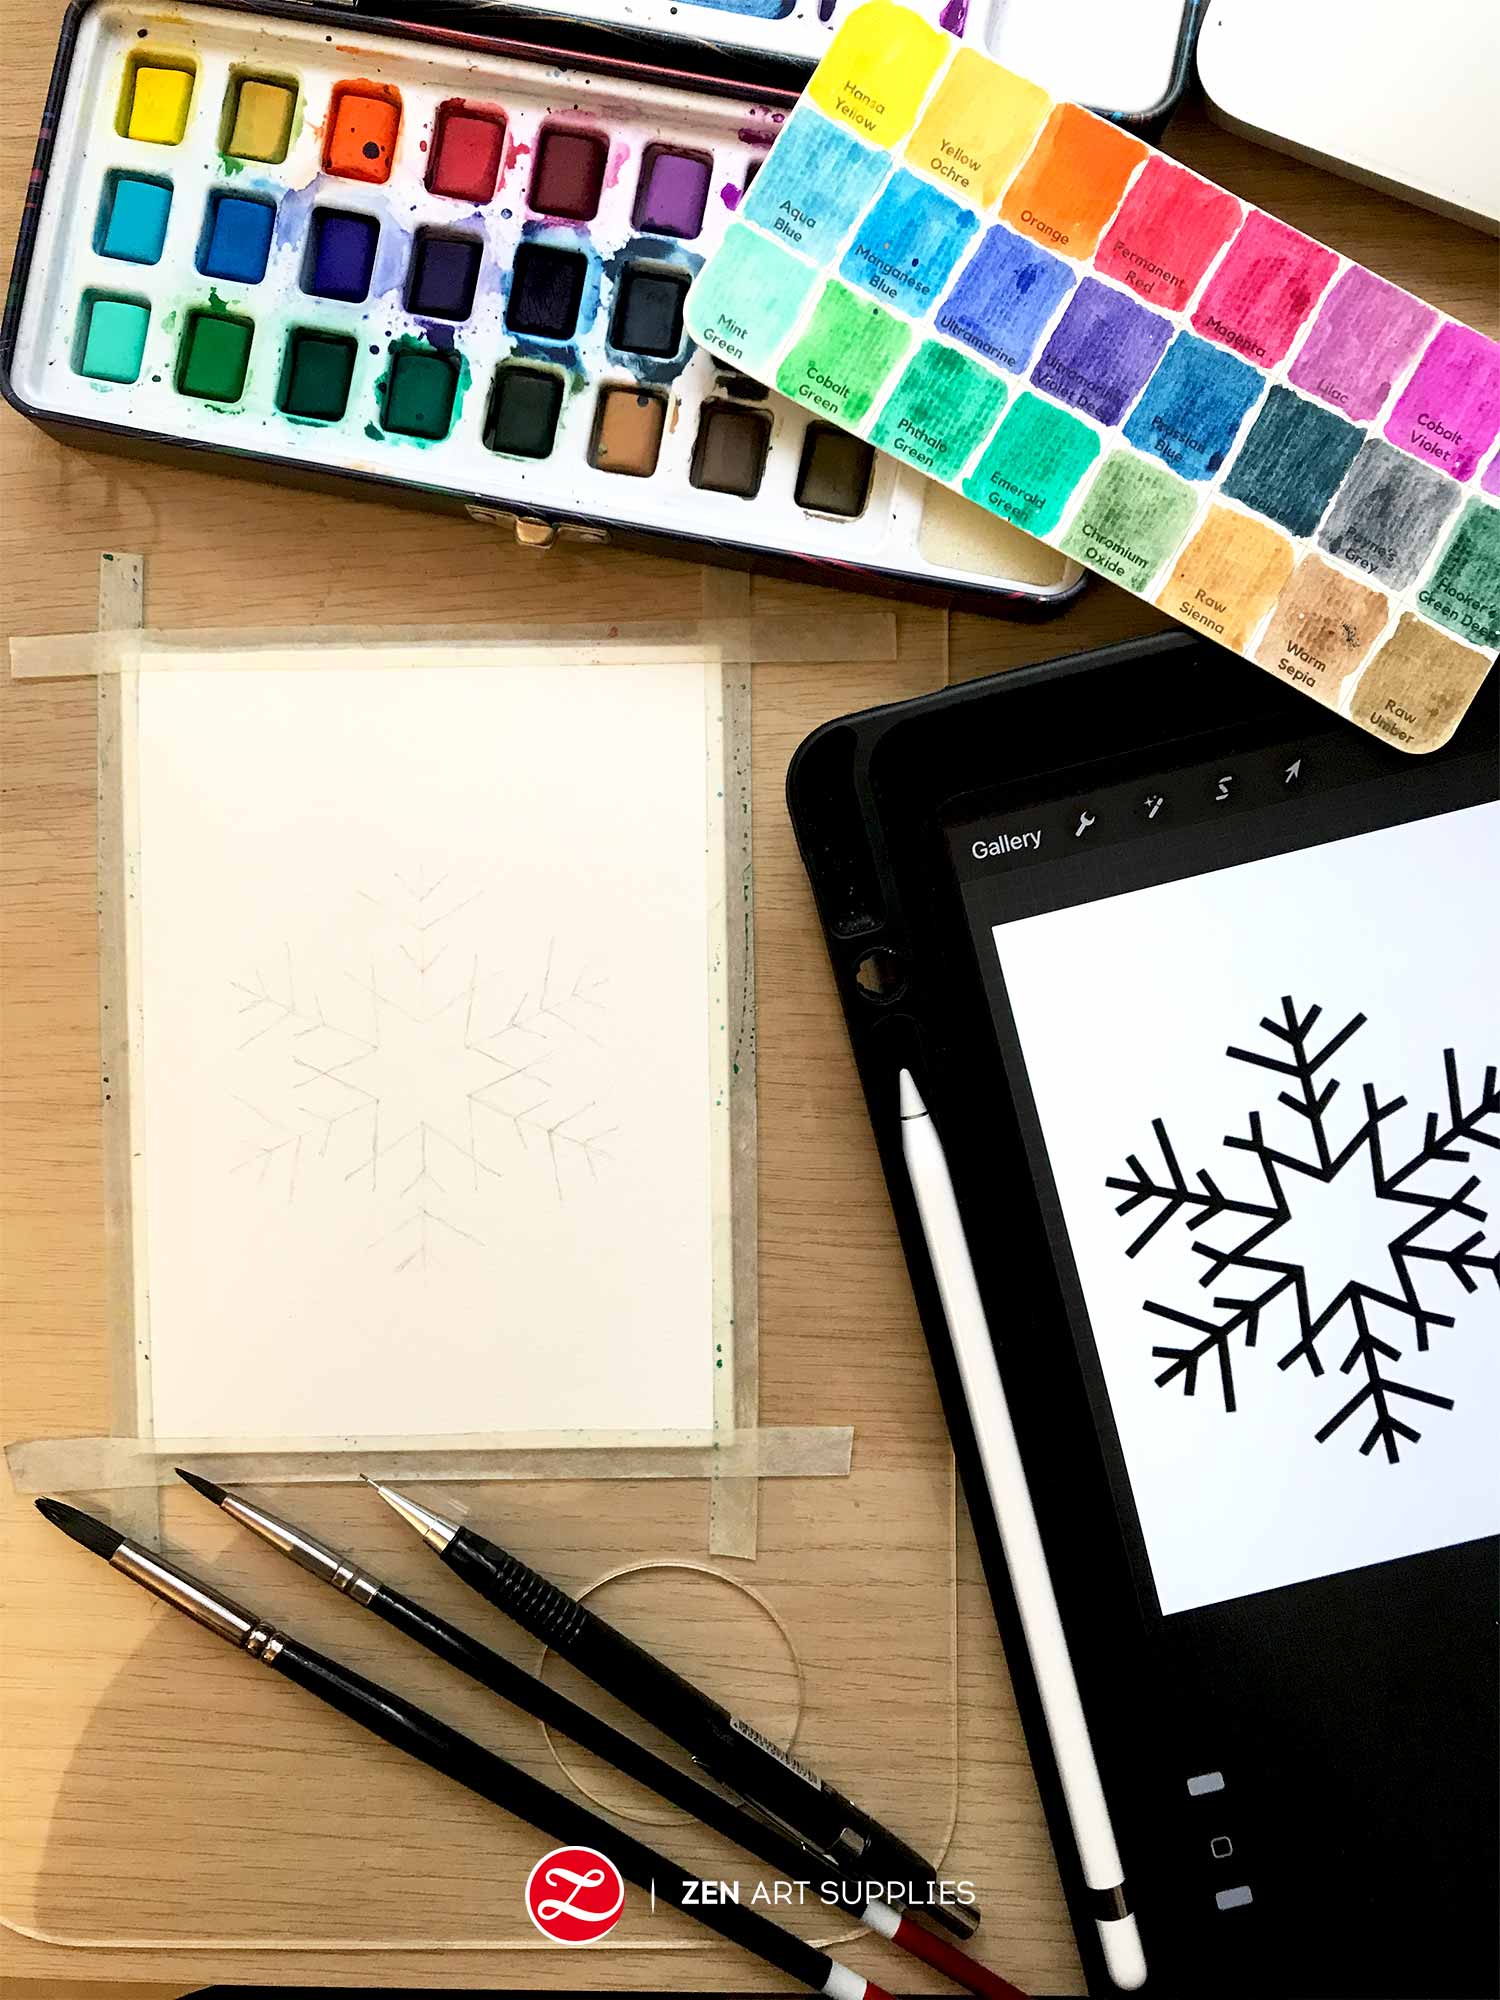
Then I applied masking fluid over the pencil marks I drew. Taking care to make them just the right thickness, not too thick nor thin. I used the same tool I used in the tree above to apply the masking fluid. Since I would be taking longer in applying this time around, I opted to transfer a bit of the fluid onto a small and shallow container. This way I don't leave the rest of the fluid in the bottle unnecessarily exposed to the air for long periods of time. I also added dots of varying sizes all around the snowflake to suggest smaller flakes floating down as well.

Once it has fully dried, I start by evenly wetting the whole card with the help of the 3/4 flat brush from our Black Tulip brush set. Just wet enough for the paper to have a glossy sheen all over, for a wet-on-wet application. Then I started applying Prussian Blue from the Sereno Palette beginning at the center of the snowflake moving outwards. As I go past the branching arms, I add water to the edges to let the paint slowly blend out. I don't do smooth blending for this as I want a textured background, I even leave out white/light spots here and there. You can do two to three layers of this, depending on how deep you want the blue to be.

Once you're satisfied with your layers, allow them to fully dry before gently peeling off the masking fluid. And et voilà, you have an easy peasy delicately painted snowflake!

Chunky Watercolor Snowflake With Gouache
For this second snowflake, I chose a chunkier design so there's no need to use any masking fluid. Painting around the white of the paper is quite achievable. I drew a chunky snowflake in the middle, then added four smaller ones, one for each corner. I created different patterns for each one.

I used the wet-on-dry method for this hand-painted watercolor Christmas card. To have more control over my painting as this time around I'm trying to preserve the whiteness of the paper by painting around it. Still using the same style by having the Prussian Blue deeper around the snowflake. Then slowly adding water to the edges to lighten it. This is so the whiteness of the snowflake will be better emphasized and make it pop out. Then I painted the hexagonal center of the snowflake. Followed by adding another layer on all four corners to deepen them, creating a sort of vignette effect. Leave everything to fully dry before moving on to the next step.

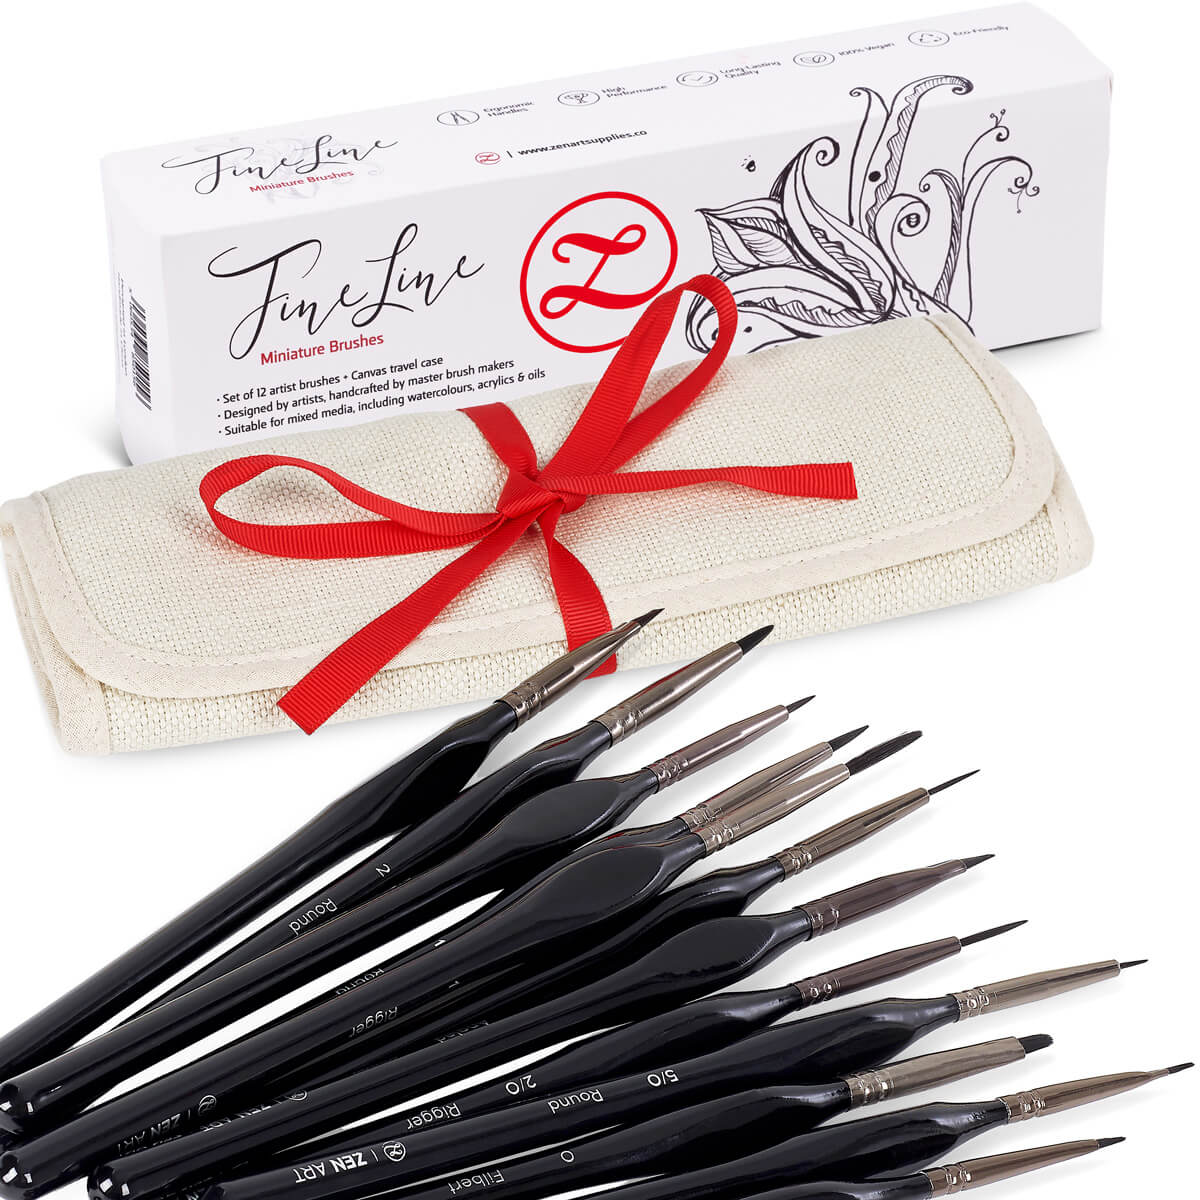
Now it's time to use some gouache for the four smaller snowflakes. I squeezed some white gouache out onto a mixing plate and added a little water to dilute it a bit. Then I used the #2 Round Brush from the Fine Line brush set to paint them in. When painting fine, delicate lines, it's best to switch to detail brushes so you'll have that more control.

Finally, I further diluted my white gouache mixture for some spattering all over. I used the #10 Round Brush from the Black Tulip set as it has a fat belly that can absorb a lot of the mixture. Then tapped the brush head over my finger to splatter the paint all over adding a snowy effect to the painting. Just keep in mind not to overdo this. And just allow it to dry and it's finished!

Watercolor Christmas Cards With Ornaments
This time around I'll be painting Christmas ornaments! Just ball-shaped ones are more than enough to explore and play around with. I'll be showing you two versions as well - one with just one ball with a very detailed design and another with a few dangling balls in various colors.
Intricate Watercolor Christmas Ornament
This is a great choice if you're up for some detail painting rather than painting realistically a ball/balls with shading and light reflection. You can create your own design, of course, but I will share my own design here. You can save it, print it out to use as a reference, or trace over it. With even just one design, you can create multiple versions or variations by changing and mixing the colors up.

I just used a mug to draw the circle and created my own design. The ball won't be exactly center, it will be a little bit below the mid-line. Leave enough room for the attachment and string on top.
Before I start painting, I usually dab my kneaded eraser over my drawing to lighten it. It's very hard to erase it once it's been painted over. For this ornament, I decided to use a monochrome painting style as that works very well with intricate designs. This is also the perfect time to play around with the different values of a single color. You can do this in layers or use mixtures with varying saturations of your color. For mine, I did a mix of both. I added extra layers for parts that I wanted to deepen further.
One of my favorite brushes, the Rigger Brush from our Black Tulip set, is perfect for the long and continuous thin lines.

Don't forget to paint in the attachment on top. I used Hansa Yellow from the Sereno Palette for the first layer. It's a wonderful yellow that's golden but isn't too warm.
For the background, I layered two colors - Viridian and Phthalo Blue, both colors are from the Allegro Palette. I started with a light wash of the Viridian, darker around the ball and slowly going lighter as it moves outwards.

I waited for the Viridian layer to dry before adding the Phthalo Blue in the same manner. Be careful not to paint over the string on top. Then I used Burnt Sienna from the Allegro Palette to paint the grooves and shadows of the golden attachment. Mix it in with some of the Hansa Yellow or Yellow Deep to tone it down.

Finish it off by painting the string, I just used the same Hansa Yellow for mine. But feel free to choose whichever color you prefer.

Here's another version I did using the same design but with more colors. You can create an amazing variety of DIY watercolor Christmas cards with just one base design!

Hanging Watercolor Christmas Balls
And for this last watercolor Christmas card, it'll be a whole set of hanging balls in a cluster. Here's a quick sketch I did that you can use.

I used an analogous color scheme so they would easily go well with each other. The colors I chose range from red to yellow, and the Allegro Palette has a fantastic selection of warm and vibrant colors. I started out by sketching the balls, then added wavy and curling designs on two balls, and kept the other two just plain.

I used the wet-on-wet technique for easier gradient blending. For these balls, I wanted to paint them a bit realistically - highlights, shadows, and all that. I didn't wet the whole page all in one go. Instead, I worked on one ball at a time. Just wet the whole ball shape. Work from the darkest side - the one furthest away from the source of light. Allow the pigment to flow on the wet paper with the help of your brush. Slowly add water to dilute the mixture, making it lighter as it nears the highlight. Be careful not to paint over it. Leave to dry before adding another layer if you want the color to be deeper. I used the color Crimson as it has a vivid red that's more on the neutral side.

Do the same technique for all the other three balls. For the ball right beside the red one, I used Yellow Deep for the first layer and Gamboge with a dash of Burnt Sienna for the second. For the one at the bottom, I used Lemon Yellow, followed by Lemon Yellow mixed with Yellow Deep.

And for the last ball on the right, Jaune Brilliant for the first layer, and Gamboge mixed with Scarlet for the second. Once everything has fully dried, I used white gouache to paint the designs on the two balls. Again switching to my Rigger brush.

For the attachments on top, I used Yellow Deep first and then used Burnt Sienna with Yellow Deep for the grooves and shadows. I used the #2 Round from the Fine Line brush set for this.

I decided to add cute curling bows to the string attached on top using Yellow Deep. And I found the background too bare, so I used some metallic watercolor paints from our Prezioso Palette - Bronze mixed with Gold. And created sparkling diamond shapes of varying sizes all around. Don't overdo this as you just want them to accentuate the balls and not overpower them. I also used Bronze to add metallic petal shapes to the bottom of the yellow ball. To balance out its paleness against the bright red ball and the two decorated ones.

And here's the final watercolor Christmas card with a bunch of hanging balls. As you've probably noticed I tend to leave the backgrounds not too cluttered. I like to have the option of adding words to them later on if I suddenly feel like it. But don't let that stop you from adding colors and other details to your backgrounds.

Painting Inspiration Daily Christmas Cards
I would like to share with you some of these watercolor Christmas cards, oil paint New Year's card, and even a hand-painted mask from the members of our Facebook group - Painting Inspiration Daily. We started a Christmas challenge - #zenartxmas21 - and asked members to share their own hand-painted cards. And how wonderfully creative and awesome they are, check them out below!
Some snow-themed ones for all the snow lovers out there.

And some colorfully funky ones to be hung on the tree.

And how original is this Christmas wreath? Awesomely creative!

In Japan, the tradition is sending New Year's greeting cards instead of for Christmas. And 2022 is the year of the Tiger, hence the tiger you see in this beautiful card below. Painted using oil paints from ZenART's very own Essential Palette. Though it's not watercolor, I couldn't not include it here, don't you agree?
If you're looking for some answers to your question of what should I paint this Christmas season, here are some Christmas art prompts to help you out.

And look at these Christmas-themed masks. Wear the Christmas vibe whenever you go out, why not?

I hope this will inspire you to paint your very own watercolor Christmas cards. It's the perfect time to explore all the possibilities. Don't be afraid to experiment and explore what pops into your mind. Just have fun with it and enjoy the process! I'm sure whoever receives your cards will appreciate the love and effort you poured into them. You might be up for some Easy DIY Christmas Decors as well, check them out!
We'd love to hear back from you!
Which card design are you thinking of trying out? What Christmas theme do you find yourself painting the most? What future content would you like to see from us? Let me know in the comments below! Join our friendly art community Painting Inspiration Daily on Facebook. You can share your art and ideas, watch LIVE tutorials, and be inspired to paint!
Need some guidance on How To Draw A Snowman? That's next up, stay tuned! Meanwhile, I hope you have a fabulous time painting those watercolor Christmas cards!
- MEET THE AUTHOR-

Kathleen is the Wordsmith at ZenART, resident artist and art editor. When God sent a shower of talents, Kathleen made sure she got a basketful of them! She's a visual artist with practical knowledge on various fields from painting and sculpture, to costume and set design which comes in very handy when writing about various art techniques and theories. She also shares her passion for the arts through teaching. She runs her own brand of handmade wirework jewelry designs.


