Oil Painting Supplies List | Oil Painting Techniques using Brushstrokes | Useful Tips
Oil paint has been around for a very long time. The oldest known oil paintings date back as far as 7 century AD, painted by Buddhist artists in Afghanistan. Today, it still remains one of the most popular mediums that artists choose to use.
I find oil painting to be very forgiving and a pleasurable working experience. Oil paints are quite flexible, and the range of depth and translucency that you can achieve with them is truly amazing. There are quite a number of oil painting techniques that you can explore and master. You don’t have to use them all, but knowing how they work will give you more tools to work with — and that’s always a good thing.
Having the right tools is a must. Don’t be stumped right away by using the wrong supplies. And you don’t need a lot either to begin with, so don’t worry about having to spend too much.
Oil Painting Supplies List

Here’s a short list of the basics that you’ll need to have or prepare. Have a look through our in-depth guide of oil painting supplies for beginners for a full-fledged list plus other ‘optional supplies’ that you might want to get in the future.
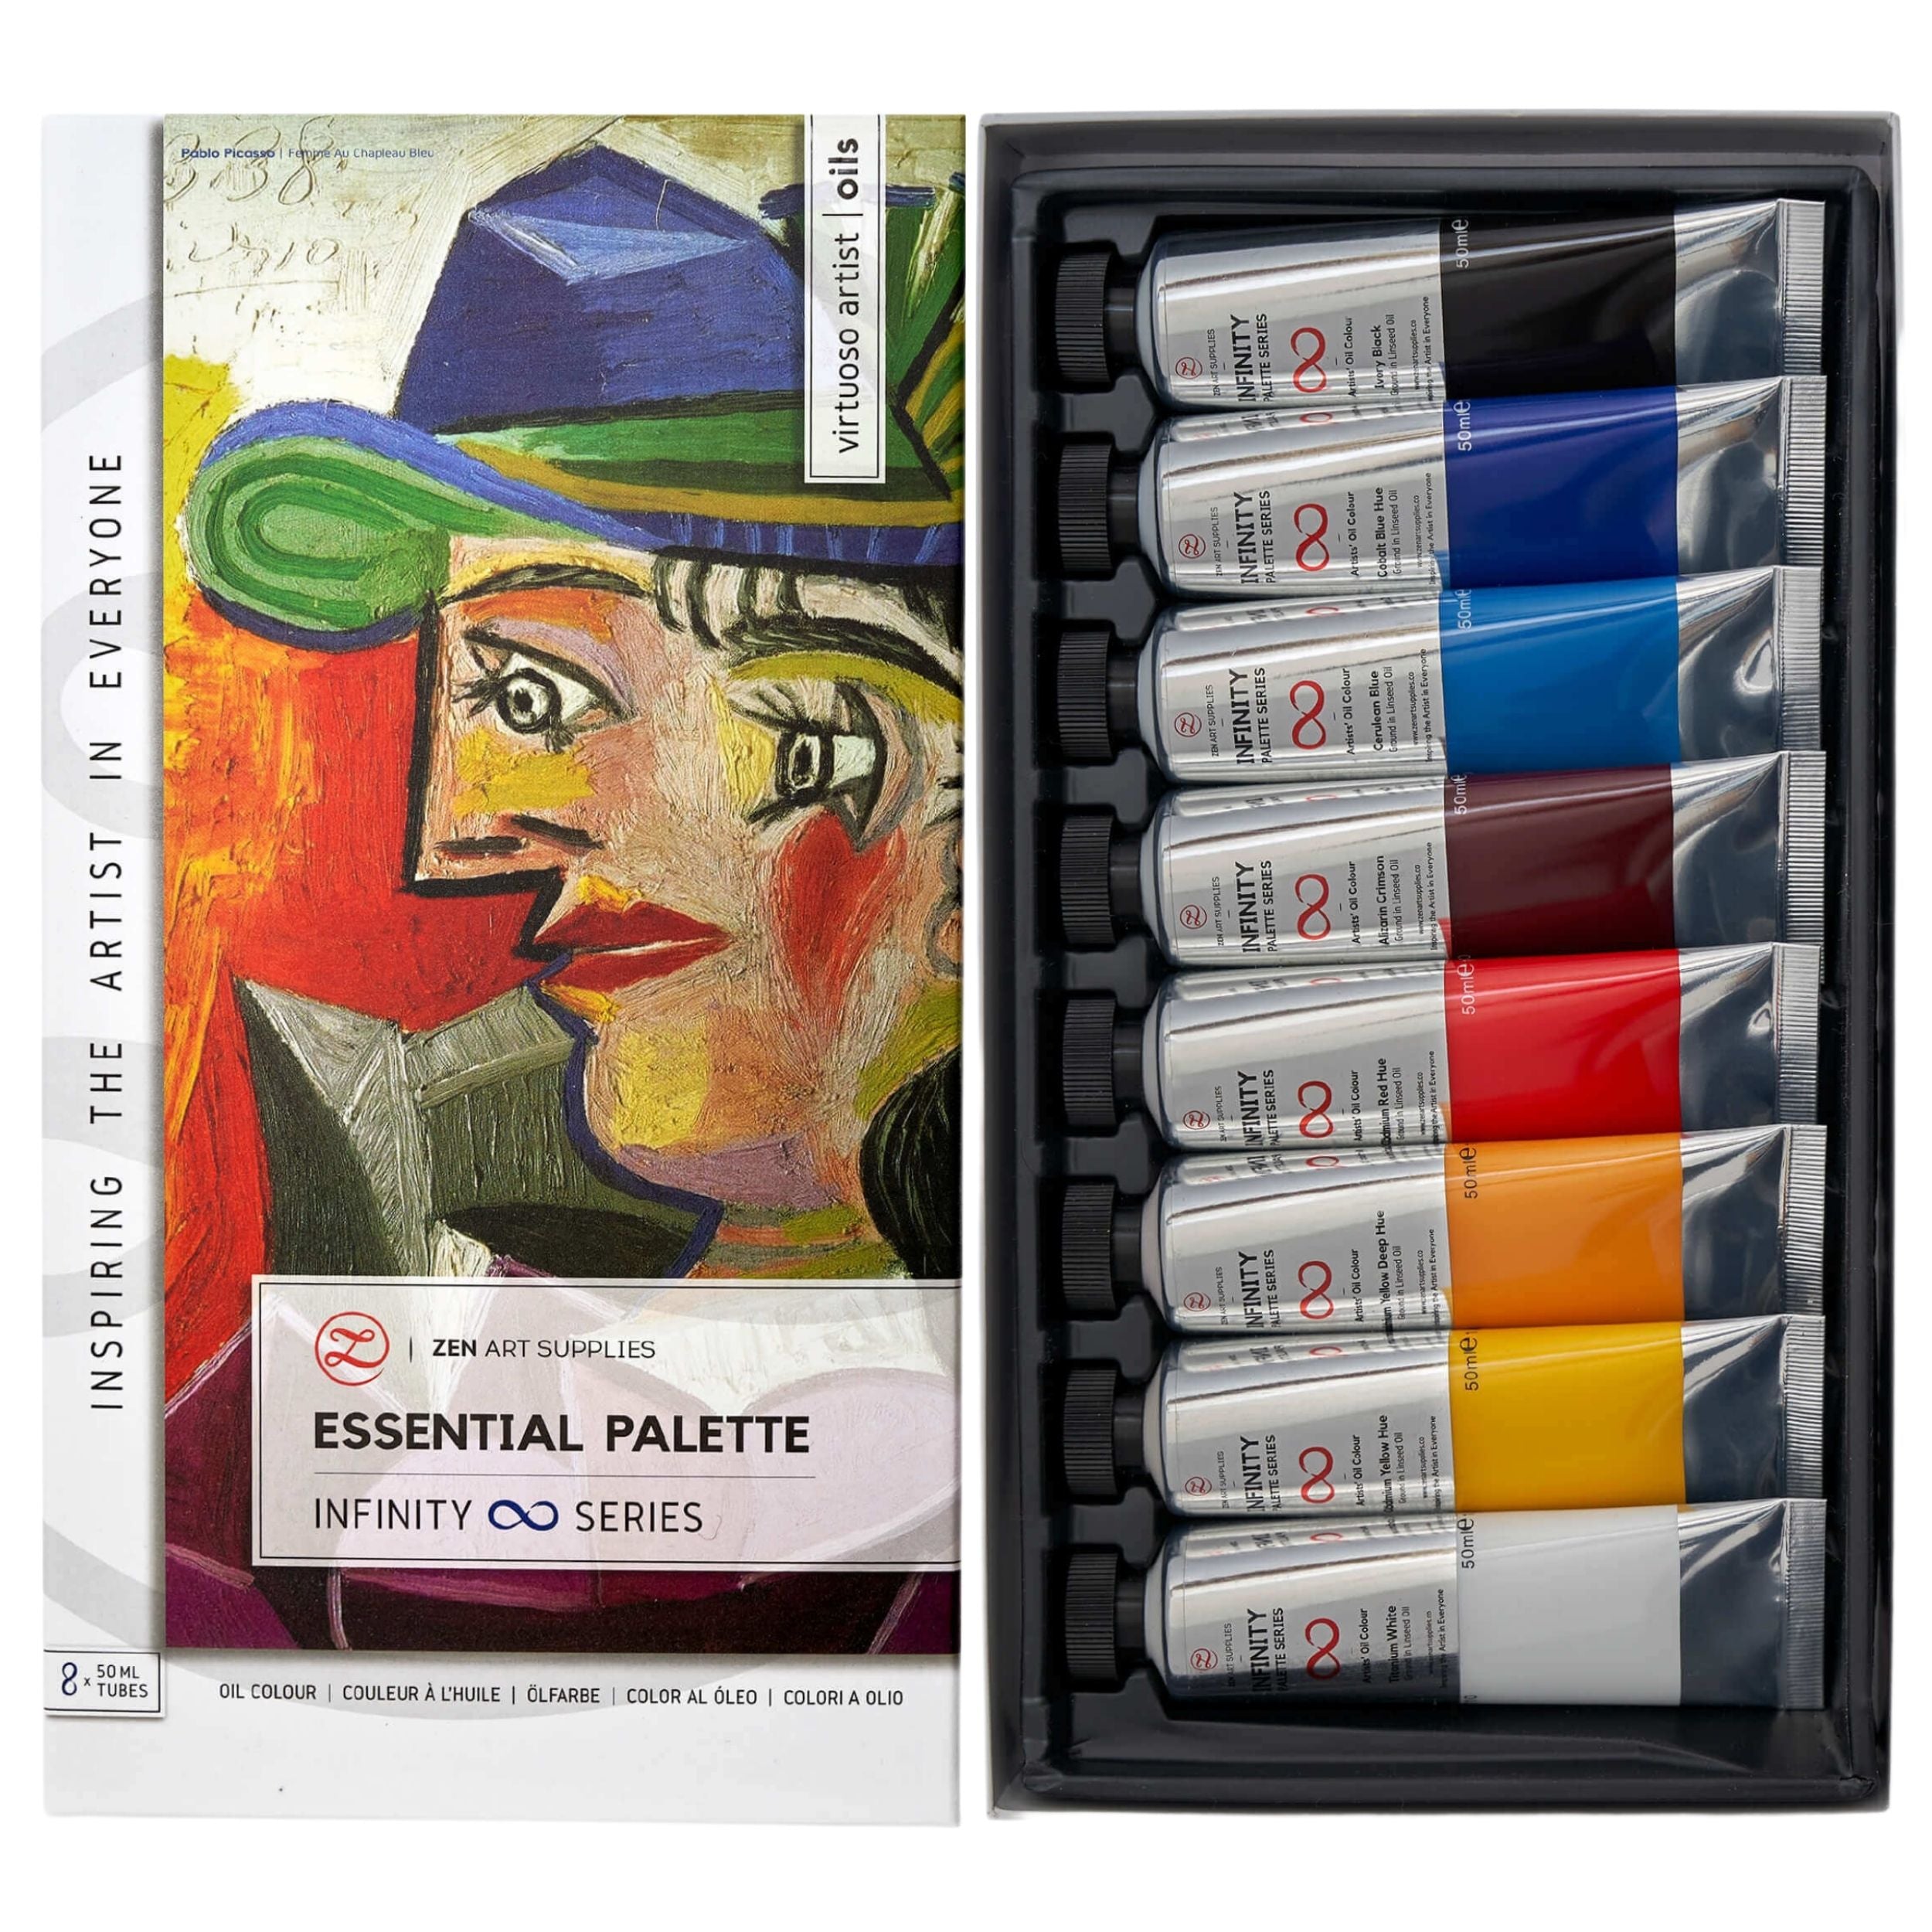
Oil Paints - You don’t need all the colors out there. Just the essential colors will be more than enough and I highly recommend that you start with them. ZenART’s Essential Palette has a color selection of said foundation colors. Working with a limited palette will help you understand color theory much better.
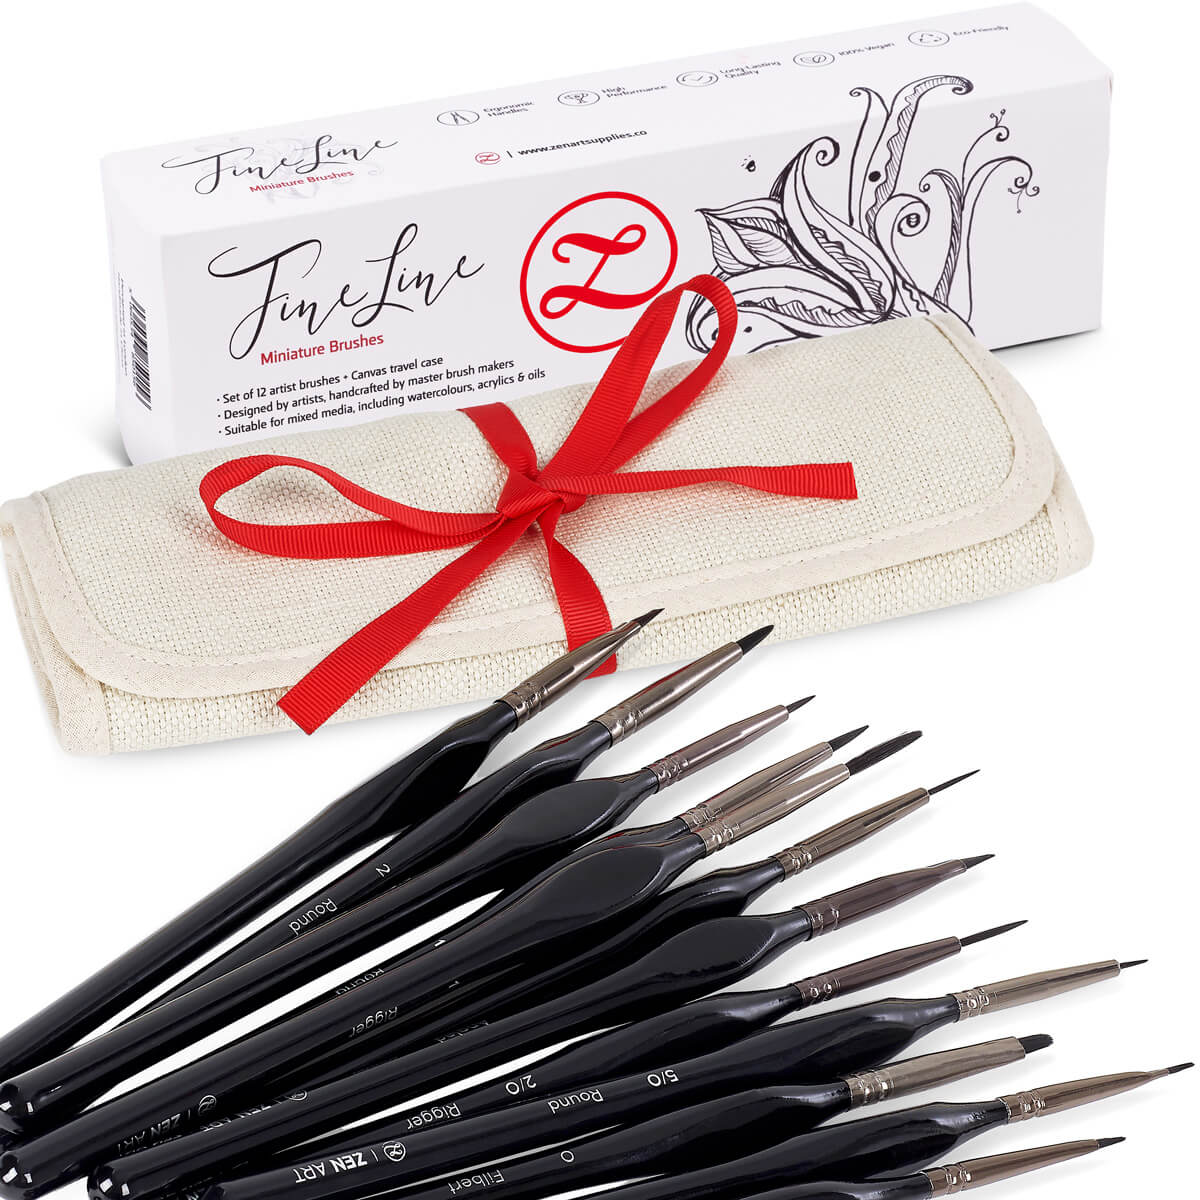
Oil Paint Brushes - A nice good set with a range of flat and round brushes is best. Flat brushes are great for spreading paint and will be used in a lot of oil painting techniques and brush stroke techniques. While round brushes are useful for small details. I personally love Filbert brushes and love the amazing selection of brushes from ZenART’s Renoir brush set.
Palette knife - This is quite essential for mixing colors, instead of your brush, use the palette knife for mixing. It’ll help you avoid overloading your brush with paint and you’ll get to mix colors more thoroughly and evenly. You can also use it to apply or remove paint, giving you very textural effects.
Supports - There are various supports that you can use: canvas, wood, panels, canvas paper, and more. Canvases are the easiest to source and the most popular choice. Opt for pre-primed or pre-gessoed canvases if you don’t want to do that step yourself.
Palette - The traditional palettes are wooden ones usually with a hole for the thumb to slip through. Nowadays, there are plastic, tempered glass, and tear-away palettes that you can get. You most definitely will need a palette for all the color mixing you need to do.
Mediums and Solvents - One medium of your choice: linseed is the most common. There are other mediums that will either alter the flow of your paint or speed up/slow down the drying time. And a solvent for thinning down your paint or for washing your brushes. A solvent is optional as you can just use oil and then brush soap to clean your brushes. I personally use an OMS (odorless mineral spirit) - for thinning down the paint for the first one or two layers and for the first step in cleaning my brushes.
Other tools such as a rag for wiping your brushes on and jars to hold your medium/solvent can easily be found around the house. With the tools above, you can already start painting and exploring various oil painting techniques.
Oil Painting Brush Stroke Techniques and More
A lot of the techniques fall under the umbrella of oil painting brushstrokes. Have a look through the different brushstrokes I highlighted over there with accompanying examples of works by the masters that used said brushstroke techniques.

Imprimatura
Imprimatura is also known as adding a toned ground to the surface. It is covering your prepped support with a stain of color, usually earthy or other neutral colors, and usually in a thin layer or wash.
Not everyone includes this step in their painting process. The advantage of this technique is that it helps you get a better sense of your values (light to dark) when you start with a mid-toned canvas over a white one.

It also releases you from the pressure of having to ensure that your layers are opaque enough to cover the stark whiteness of your surface. Allowing the imprimatura to show through can also be another effect that you might like to play around with. You can sketch on your support first before adding the imprimatura layer over it.
Underpainting
Compared to imprimatura, underpainting doesn’t have to be restricted to a single layer. You can have a few layers just for the underpainting. This is where you can do all the preliminary painting planning that you want to do. From setting the tonal values to shading, and even the brushwork. It removes the fear of starting from a blank canvas.

Artists who do very detailed underpaintings find that it greatly aids their painting process. Two other techniques that somewhat fall under “underpainting” are Grisaille and Verdaccio.
Grisaille
The word grisaille comes from the French word gris meaning gray. A grisaille can be a standalone painting (rare, but it can be done), but is usually done as an underpainting. It is entirely painted in shades of gray or whichever neutral grayish color you prefer to use. Hence the term ‘dead layer’ or ‘dead color’ when referring to this technique.
Verdaccio
It is a full monochromatic underpainting done in either yellowish, muted greenish brown or grayish color; made from mixing black, white, and yellow pigments.
Blocking In
This technique usually follows underpainting or is the first step to starting your painting (if you’d like to forego the underpainting). You need to observe your reference and decide which colors to use as the base colors.

For example, a deep brown for the nearby mountains, a grayish blue for the farther ones, pale blue for the sky, etc. It would usually be just one color for each section, at this point you’re just ‘blocking in’. So no need to add details or do blending just yet. This is the base up which you will add the various shades and highlights later on.
Scumbling
It is best achieved using thick, matte, and undiluted paint. The brushstroke is applied in such a way that it creates rough and broken textural effects. You can say that it’s the opposite of glazing where you apply an unbroken glossy layer over another.

With scumbling you want the underlying color/layer to show through, so you work with it instead of simply covering it up. A palette knife can be used for broader strokes and stiff-bristled brushes for smaller strokes.
Blending
Oils are the perfect medium for this oil painting technique. With the longer drying time, you can take as much time as you want or need to do your blending. Depending on how fine a blending you want to achieve, the brushes will dictate this so choose accordingly.
You can blend with brushes that have stiff bristles but expect it to be on the rougher or more textured side. If you want a smoother blended finish, use brushes with softer bristles. Mastering this technique will come in handy when painting realistically. You’ll be able to refine your edges, whether they are hard, soft, or lost-edged.

Gradient Blending - is just a specific kind of blending where you create smooth transitions between colors or show subtle value changes. You need to be patient and more precise when using this technique as abrupt shifting in colors and values may look out of place, unless it is meant to be exactly so. The more subtle the transitions, the more dine blending you need to do.
Alla Prima
Artists who love to use this technique do so because it allows them to finish a painting in one sitting. You apply wet paint over layers that are also still wet. The challenge with this technique is blending your colors just enough and knowing when to stop. Otherwise, you can easily over-blend and end up with a muddy blend of colors instead.

A small still-life painting I finished in one painting session.
Impressionists were keen on using this technique especially when they were out and about plein air painting. You can’t be waiting for days between drying times when you’re trying to capture the exact light and atmosphere of your surroundings that specific day.
Impasto
For a successful impasto application, paint must be applied to the surface in thick layers. You can use a palette knife or any stiff brush to do so. Through this technique, an amazing range of textural effects can be made.

Here’s a fantastic painting done by ZenART’s co-founder, Ardak Kassenova, where she used the impasto technique to give rich texture to the main subject.
The thick and buttery consistency of oil paint lends well to this style of application. You can already produce the impasto effect with paints straight out of the tube. But there are also mediums available that can add extra body to your paints or help them dry faster. The speeding up of the drying process will be quite useful since oil paints dry slowly. Thicker layers will therefore take longer to dry as well.
Sgraffito
This oil painting technique is reductive rather than additive. Instead of applying paint, you instead remove it by using a palette knife or the butt end of a brush handle. Or any other stiff-edged tool that you can use like old credit cards for example. You scratch off the paint to create details and texture. By doing so you reveal the previous layer/s of paint or surface underneath, creating a contrast against the top layer.
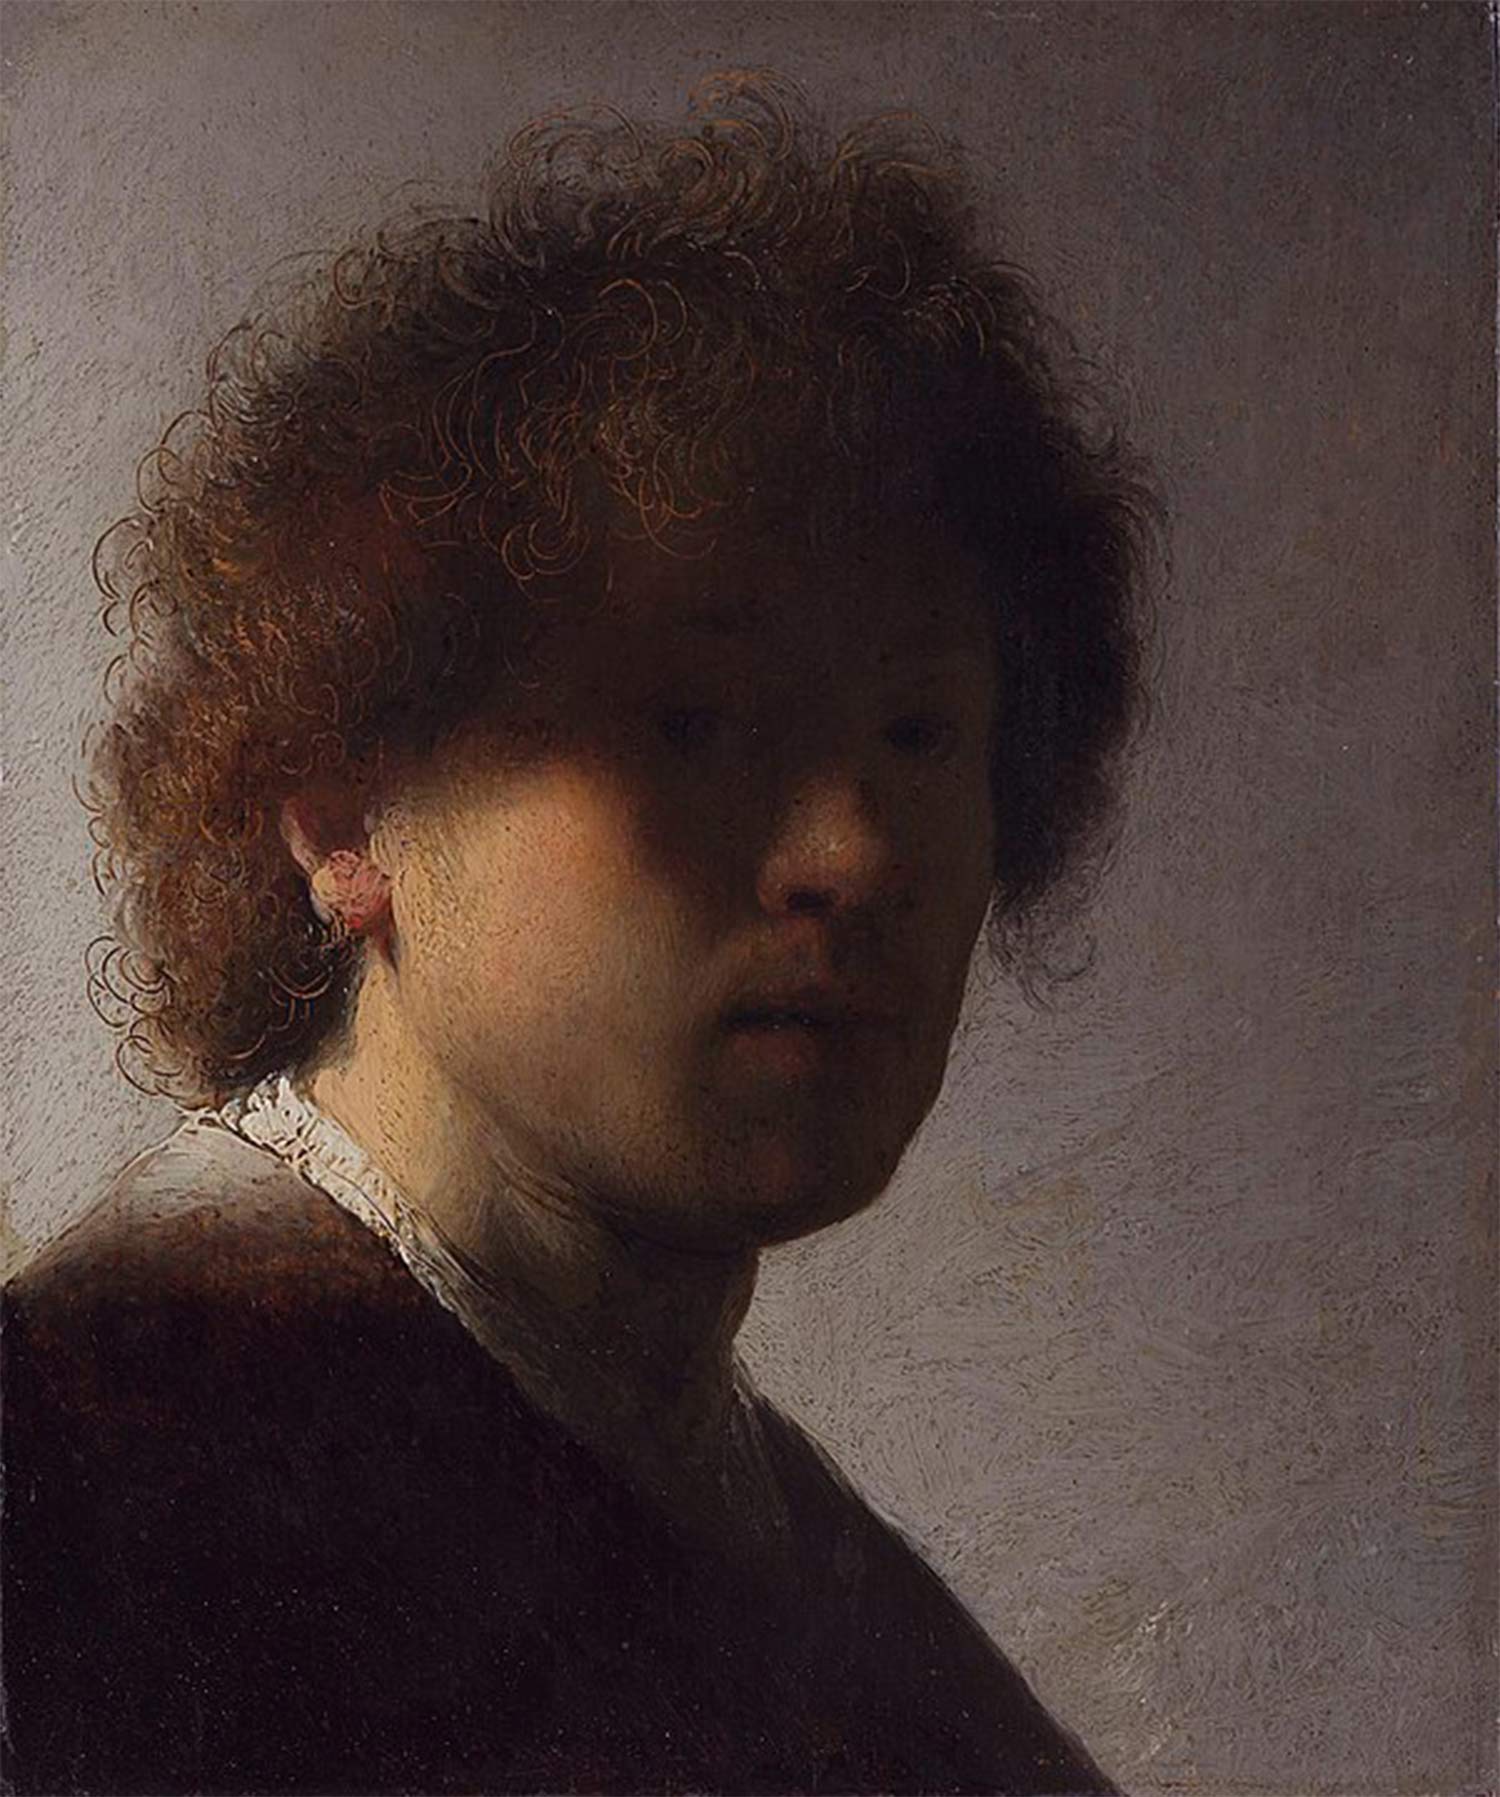
Leonardo da Vinci’s “Virgin on the Rocks”, oil on panel (later transferred to canvas), 1486-86.
In Rembrandt’s self-portrait painting above, the curly texture of the hair was achieved by scratching off the paint. The lighter color underneath is revealed here and there serving as highlights and giving fullness to the hair.
Sfumato
The word sfumato originates from the Italian word sfumare meaning: to soften, to shade, to tone down, or to fade away. Along with the word fumo meaning smoke or fume. This technique is used to soften the transition between colors, from their tones to their values. One of the most famous users of this technique is Leonardo da Vinci. To him, sfumato is "without lines or borders, in the manner of smoke or beyond the focus plane". Colors are blended in such a way that you don't see lines or borders.

Leonardo da Vinci’s “Virgin on the Rocks”, oil on panel (later transferred to canvas), 1486-86.
It’s one of the four canonical painting modes of the Renaissance, the other three are cangiante, unione, and chiaroscuro.
Chiaroscuro
Another Italian term, chiaro meaning light and curo meaning dark, chiaroscuro means ‘light-dark’. To achieve this, your painting must have a strong contrast between light and dark. This allows you to portray volume and three-dimensionality to the figures and objects in your paintings quite successfully. It also adds drama and sets the mood of the painting, a great compositional technique to keep in mind.
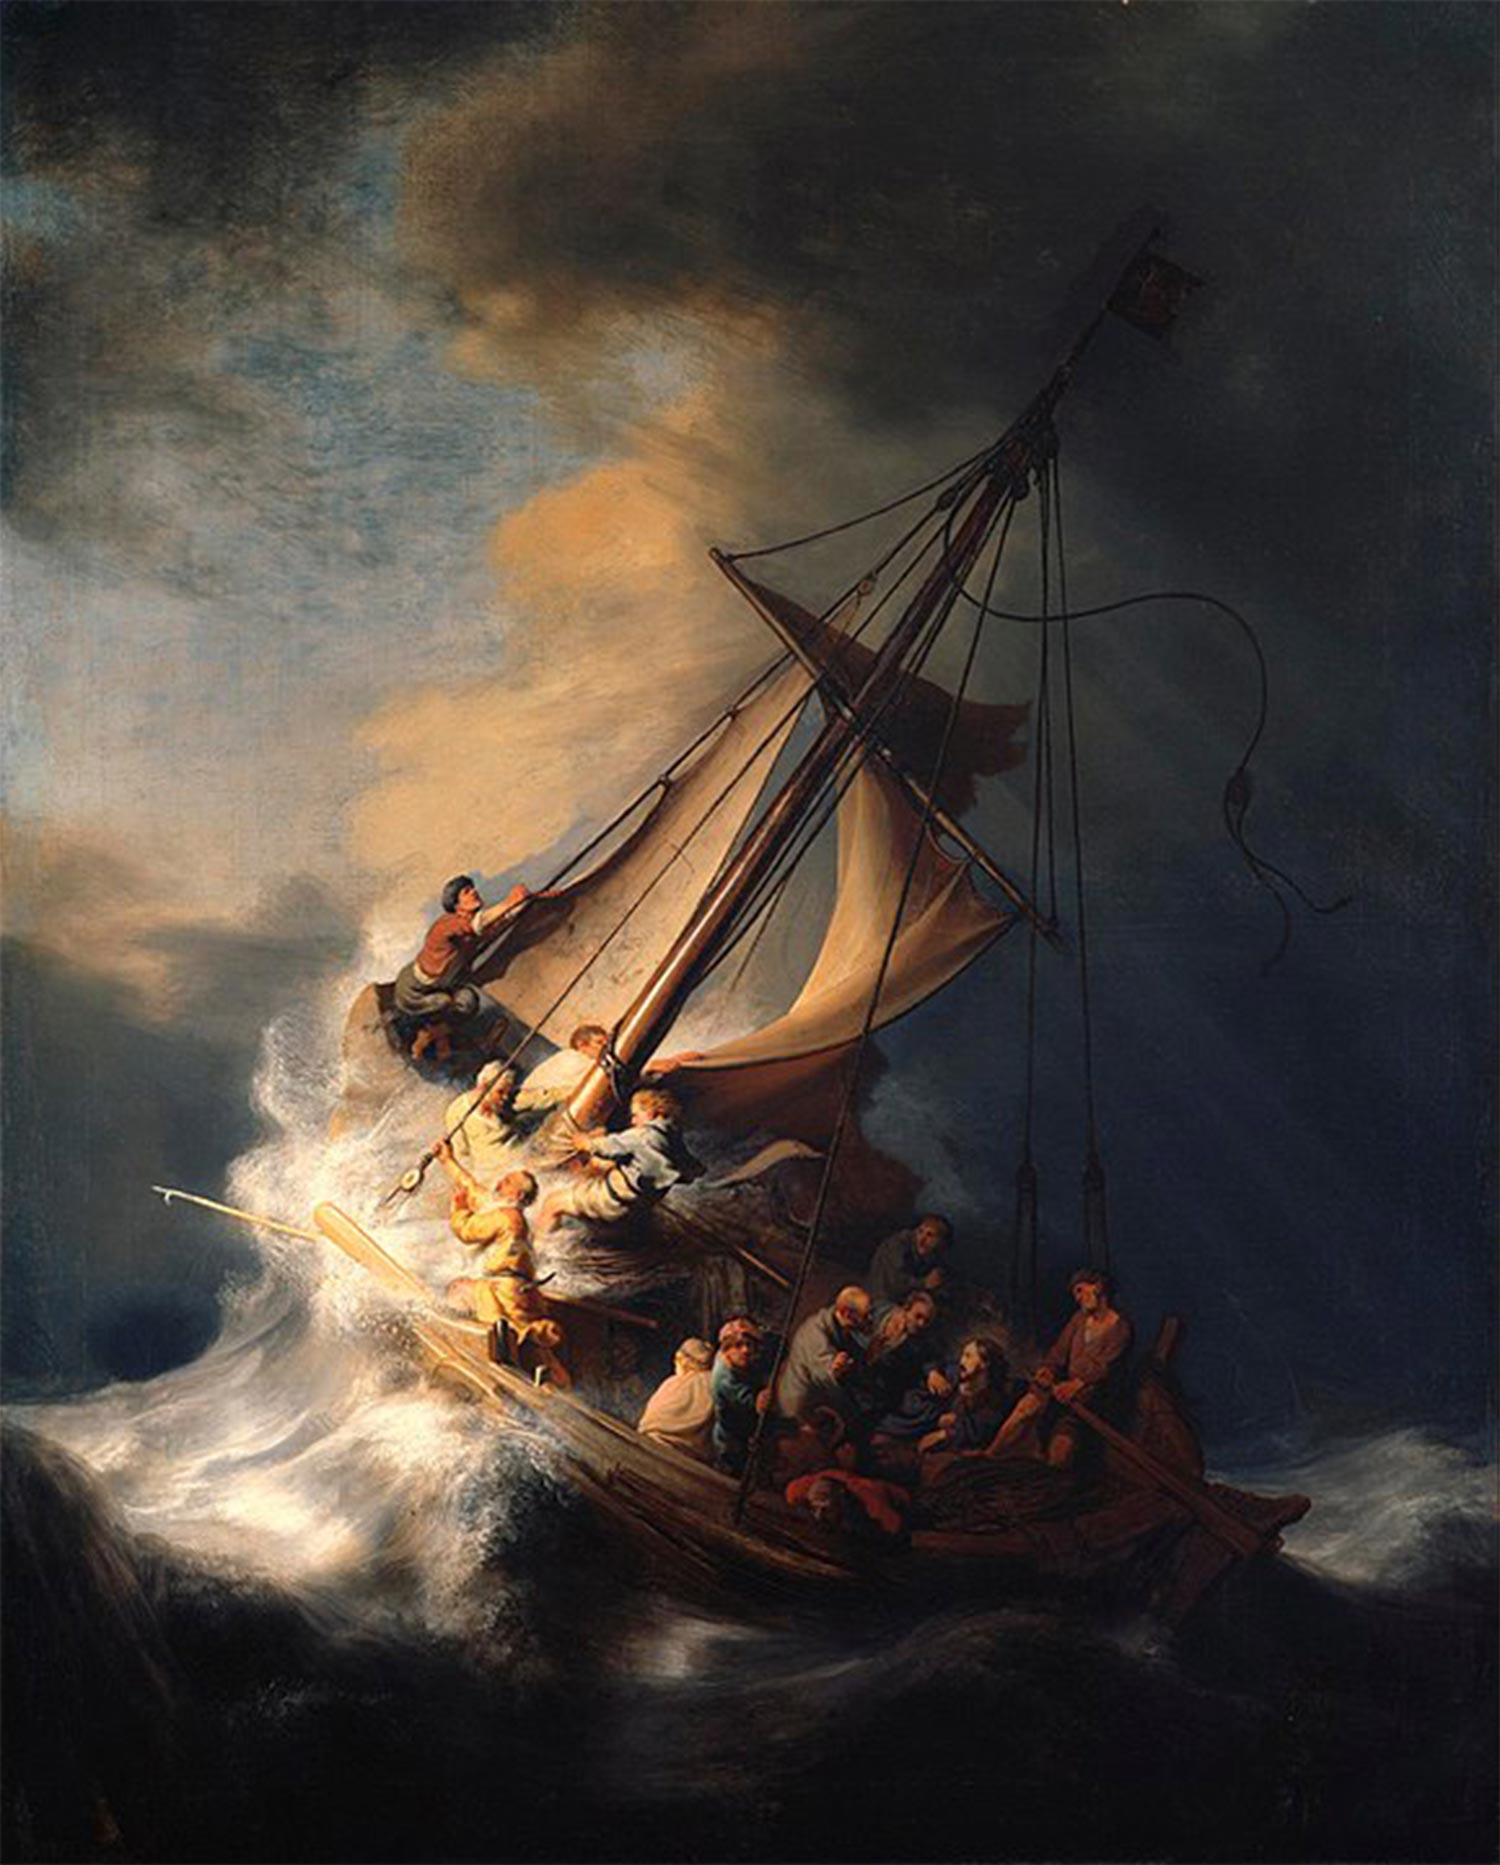
Rembrandt’s “Christ in the Storm on the Lake of Galilee”, oil on canvas, 1633.
A more pronounced version of this is called ‘tenebrism’ where the contrast between light and shadow are quite extreme. Unlike chiaroscuro where some areas of the painting are under shadow but with imperceptibly visible forms, with tenebrism some or more often rather a lot of areas of the painting are in black or in complete darkness. This gives the painting a very dramatic effect where the contrast between light and dark is extremely high. With the light source usually coming from one direction.

Caravaggio’s “David with the Head of Goliath”, oil on canvas, 1610.
Glazing
A glaze is a mixture that contains a lot of medium with a small amount of paint. It is meant to be applied in a thin and semi-transparent layer on top of an opaque and already dry layer. You can do as many glaze layers as you want providing that you allow each layer to dry before adding the next.
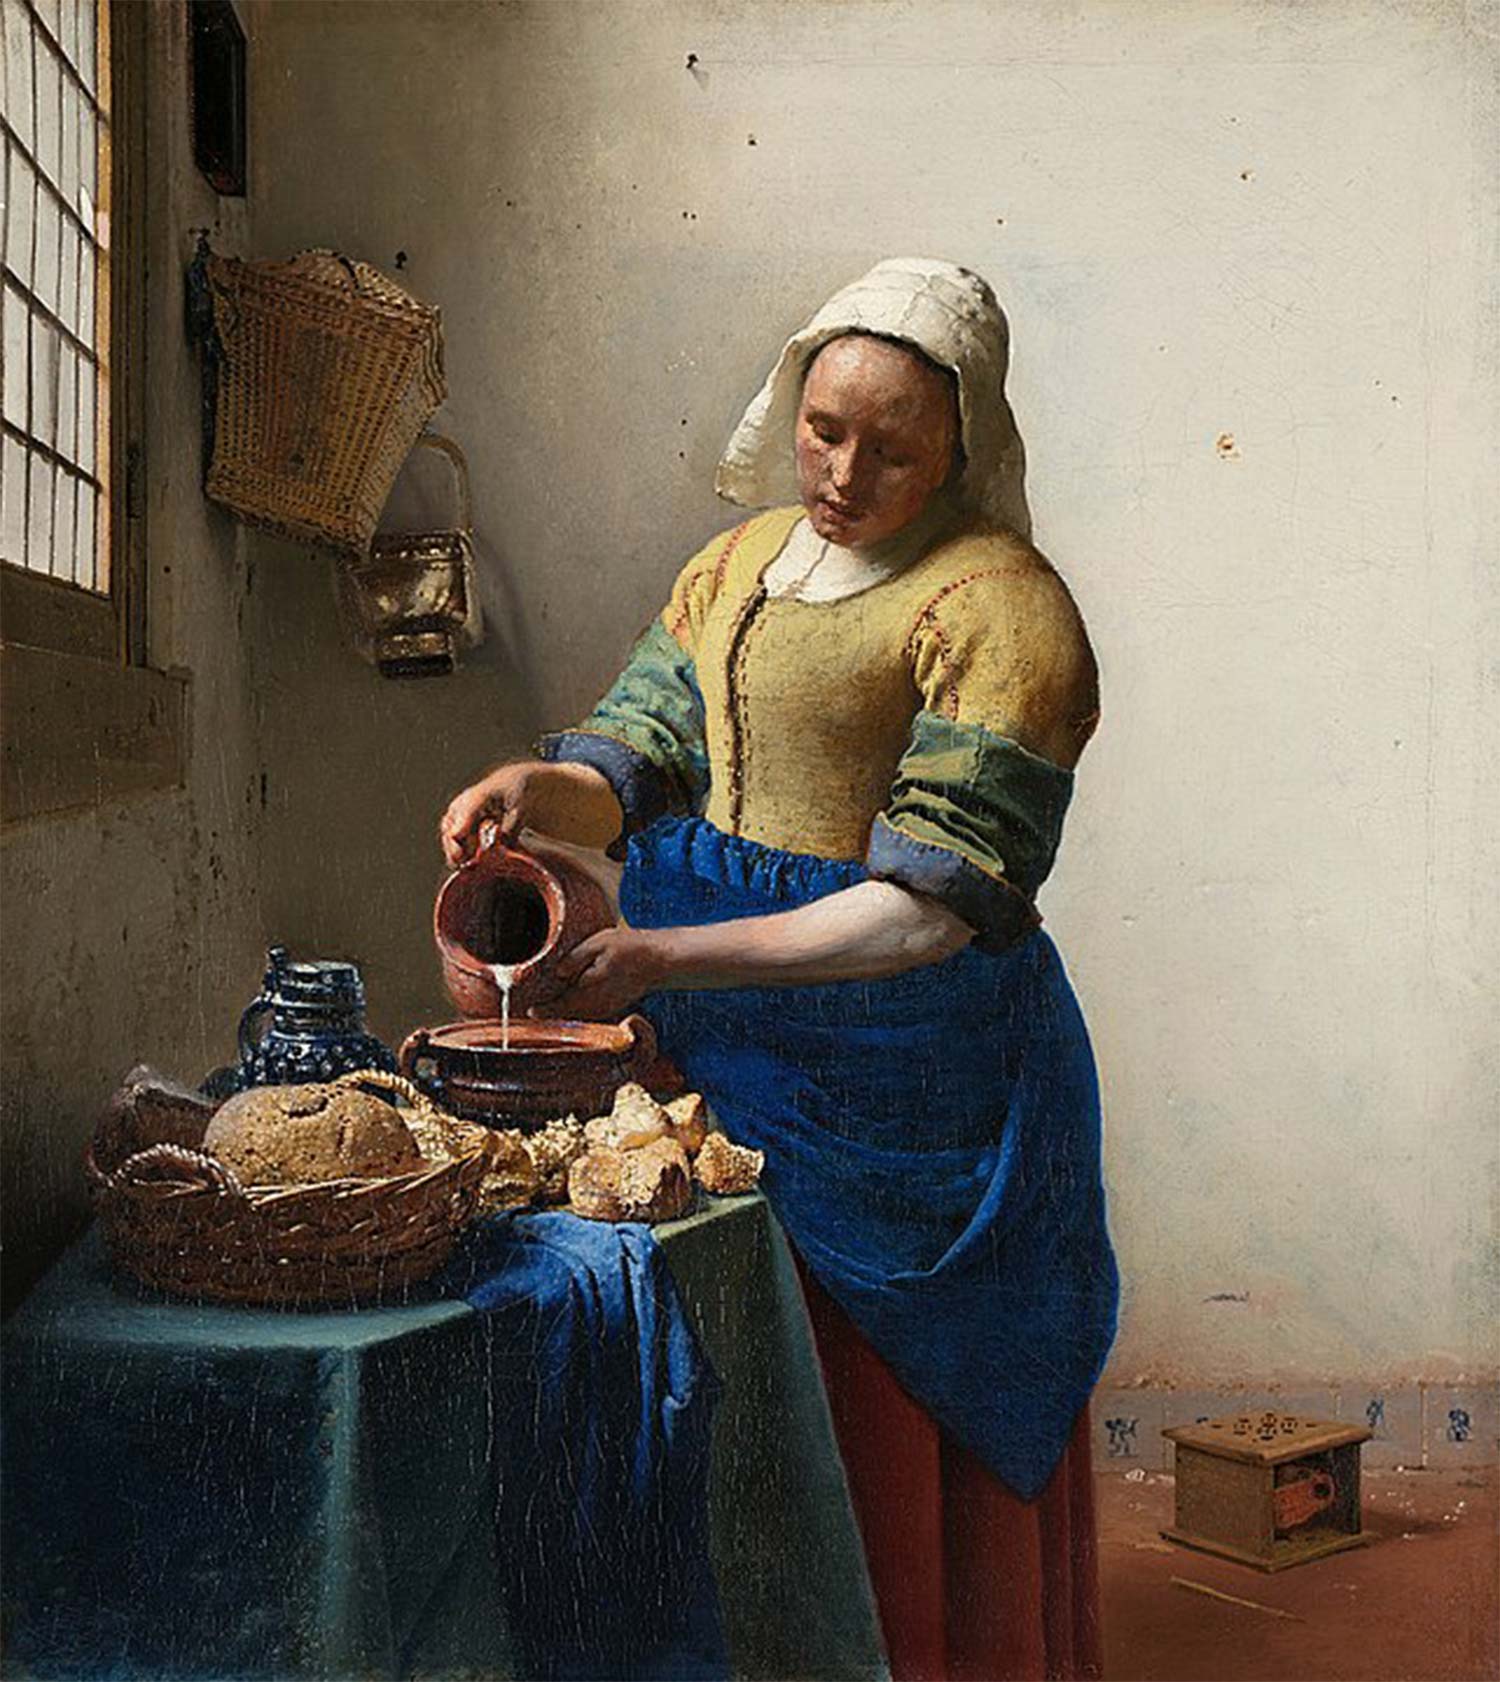
Vermeer is one of the most well-known masters of this technique. Above is one of his paintings using the glazing technique to achieve the richness of the blue (of the milkmaid’s apron).
Glazing can be used to change the value, hue, chroma, and even the texture of a surface. Because it is applied in thin and semi-transparent layers, the effect you can get is quite beautiful. The colors are not combined physically, but optically. Light is able to travel down to the opaque layer below, reflects back, and then refracts the layers of glazing above. Keep in mind that with each successive layer, you also need to use more medium to adhere to the ‘fat over lean’ principle.
You can use this oil painting technique for working on finer details, enhancing warm or cool areas, and – most importantly – creating deeper contrasts and shadows. I find this technique most useful when painting skintones. It’s very effective for achieving that luminous quality. It works best when using transparent pigments, then mixing with a glazing medium until it’s quite liquid, and soft brushes for a softer application.
Oiling Out
Have you ever finished a painting and suddenly find that some areas appear dull and matte while the rest are glossy? That phenomenon is called “sinking in”. The oil has sunken into the lower layers leaving the top looking dry and lusterless. As a beginner, you don’t need to worry about using this oil painting technique just yet. But it’s good to know that there’s a way to ‘rescue’ your painting from such an occurrence.
I use a fine and clean cloth, dip it into the oil medium, then dab the areas that need “oiling out” with the cloth. Do this only when the painting has fully dried. Otherwise, you will end up smearing the paint or mixing colors without meaning to.
Oil Paint Mixing Guide - Understanding The Process
Having a good understanding of the characteristics of oil paints will save you from a lot of headaches. Drop by our oil paint mixing guide to have a better understanding of the oil painting process.
Oil paint is slow drying and pigments differ in their drying times as well. Titanium white for example is known to be a slower drying medium plus some formulations use safflower oil instead of linseed. Because safflower oil is not as yellowing, but the caveat is that it dries much slower than linseed oil. Getting to know your pigments better will help you plan out your layering and can help you decide if you need to mix in mediums that help hasten the drying time. Especially when you have deadlines.

Mediums can help you have more control over the drying process. But keep in mind that they will also affect the characteristics of your oil paints. They can change the viscosity, surface finish, and transparency too besides the drying time. So the best way is just to get acquainted with them first and experiment with the effects before using them on your main works. You can read up more about it on our guide to oil painting mediums.

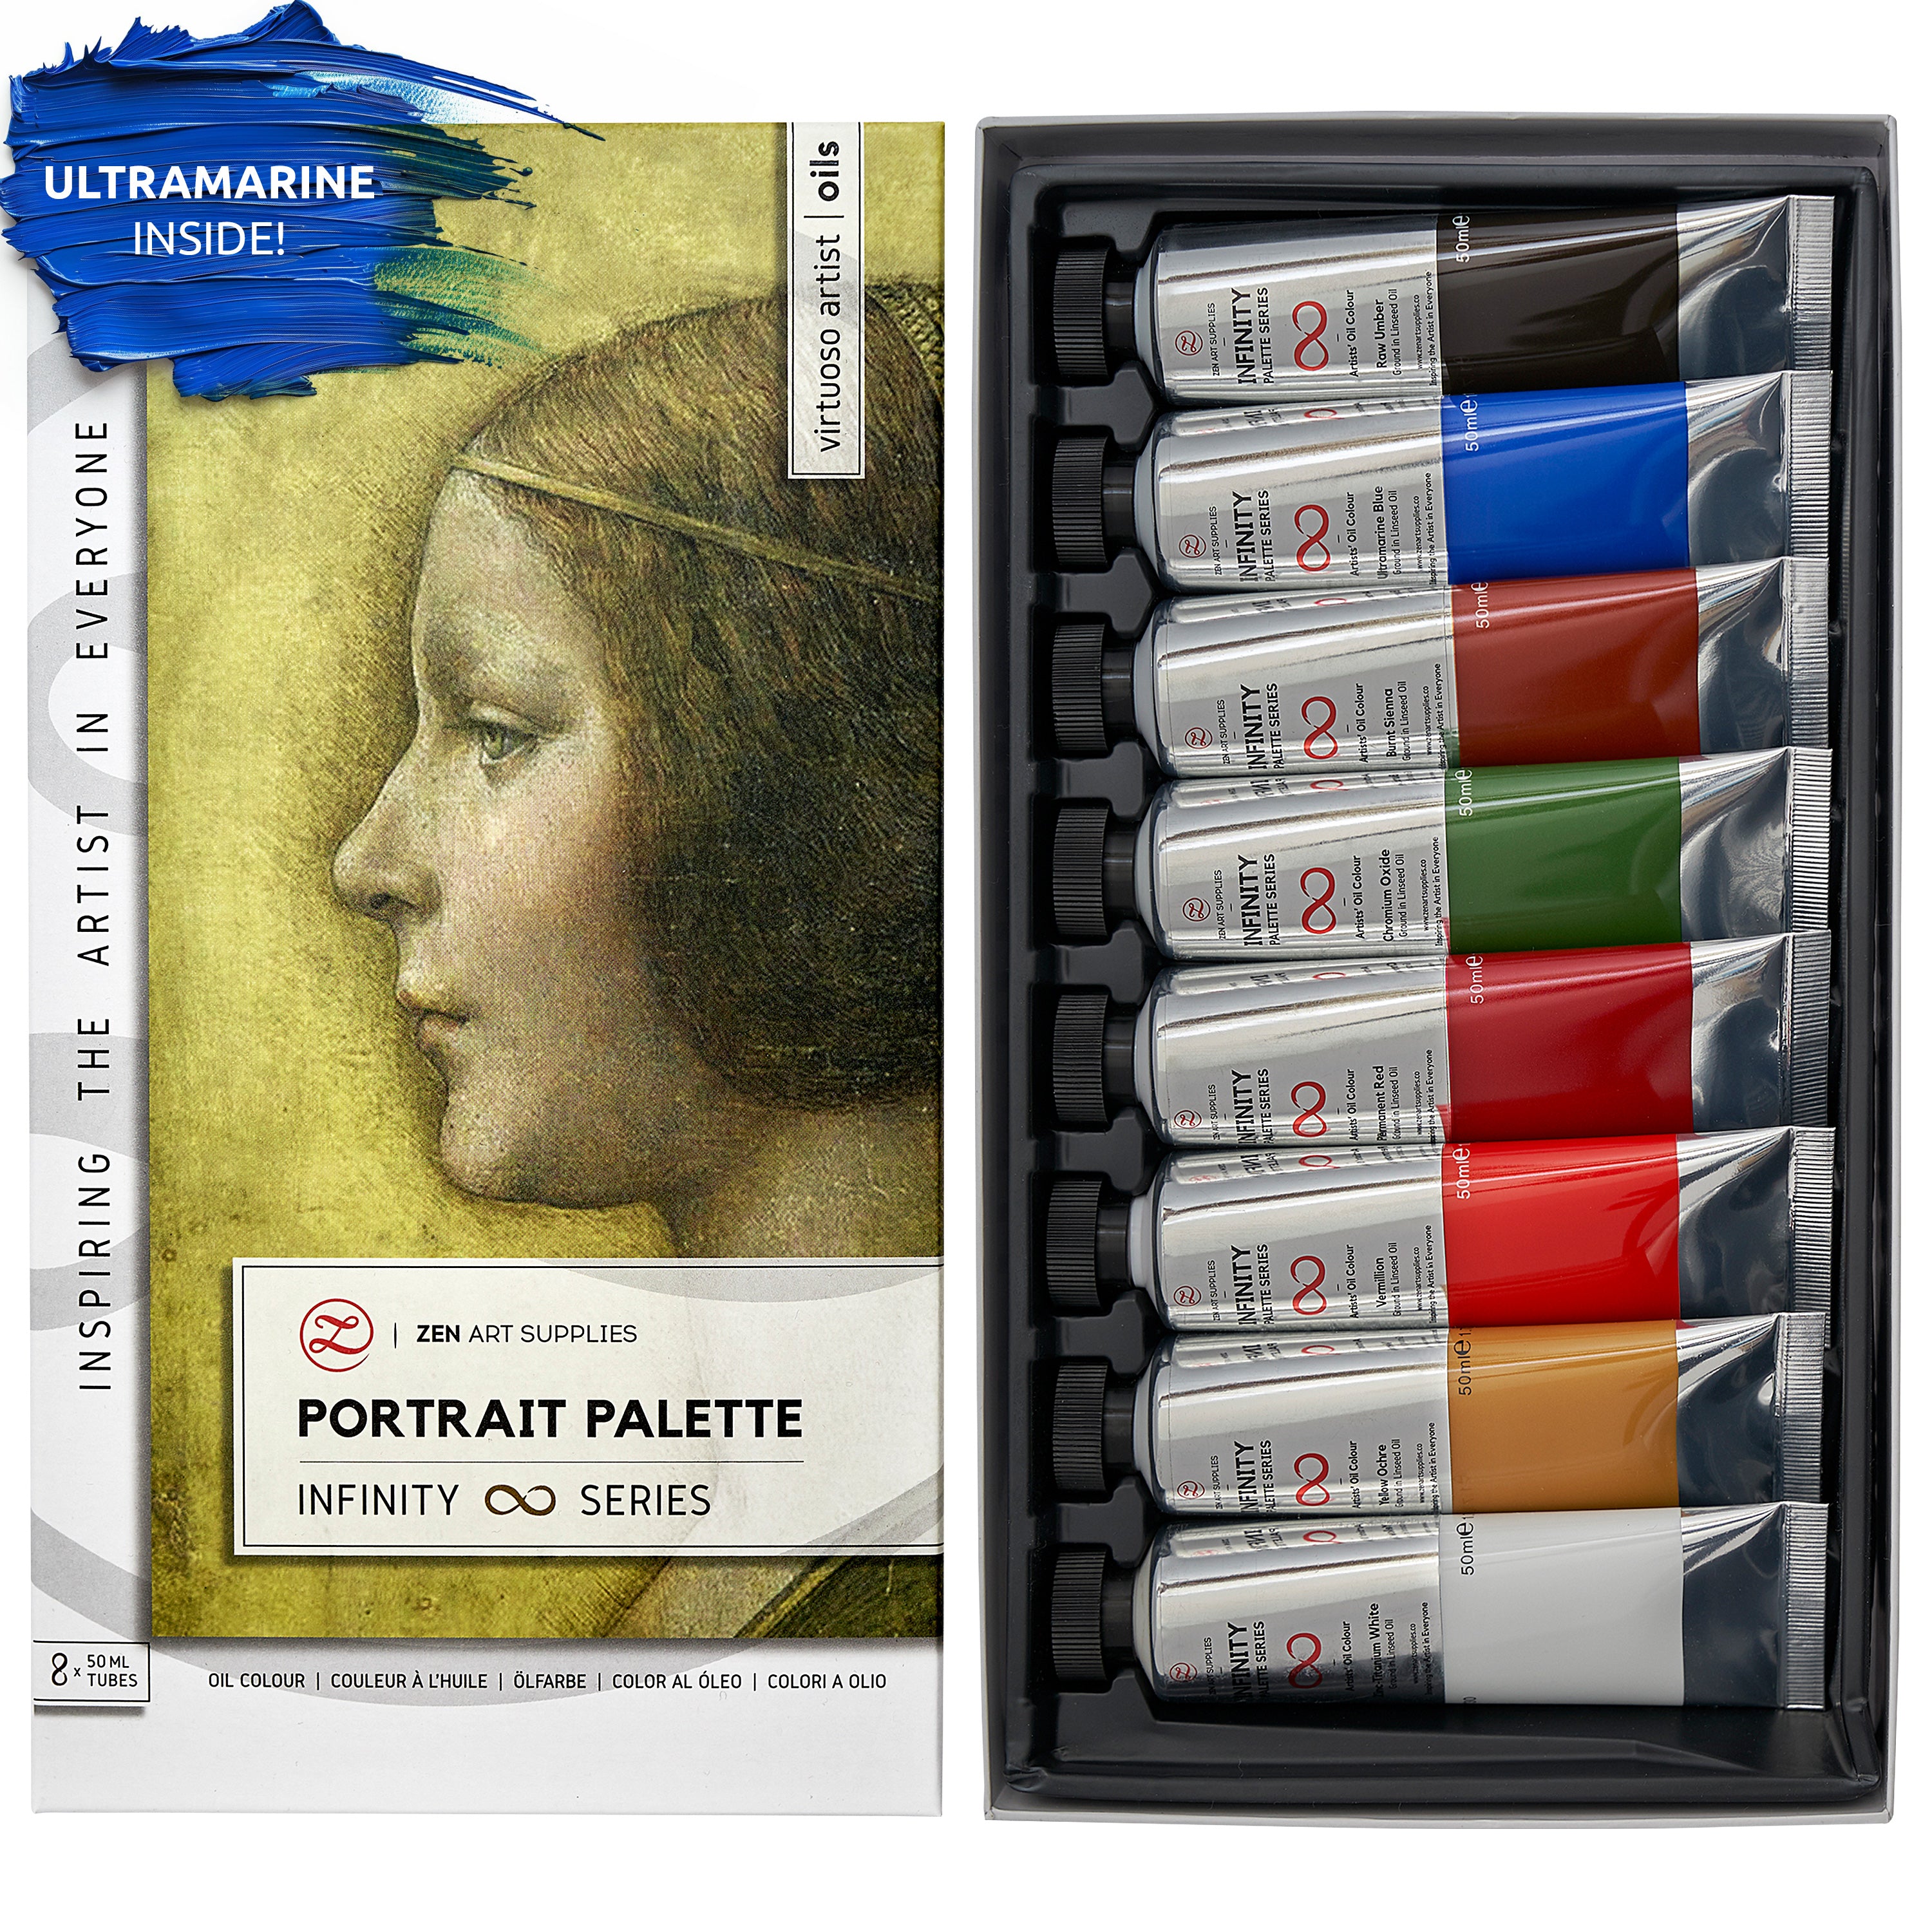
Don’t scrimp on your paint and get the best quality paints that you can afford. If you overly economize using your paints, you won’t be able to fully appreciate the beauty of oil paints. It will greatly limit the things that you can do. There are good-quality paints for beginners that won’t break the bank like our Infinity Series Oil Paints: Essential, Impressionist, and Portrait Palettes. They are highly pigmented and have a nice buttery consistency, plus non-toxic! Here’s a handy guide on how to choose oil paints.
I hope this has inspired you to try out the various techniques featured above. You never know which oil painting techniques suit your style and preference until you truly explore and experiment with them. Reading about them and actually using them are worlds apart. Just enjoy the process and don’t overthink things.
We’d love to hear from you!
Which techniques have you already used before? How about the ones that you find interesting and are excited to try out? And which one do you think will be the most challenging for you? Let me know your thoughts in the comments below! Join our friendly art community Painting Inspiration Daily on Facebook. You can share your art and ideas, watch LIVE tutorials, and be inspired to paint!
Meanwhile, have a fantastic time exploring the different oil painting techniques!
- MEET THE AUTHOR -

Kathleen is the Wordsmith at ZenART, resident artist and art editor. When God sent a shower of talents, Kathleen made sure she got a basketful of them! She's a visual artist with practical knowledge on various fields from painting and sculpture, to costume and set design which comes in very handy when writing about various art techniques and theories. She also shares her passion for the arts through teaching. She runs her own brand of handmade wirework jewelry designs.


