How do you blend acrylic paint smoothly? | 3 Acrylic Blending Techniques | Best Brushes For Blending Acrylic Paint
Acrylic is a wonderful modern medium that everyone should explore. It’s so versatile that it can be used in so many different ways and on various supports. From a more traditional painting style to acrylic pouring, the possibilities just seem endless. Let’s first tackle one of the basic techniques - blending.
Blending Acrylic Paint
Learning how to blend acrylic paint is an important skill to master especially if you want to achieve a more realistic painting style. To be able to seamlessly transition from one color to another and successfully paint the subtle transitions between different tones and values. Knowing how to achieve soft and blurred edges is essential when trying to create depth and perspective in your paintings. If you’re just starting out with this medium, consider reading up first on our beginner’s guide on how to use acrylic paint to get a general overview.

The fact that acrylic paint is a fast-drying medium makes it even more challenging to take your time with blending. But do not despair, there are ways of slowing down the drying time. Nowadays, there are even paints specially designed to be slow drying called Open Acrylics. Let’s dive into the basics of blending with acrylic paint.
But first, a list of the materials I used:
Acrylic paints - I used the following colors: Cadmium Red Medium Hue, Cadmium Yellow Medium Hue, Hooker's Green, and Cobalt Blue.
Acrylic paint brushes - I used brushes from the Verbena brush set of ZenART Supplies.
Canvas pad and masking tape - just a sheet from the pad and divided into three equal parts using the masking tape.
Palette knife - I used one that came from my Renoir brush set.
Jar of water - for rinsing the brushes in and diluting the paints.
Retarder - to extend the drying time of the paints.
Wetting agent - to allow for an even smoother blending.
A small spritz bottle filled with water - can be used to pre-wet a surface or to spray on the paints to keep them from drying too soon.
A rag - for wiping off the excess paint on.
What you can mix with your acrylic paint to aid your blending techniques
In the video above, I used three different ‘add-ons’ to help with all the blending that I did. Let’s discuss them further below starting with the first add on, using water with your paint.
Can you use water to blend acrylic paint? Yes!
The answer is, yes! In fact, this is the very first technique I learned for blending acrylic paint. Firstly, I wasn’t sure yet then if I would like painting with acrylic. So I didn’t want to spend on the expensive mediums and retarders just yet.

Adding water to your acrylic paint will make it easier to blend it and quite necessary if you’re using heavy-bodied paints. Dipping my brush every now and then in my jar of water is enough for the most part. If I need more, I use a mini-spritzer filled with water and spray it directly on the paints in my palette - do this sparingly. Be careful not to dilute it with too much water unless you’re looking to use it in a similar way to watercolors. Too much water will break down the binding of the acrylic resin with the pigment and cause your colors to become chalky and easily flake off once dry.
Adding a lot of water to your acrylic paint is fine if you’re looking to use it similar to watercolor and on an absorbent support like paper. So even if it’s very much watered down, the paint will stay on as the paper will absorb it.
Find out the key differences between acrylic and watercolor and know which one to choose for your next project.
What else can you mix with acrylic paint to help with smooth blending?
Besides water, there are other mediums or additives that you can mix for blending acrylic paint better and with much more ease.
Adding a Retarder to your acrylic paint
Retarding mediums when mixed with your paint, extends the drying time and makes it workable for a longer period. Allowing a better blending experience and more time to work with when doing wet-in-wet techniques. When using a retarder, use it on its own. It’s best not to use it with water as this can cause unwanted effects. Check the instructions on the bottle or container when using one for guidance on the proper ratio between retarder and paint. On mine for example it says:
“Thoroughly mix small quantity of Retarder into acrylic paint. Do not use alone or as a painting medium. For thicker applications, do not add more than 1 part Retarder to 8 parts paint. For thin applications, do not add more than 1 part retarder to 1 part paint.”

How thin or thick will of course depend on your own personal preferences or what your painting needs. Blending paint colors can be quite subjective. Though it won’t be as slow-drying as oil paints, the extra time you get from the retarder is still a very welcome gift.
Check out this article on acrylic vs oil paint and learn more about the main differences between the two.
Adding a Wetting Agent to your acrylic paint
A Wetting agent is an additive that when mixed with the acrylic paint, “lowers the surface tension of the water in the acrylic emulsion”. By ‘wetting out’ the pigments, it increases the flow of the paint and further enhances the finish or coating. This medium is very useful when you need to do staining work. I often use this for thin glazing or layering when painting. You can use this to further refine your blending by layering on top of previously blended layers if you feel like it/they need that extra love. Unlike retarders, this one can and should be used with water. Dilute it in water, and again check the container for the correct amount of wetting agent to water ratio.

How do you blend acrylic paint smoothly?
In the video above, I covered the three different ways that I use to create a smooth blending. And with the help of these three - water, retarder, and wetting agent - you'll be able to explore various ways of blending. All the examples I did will help you learn how to paint gradients, too.
3 Acrylic Blending Techniques
Water and blending the colors on the surface itself
By first lightly wetting the surface I’ll be painting on, I allow the paints to glide more smoothly for an easier blending. Using a small spritz bottle filled with water, I lightly spritz the first box on my canvas pad sheet. For this first blending technique, I used the colors Cobalt Blue and Hooker’s Green. I immediately start painting from the top with the blue paint using a 1½” Flat brush from the Verbena acrylic brush set.

Before I reach the halfway point, I stop and switch to green, leaving a gap between the two colors.

Then I apply the green moving upwards, and side to side, making sure that I paint it as evenly spread as I can. I then slowly blend it upwards towards the blue continuing with my side to side, and now adding an up and down movement to fully blend the two colors together smoothly.
And finally, I switch back to blue for the bottom of the box. Using the same technique as above, I paint the blue evenly and start blending it upwards with the green. The finished blending gradient starts with blue, then turns green, and goes back to blue.
Retarder and pre-mixing the blend of the two colors on the palette
For the next box (center box), I used the colors Cadmium Red Medium Hue and Cobalt Blue. I start by adding some retarder to each color and mixing them thoroughly. Then, I take a bit of blue and red and pre-mix a purple blend on my palette.

This time around I use the 1” Slant brush - a fantastic brush for blending - from the same brush set, Verbena, to do my blending. I start by just quickly dipping my brush in the water to wet it. Then I get some red paint and start painting at the top and applying it evenly while moving towards the center.

Then I switch colors and pick up some of the purple color that I have previously pre-mixed. I apply it at the center and blend it upwards towards the red and mix the two colors together as smoothly as I can. Still using the same technique of side to side, up and down. Add more of whichever color that you think you need to even out the blending finish. Do this in small increments so you don’t have to keep fixing and tweaking your color blending.

Then before the purple starts to dry out, I add the blue at the bottom and blend it upwards towards the purple. Again using the same blending technique. You can relax a little bit with this acrylic blending technique for this box. The retarder in your paints gives you twice the amount of time more than usual before your acrylic paints start to dry.
Wetting Agent and dipping your wide flat brush in two colors
And finally for the last box, I used the colors Cadmium Red Medium Hue and Cadmium Yellow Medium Hue. I first make sure that the 1½” Flat brush has been thoroughly rinsed off from the previous colors. I load up ½ of the brush with red paint, and the other half with yellow.

Then I proceed to apply it starting from the middle of the box and then blending it upwards and downwards. If you find that the red is too strong, add more of the yellow and blend it in. I drizzle a little bit of the wetting agent on my palette. Then, I lightly dip my brush in it and mix it in with the paint. Use the wetting agent sparingly, you can prepare a mix of wetting agent + water in a separate jar just for this use.

This blending technique starts from the middle, unlike the two previous ones that start from the upper edge. Blending with acrylics is a race against time when using regular acrylic paint. So work quickly before the paint starts to dry as this will leave paint streaks that will be harder to blend or cover once dry. I add red on the upper part and blend it to the top. Then yellow for the bottom part and blend it towards the middle. I keep adding more yellow until I achieve the gradation that I was aiming for.
For the last step, I use the Mop brush to further soften the blending from top to bottom. I first lightly dip it in the wetting agent and just brush it over the whole gradient. The finished result is a much, much smoother blending.

And those are the three different blending techniques that I most often use.

What brush is best for blending acrylic paint?
Besides the paint and the additives, mediums, or retarders, using the correct brushes will also help make your blending process go much smoother. Now, this will depend greatly on the size of the surface area that you need to cover with your blending applications. In my experience, I find that flat, filbert, and mop brushes are good for blending.

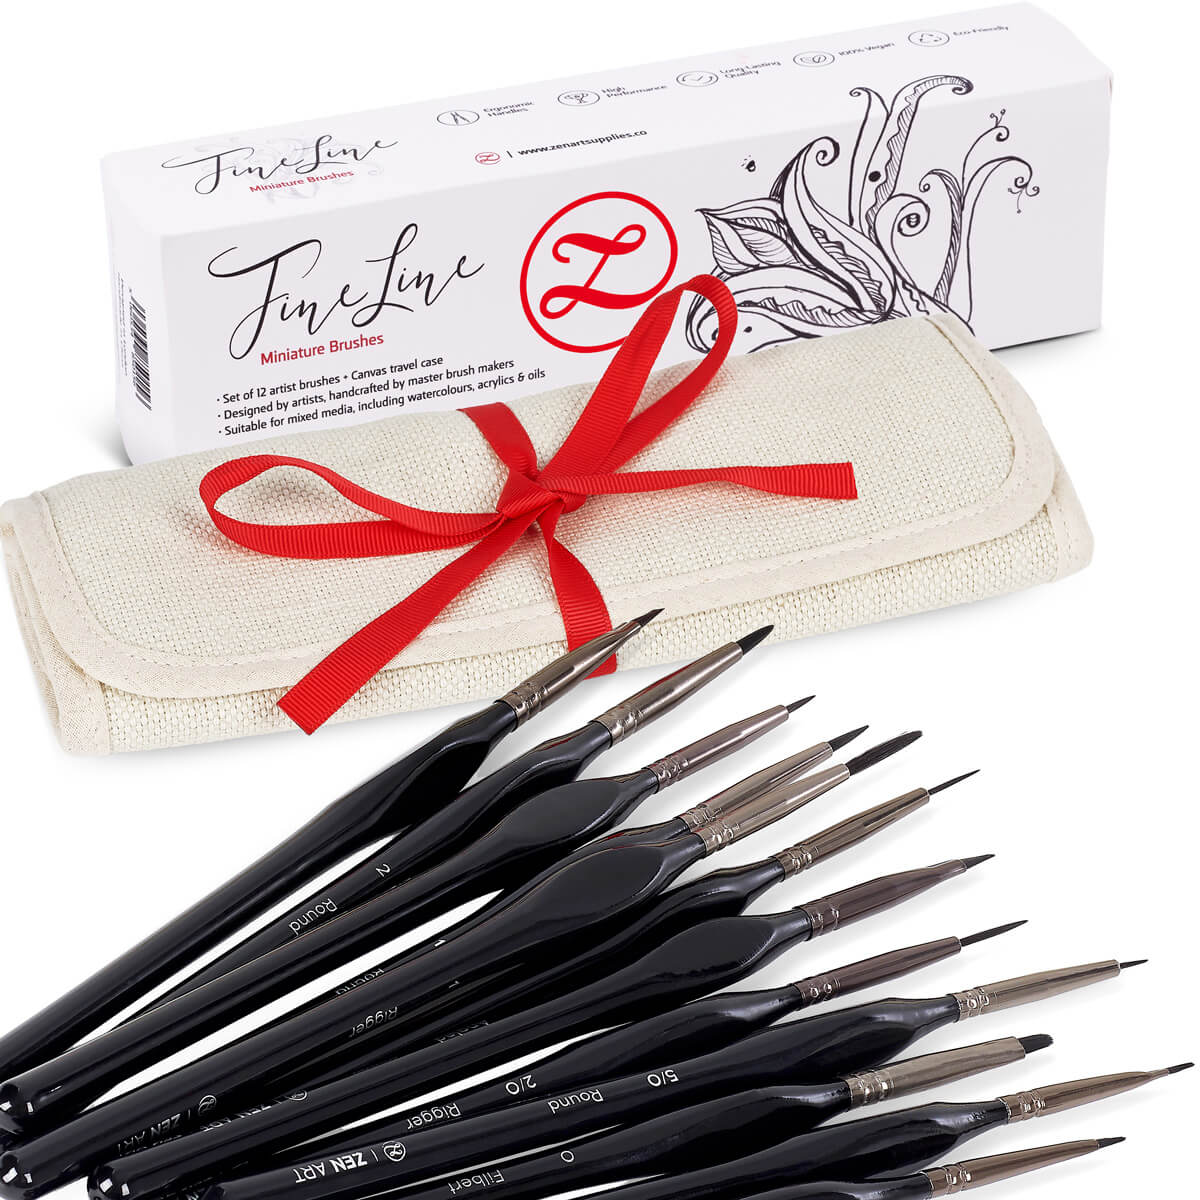
I also recommend using soft bristled brushes when blending. Synthetic brushes are great because not only are they softer than natural haired ones, but will also be more durable when used with acrylic (and the chemicals it contains). Check out our Verbena set below, a 16-pc brush set made up of 13 synthetic brushes, 2 color shapers, and a palette knife. Designed to be easily carried around with you in a beautiful woven grass roll-up case.

But if you’re looking for a more textured kind of blending, then I suggest trying out our badger and synthetic mix brushes. Badger hair is a lot softer than hog but hardier than synthetic. Brushes from our Artist’s Choice are all Filbert brushes of various sizes that are a Badger and synthetic mix. While brushes from the Renoir brush set are a mix of Hog and Badger and synthetic mix.


I hope you’ll try these techniques and even discover your very own versions. With acrylic paint it’s just a matter of learning how to work quickly and knowing more about the tools that can help you out. Thankfully, technology has given us ways to extend the drying time and even paints that take longer to dry. Don’t be afraid to explore and make mistakes, it really is the best way to learn!
We’d love to hear back from you!
What’s the most challenging aspect of acrylic painting for you? Which acrylic blending technique do you most often use? If there’s anything we haven’t covered yet that you’d like to know more about, don't be shy and let us know in the comments below! Join our friendly art community Painting Inspiration Daily on Facebook. You can share your art and ideas, watch LIVE tutorials, and be inspired to paint!
Ever wondered what is watercolor paper exactly and how is it used? Watch out for our next Toolkit and find out! Until then, have a blast learning how to blend acrylic paint!
- MEET THE AUTHOR -

Kathleen is the Wordsmith at ZenART, resident artist and art editor. When God sent a shower of talents, Kathleen made sure she got a basketful of them! She's a visual artist with practical knowledge on various fields from painting and sculpture, to costume and set design which comes in very handy when writing about various art techniques and theories. She also shares her passion for the arts through teaching. She runs her own brand of handmade wirework jewelry designs.


