Christmas is approaching and I am sure that you all search for creative ideas to create the best watercolor Christmas cards or paintings to gift your loved ones. Well, I have the best idea that you can do no matter your skill level. Let me show you how to draw a snowman! You will be able to execute this drawing effortlessly and even paint it, too. It's classic, simple, and sure to bring Christmas joy.
The materials you are going to need:
Watercolor paper - If you're unsure of the dimensions I am using an 8x8" cold-pressed watercolor paper block from Zenart Supplies
Pencil 3H
Ruler
Jar of water
Watercolor - Sereno Palette & Vista Palette from Zenart Supplies
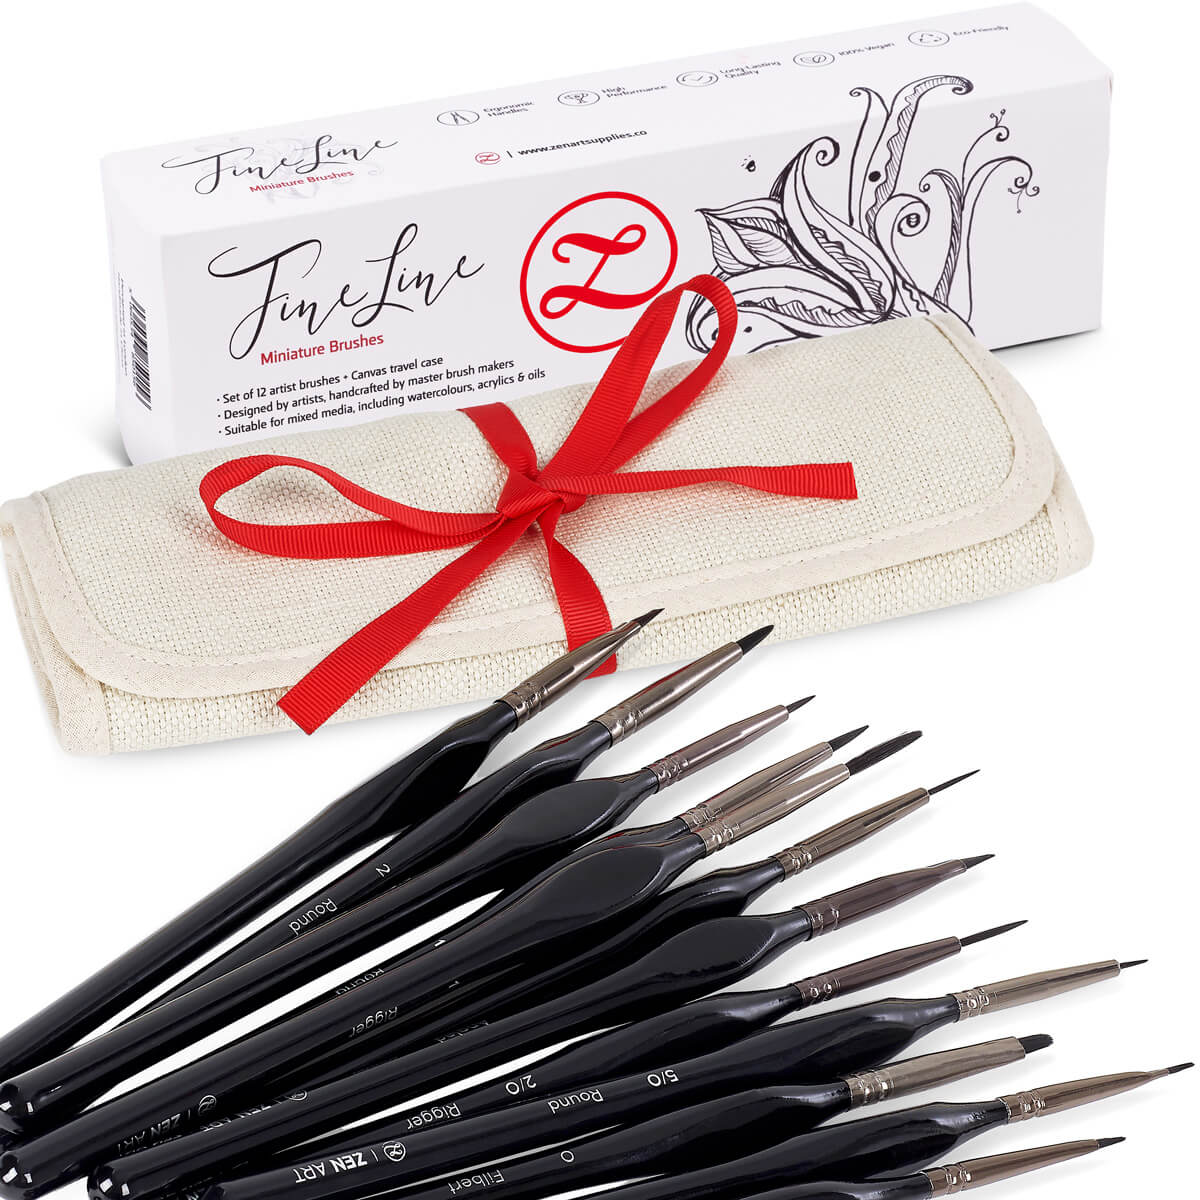
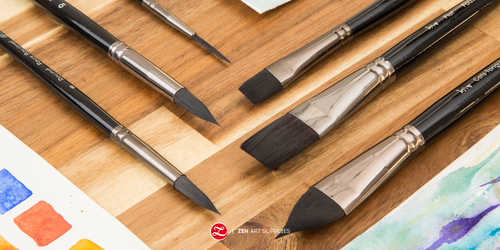
Watercolor Brushes - Black Tulip Set and Fine Line Miniature Set
Jelly Gouache

How To Draw A Snowman Step-by-Step
This is super easy, in just a few steps you'll have drawn and also painted your snowman!
Step 1 - Planning Out The Placement On Your Paper
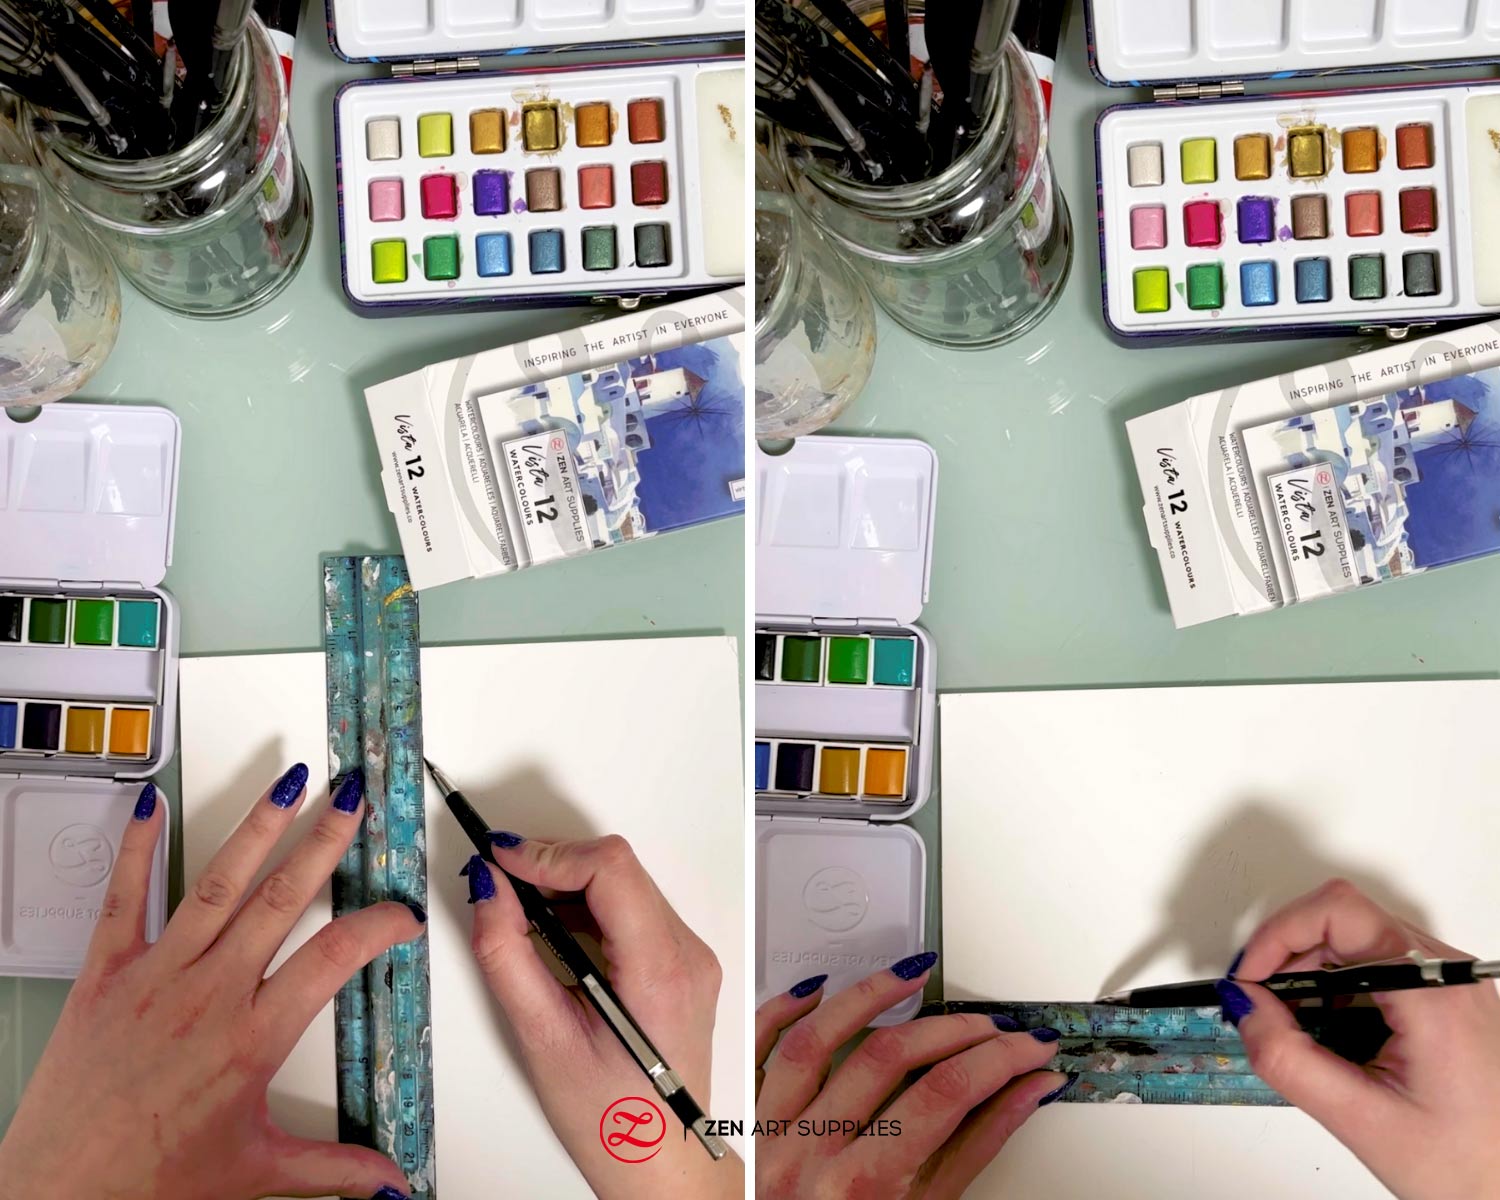
To keep things symmetrical, use your ruler to draw a cross-section of your paper. I suggest using watercolor paper because we will add some color later using watercolor and gouache. And for this, we need a paper that absorbs well and won't easily curl or buckle. Also, use a hard pencil (the ones marked with H) since we will be erasing the guide lines of the cross-section later.
Step 2 - Starting Your Snowman Drawing

Draw a circle at the top of the cross, it will help guide you so your circle will look even on both sides. Then, draw another circle - a bigger one - below your first circle, that will be the snowman's body. They should be overlapping each other, with the smaller circle (head) on top of the bigger circle (the body).

Tip: I am using a water-soluble colored pencil in a cool shade of blue. When you add water after applying this blue pencil, it will turn into watercolor, so the lines will disappear and they will perfectly blend with the paints I will later use.
Step 3 - How To Draw A Snowman Hat and Face

Now that our snowman has a head and body, we will dress him up and give him some facial features, too. I added a hat on top of his head by drawing a soft triangular shape, on the natural-looking side like a floppy bonnet. Then I drew two small circles for the eyes, a small triangle shape for the nose, and a semicircle made up of small circles - that are buttons - for the smiling mouth.
Step 4 - How To Draw A Scarf On A Snowman
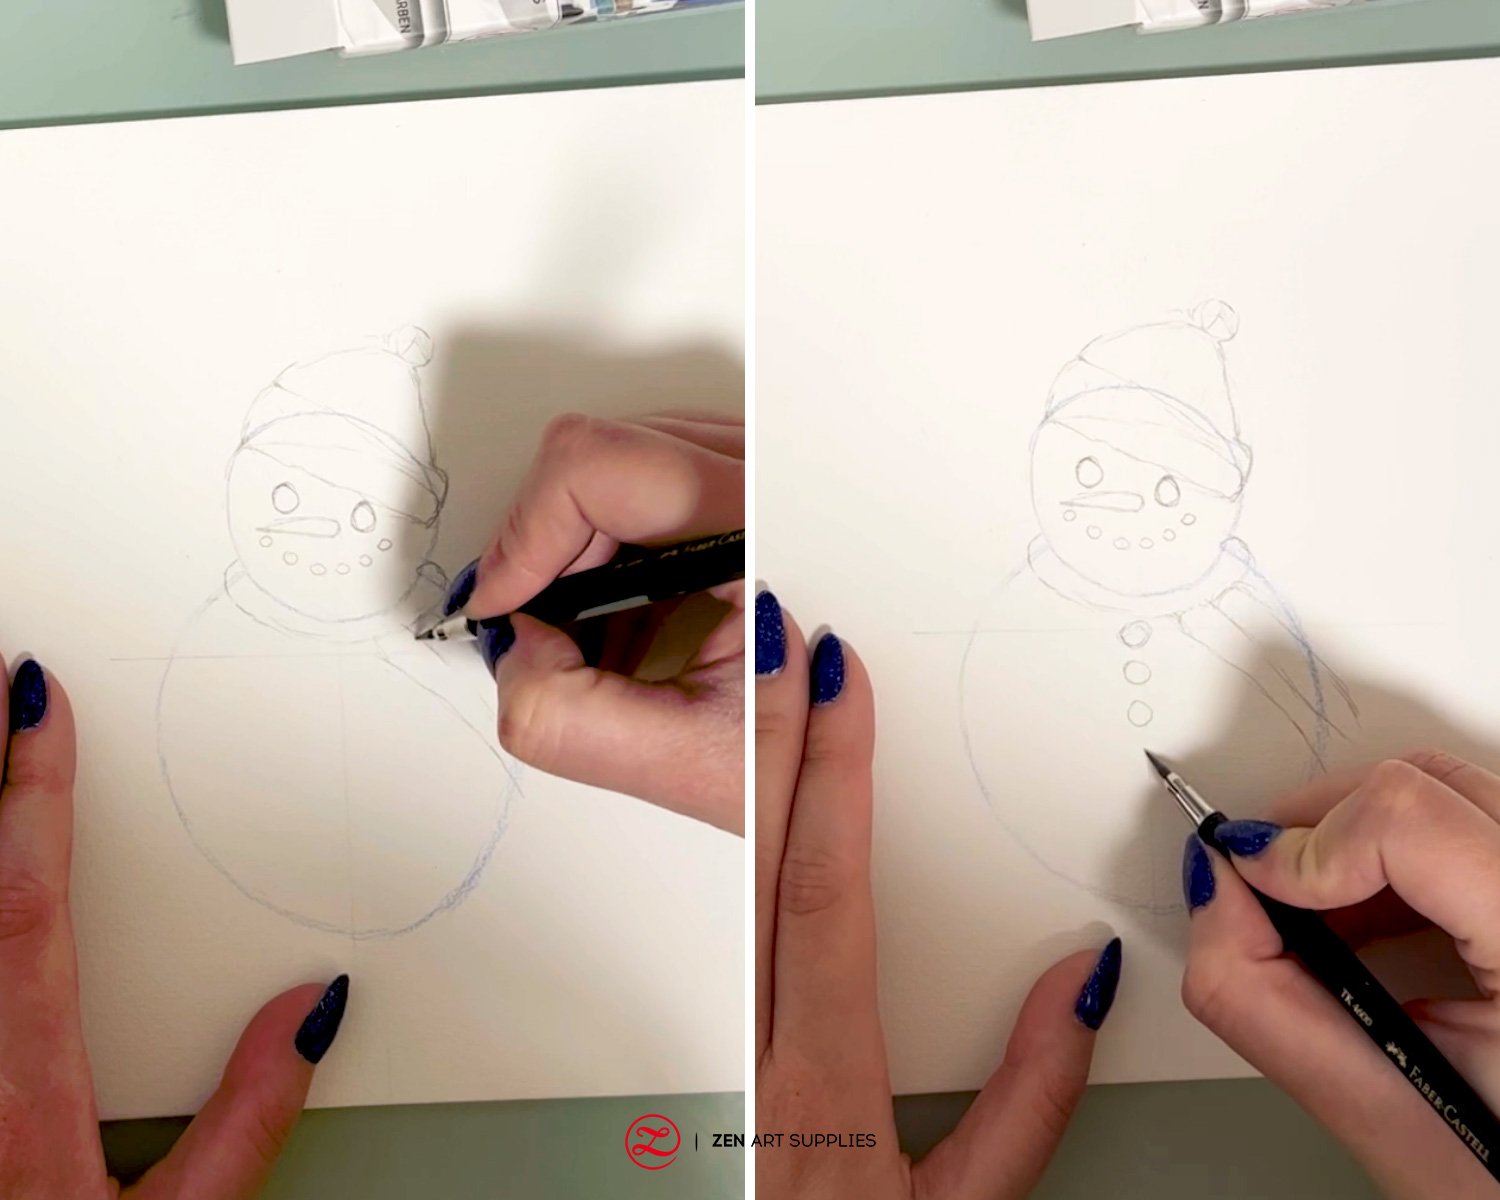
It is time to dress our snowman. Add some buttons to his body, draw them at the center of the cross-section we drew earlier, so be sure they follow a straight line with each button evenly distanced from each other. At this point, all that's missing from our snowman's attire is his scarf. Draw two semicircles only a small distance apart where the head and the body of the snowman meet. That's the scarf wrapped around the neck. And then add the dangling parts of the scarf, you can do them with even length or one longer than the other.
Step 5 - How To Paint A Snowman

Since we finished drawing our snowman it is time to bring him to life with colors. I took my watercolor palettes and I mixed some Cobalt Violet Hue with Cool Grey, Aqua Green, and Manganese Blue Hue with a lot of water for a transparent result. This is to give the impression that he is made of snow. I painted his body and head using my #10 Faux Squirrel Brush from the Black Tulip watercolor set from Zenart Supplies.

As we are waiting for the paint to dry, we can work on the accessories using a small brush - I used the #2/O Round Brush from the Fine Line Miniature set. I painted a knitted scarf with a striped pattern in red and green, using colors from the Sereno Palette.

Tip: When you are painting fine details in watercolor, don't use too much water so you will have better control.
Step 6 - Adding The Final Details

Once the layers of paint have dried, take some black gouache, watercolor, ink, or even acrylic paint to paint the buttons of the eyes, smile, and body. It's not necessary to paint them black, the buttons can also be gold, brown, or even green. But black is a classic color often popularly used. The nose will be painted orange to represent a carrot, if you don't have orange, mix some red and yellow. To add more detail to the buttons, use the Rigger Brush to add some white gouache. Paint four small white dots inside the buttons to indicate the small holes.

Finally, it is time for the hands, still using the Rigger Brush and some brown mixture, we paint lines at the sides of his body. They don't have to be perfectly straight, in fact, it would be preferable if they are a little wavy to appear more realistic as tree branches. When you are done, make sure to add thinner branches branching out from the main branch using smaller and thinner lines to indicate the fingers.
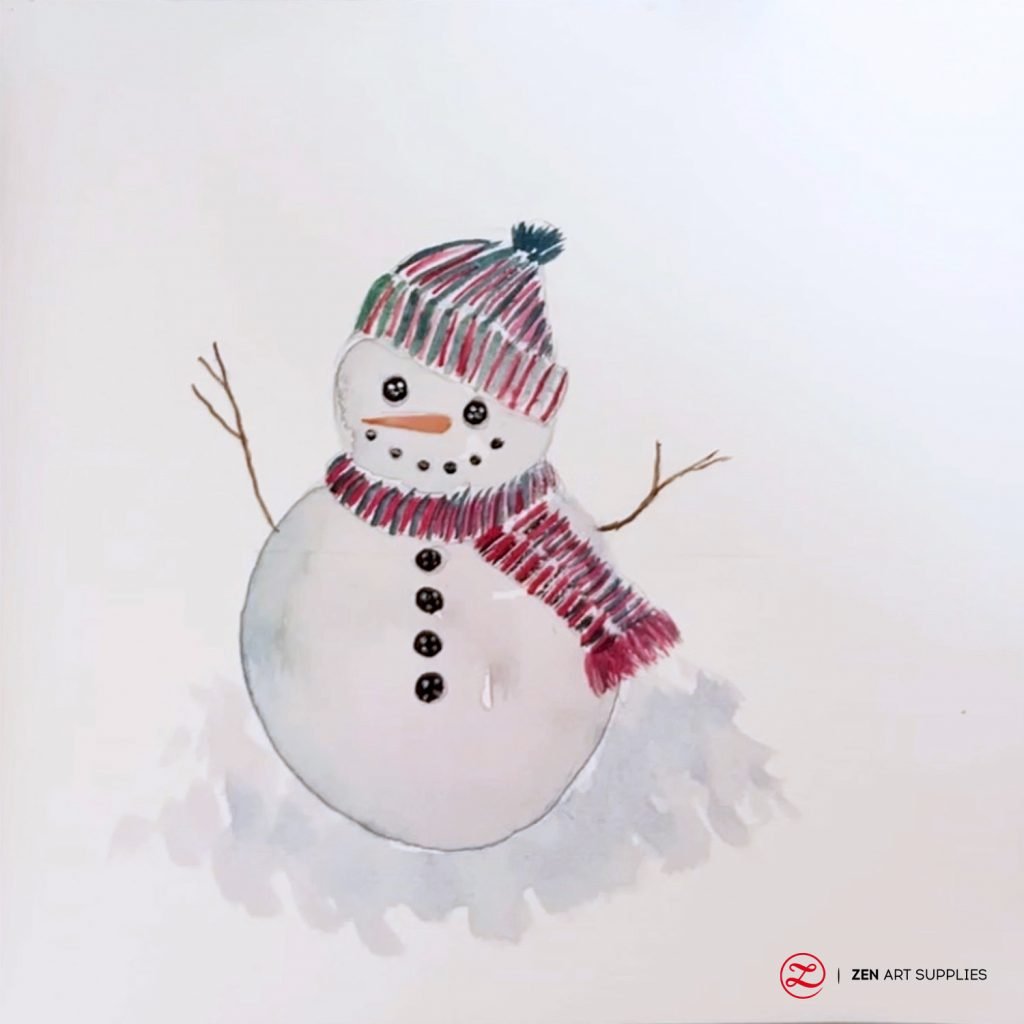
Lastly, add some light washes around your snowman to make it look like snowy ground with the same colors we mixed before to paint his body. Our happy snowman is done and is sure to impress and bring joy to the faces of your loved ones. Remember nothing is better or more appreciated than a gift you made yourself with love.
I hope you'll try out this how to draw a snowman tutorial, have fun dressing him up in different colors and styles. Some like their snowman to sport top hats and some use short sticks for the mouth, so many variations you can explore and play with!
We'd love to hear back from you!
What colors are you thinking of using for your snowman's hat and scarf? How about the pattern or style? What future content would you like to see from us? Let me know in the comments below! Join our friendly art community Painting Inspiration Daily on Facebook. You can share your art and ideas, watch LIVE tutorials, and be inspired to paint!
How about creating your own gift tags? Have a look at this How To Make Fun DIY Watercolor Christmas Tags to guide you. And learn How To Draw A Reindeer on our next blog post! Until then, have a wonderful time drawing and painting a snowman!
- MEET THE AUTHOR-

Theodora is the Dynamic Social Integrator at ZenART, resident artist and content creator. She is the one who's been admiring your work through our social media channels and the one who's been motivating you by giving you tips and inspiration. Being born and raised in Athens, Greece, her work as an artist often depicts charming bejeweled and modernized Greek mythological characters rendered on big canvases and inspired by Renaissance aesthetics. When she's not creating content, she fills her days with endless hours of painting.


