List of Materials | Oil Paint Colors Used | Easy Techniques & Useful Tips
Most people love to paint landscapes as they find it very therapeutic and relaxing. And of course, when you are painting nature, trees are almost always part of the picture. This article will be a beginner’s introduction to how to paint trees in oil, specifically pine trees. In just a few easy steps, you’ll learn how to paint one using a limited color palette and a few oil painting supplies.

Here’s a list of the materials I used for this how to paint pine trees in oils guide:
Plus some extra tips along the way!
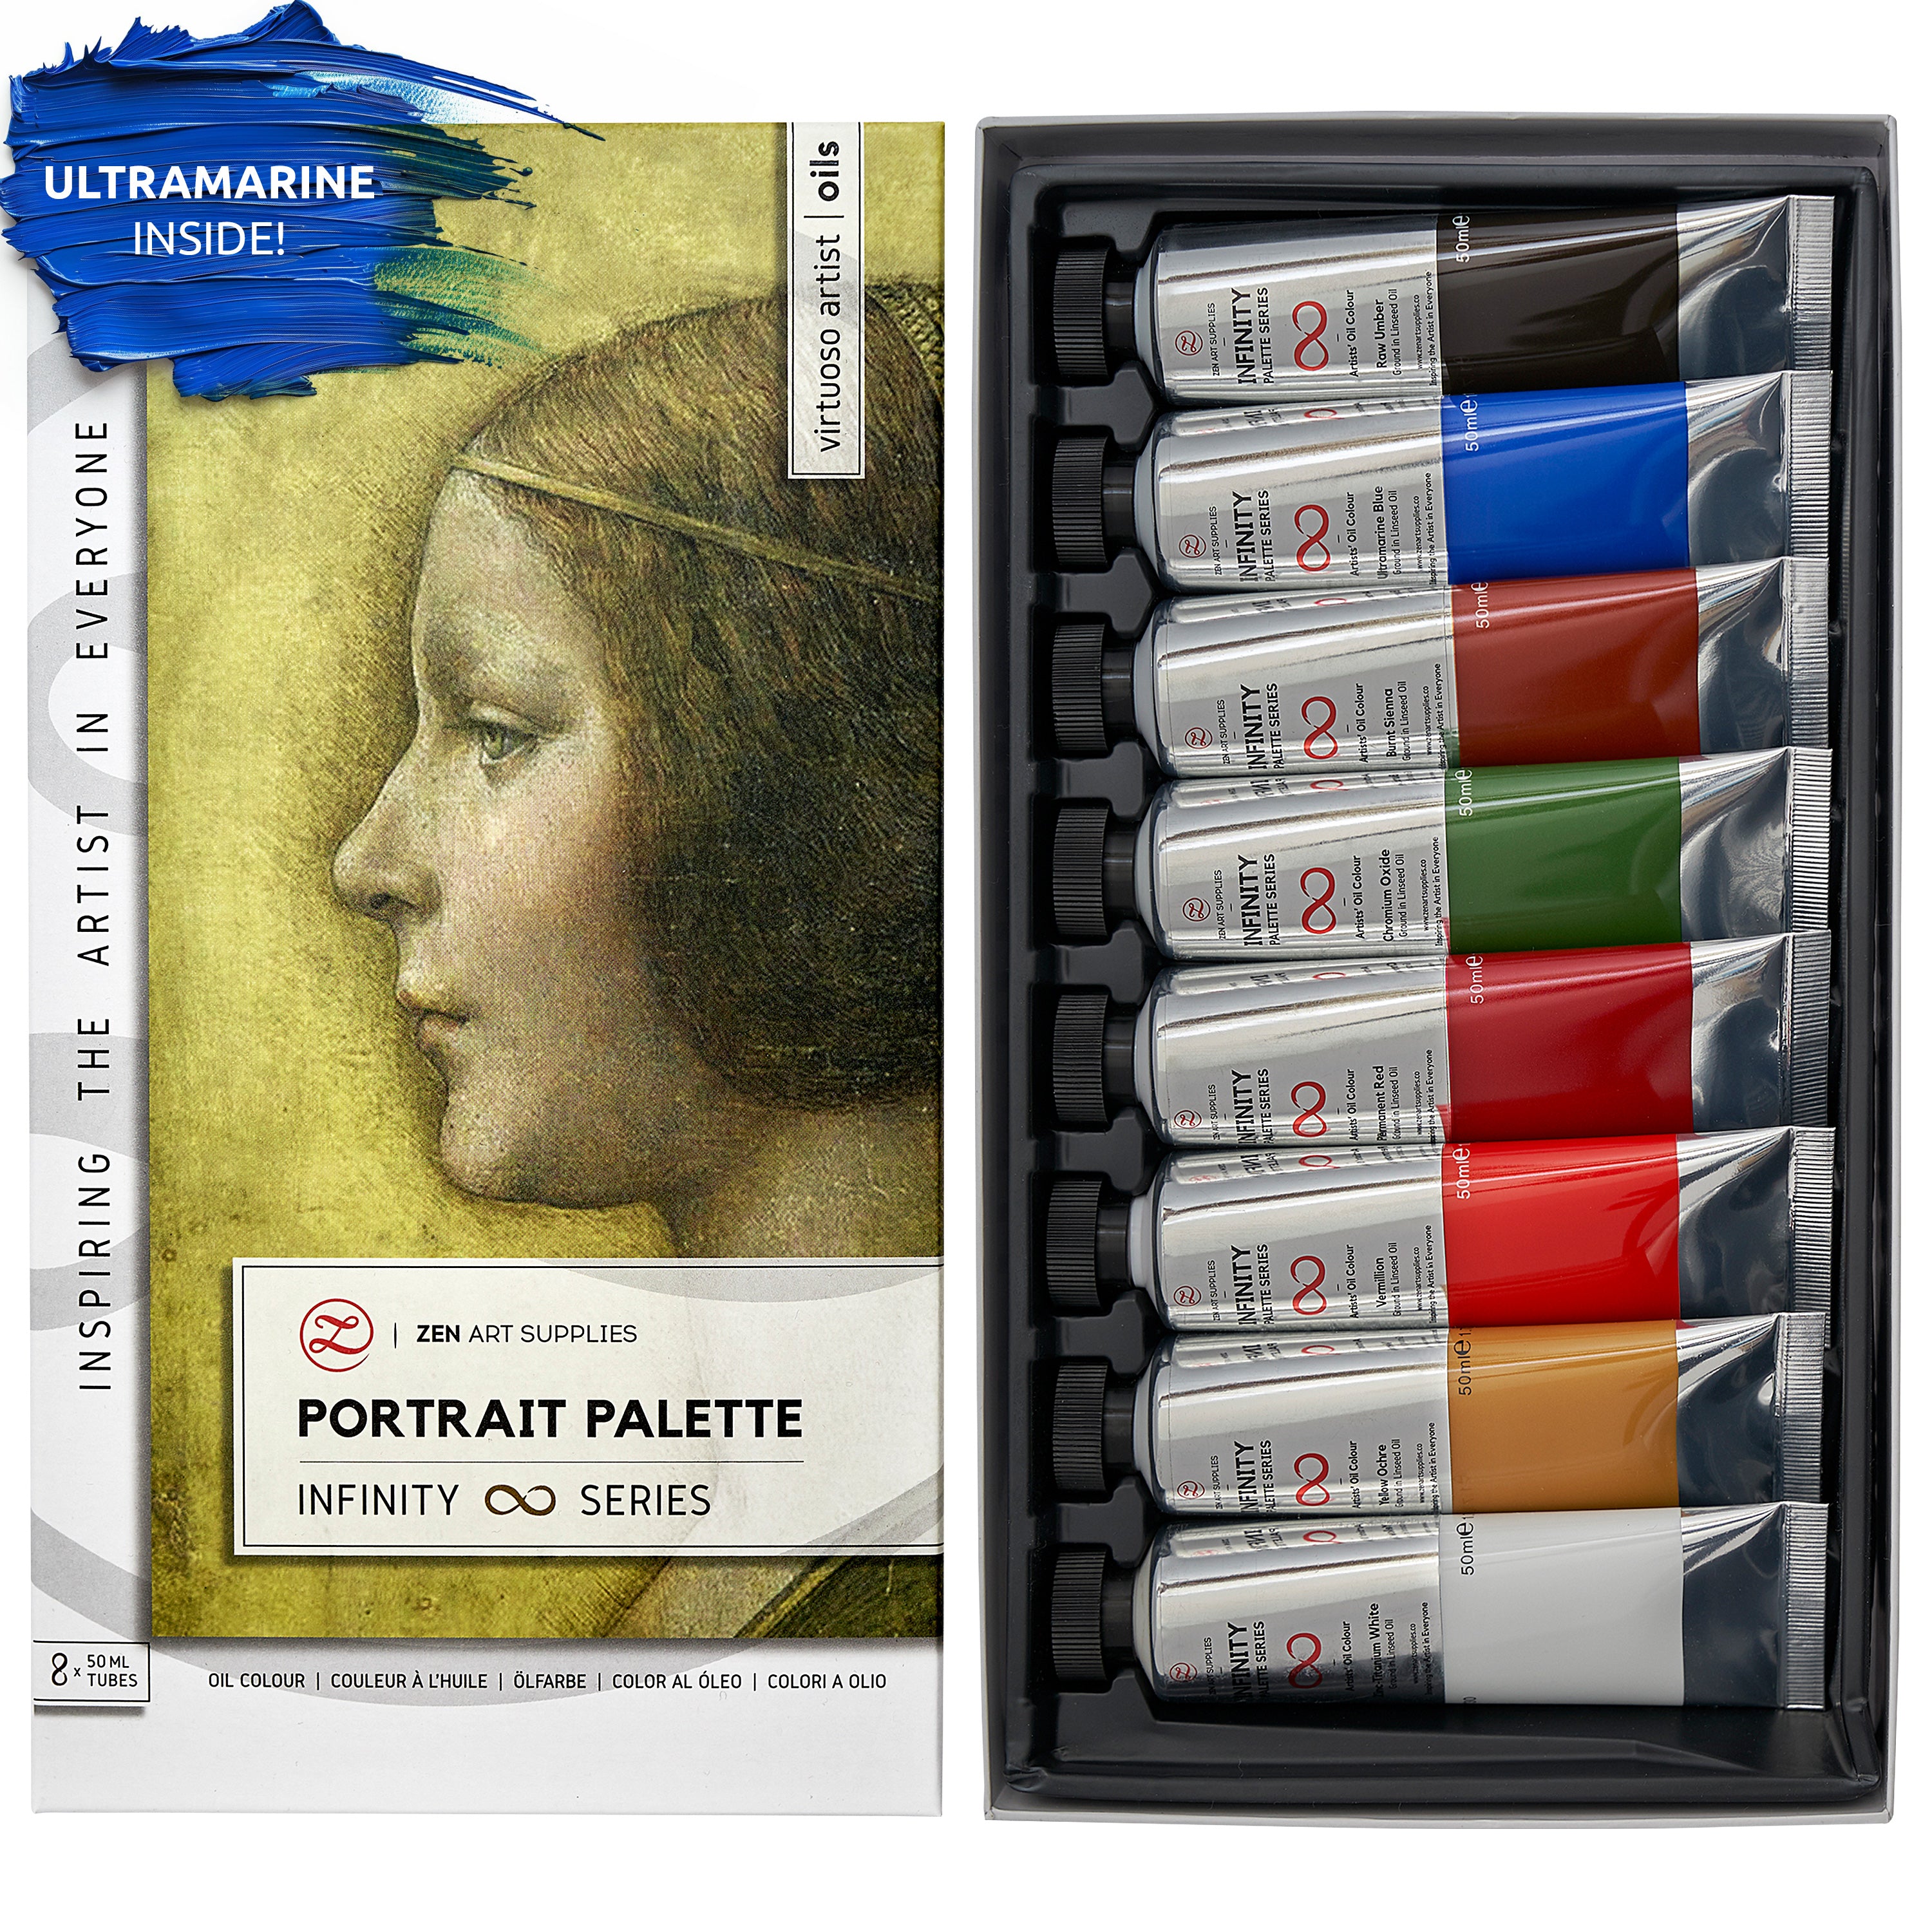
Oil paints - colors from the Portrait Palette, from the Infinity Series of ZenART Supplies: Raw Umber, Burnt Umber, Chromium Oxide, Titanium White, and Yellow Ochre.

Extra Tip: I prefer to use tear-off palettes. The sheets don’t dry out the paint and you don’t have to clean them afterwards. Instead, if there’s some leftover paint that you’d like to use at another time, you can transfer it using a palette knife to a fresh sheet for next time. Additionally, opt for a glass pallet and not a wooden one. Wood (unless properly treated before use) absorbs the paint, making it dry faster.
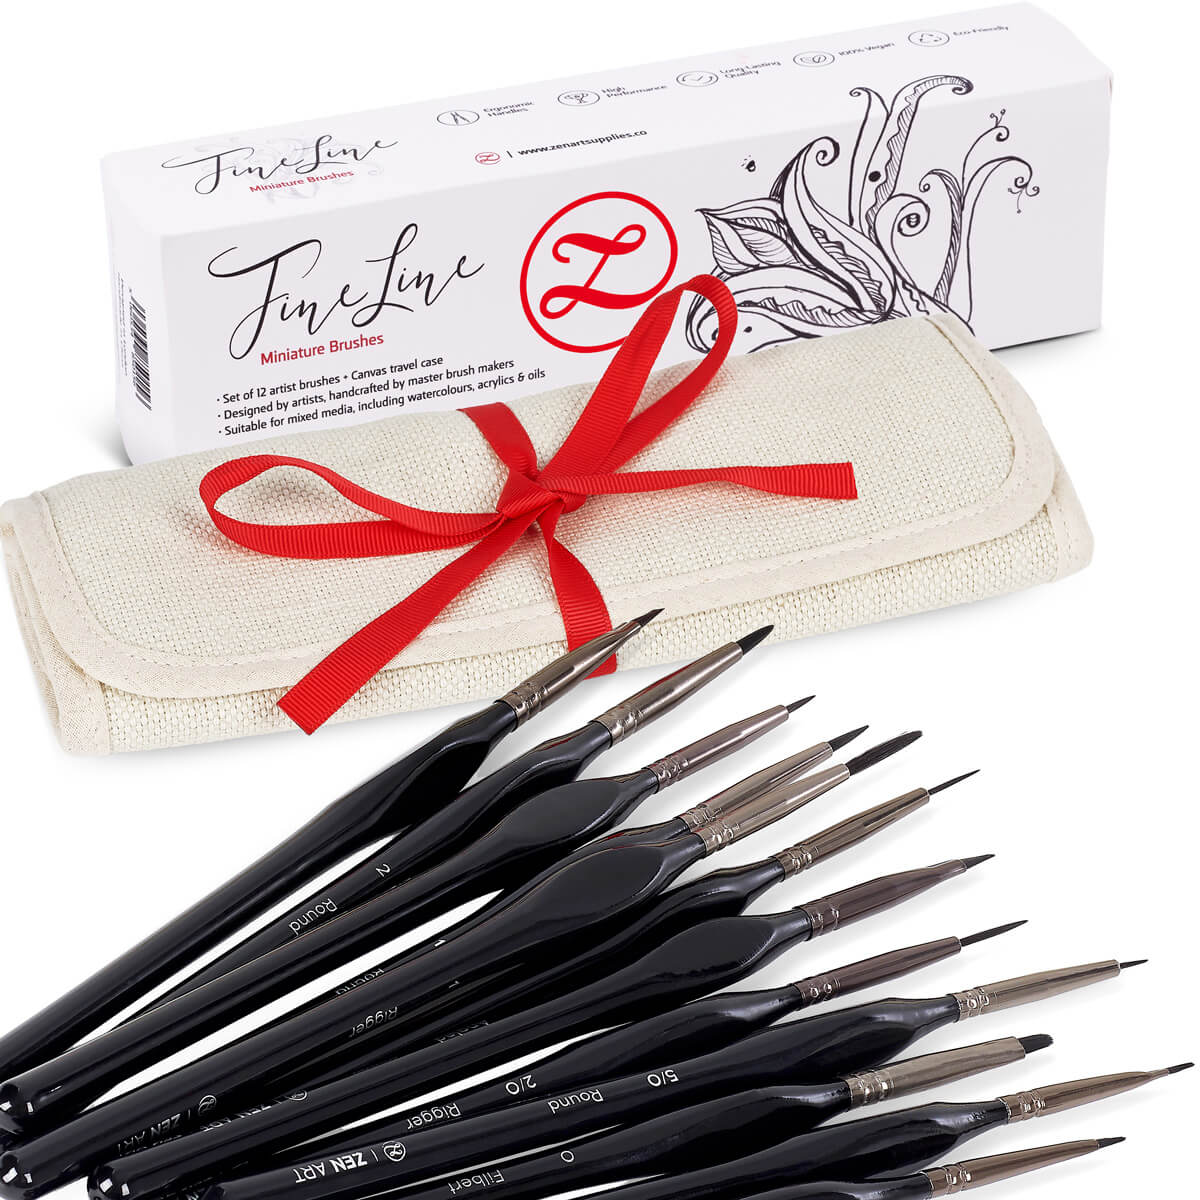
Oil paint brushes - #7 Bright Chungking Hog from the Renoir Collection, #1 Rigger Brush from the Fine Line detail brush set, both from ZenART Supplies.
Hog bristles are on the stiffer side, making them perfect for creating suggestive foliage textures in this how to paint trees in oils exercise.

Medium & Solvent - I used Odorless Mineral Spirits to dilute the paint and linseed oil to make the paint flow smoother.

Extra Tip: Use linseed oil for a more fluid flow to your paints. Though ZenART’s oil paints have a creamy, buttery consistency already. But adding a little bit of linseed oil to your paints makes your brushstrokes run smoother, especially if you are painting on a rough surface.
Support - For my painting surface, I used a small 14x18 cm cotton, triple-primed canvas board which I covered with Cobalt Blue Hue acrylic paint for my background. A nice base color for this how to paint trees in oil demonstration. You can leave it as is for your background if you wish. Or you can layer other colors over it but without the pressure of having to fully cover it. It will look great subtly showing through under other colors that you will choose for your background.
Extra Tip: Always make sure that the surface you are working on is primed when you are painting with oils. Either by priming it yourself using gesso, applying at least three layers, and waiting for each layer to dry for a minimum of two hours before applying the next. Or you can buy a canvas that is already primed if you don’t want to deal with the priming process…

This is a very important step because if the pores of the surface are not sealed with gesso, the paint will be absorbed into the surface. This affects the performance of the paint and the outcome will be far from pleasing. In the long run, the integrity of your canvas or support will also be compromised.
As for why I covered the surface with acrylic instead of oil, it’s because acrylic paint dries faster. If I were to use oil for the background, I would have to wait for at least a day for it to dry. Or I will be painting directly on top of the color of the still wet background. The color will easily mix with the colors of the trees and thus cause the colors to be altered or muddied.
Whether you’re learning how to paint distant trees in oils or ones close to you, it’ll follow the same principle. If pressed for time, you can use acrylic to tone your canvas at the start. You can always work more on the background later if you wish.
How To Paint Trees in Oils Step-by-Step
After covering the surface with the Cobalt Blue Hue acrylic paint, I wait for the paint to be fully dry. Then, I start by taking my #1 Rigger brush from the Fine Line set and get some of the Raw Umber paint mixed with a hint of linseed oil for better flow. I paint a vertical line right at the center of the canvas. Starting from the bottom, and as I move upwards, the line tapers and becomes thinner. It’s perfectly ok if the line is slightly crooked. In fact, that will make the tree look even more natural.

Before I start painting the foliage of the tree, I first add the colors I am going to use on my palette and pre-mix the various shades I’m going to need. Avoid mixing the colors directly on the canvas as the colors will easily appear muddy and the shades might not turn out to be the ones you had in mind. Instead, it is best to be more organized about it.
So I add all five colors to my palette and pre-mix all that I think I will be needing for this how to paint pine trees in oil. It also makes for a more seamless painting process.

I mix Chromium Oxide with the Burnt Umber and a hint of Raw Umber to create a darker shade of green that I’m going to use for the first layer. Then I took some of this mixture and added a bit more Chromium Oxide for a mid-tone green. And for the lightest color and highlights, I mix Chromium Oxide with Yellow Ochre and a little bit of Titanium White.
Then we start from the top using the #7 Bright Chungking Hog brush. Pine trees in general have a slightly triangular shape. So at the top, the branches are shorter and have less greenery. But as we move downwards, the branches slowly become longer and fuller while always maintaining the overall triangular form.

Using the same brush, I take some of the darker green mixture and start by lightly dabbing my brush on the canvas. Bit by bit, I make my brushstrokes go wider as I move towards the bottom as mentioned before. Make sure to feather out your brushstrokes at the fringes. The small edges you create will give some organic-looking textures that suggest leaves. This will make the painting appear less stylized and more natural.

Extra Tip: Chungking Hog brushes have stiff bristles that help for creating heavily textured strokes, visibly leaving traces of the bristles’ path as you apply your paint. That’s why I highly prefer to use them when painting landscapes, it makes for beautiful textural work quite easily.
Next, it’s time to add the mid-tone green mixture. Using the same brush, I add some brushstrokes at the center area to lighten up the color there, giving a sense of volume and dimension to the shape.

Then visualize where the light source is coming from or check your reference whether from a photo or in person. Mine is located on the left and that is where I will add most of the highlights using the lightest color that I have previously pre-mixed.

Be careful not to overdo it with the highlights. This way your tree will look more realistic. Most of the same principles and tips I have shared will apply to painting other kinds of trees as well. I hope this easy step-by-step guide on how to paint trees in oils will be useful during your landscape painting adventures.
Here’s my finished pine tree!

I highly recommend you get acquainted with how to clean your oil paint brushes after painting and how to take care of them. They can last you a long time with the proper care, especially natural-haired ones.
We’d love to hear your thoughts!
Have you tried painting trees before? Which mediums have you painted them in? Is landscape painting something you find yourself painting more often? Let us know in the comments below! Join our friendly art community Painting Inspiration Daily on Facebook. You can share your art and ideas, watch LIVE tutorials, and be inspired to paint!
Why not explore the different oil painting brushstrokes while you’re at it? There are so many different ways to apply oil paints to your surface and it can be so fun! And here are some oil painting ideas that you might want to explore using those brushstrokes you’ll be trying out.
You’ll find that how to paint trees in oils can be quite fun and easy. Don’t be afraid to experiment and just remember to enjoy the process. Happy painting!
- MEET THE AUTHOR -

Theodora is the Dynamic Social Integrator at ZenART, resident artist and content creator. She is the one who's been admiring your work through our social media channels and the one who's been motivating you by giving you tips and inspiration. Being born and raised in Athens, Greece, her work as an artist often depicts charming bejeweled and modernized Greek mythological characters rendered on big canvases and inspired by Renaissance aesthetics. When she's not creating content, she fills her days with endless hours of painting.


