Acrylic Painting For Beginners | What You Need | How To Use Acrylic Paint | Reminders and Tips
Using acrylic paint is a fantastic choice for those who want to further explore painting with a thicker medium. It's fairly convenient as you only need water to start painting - both for thinning out the paint and for rinsing. Read on to find out how to use acrylic paint and other useful tips for you to remember by.
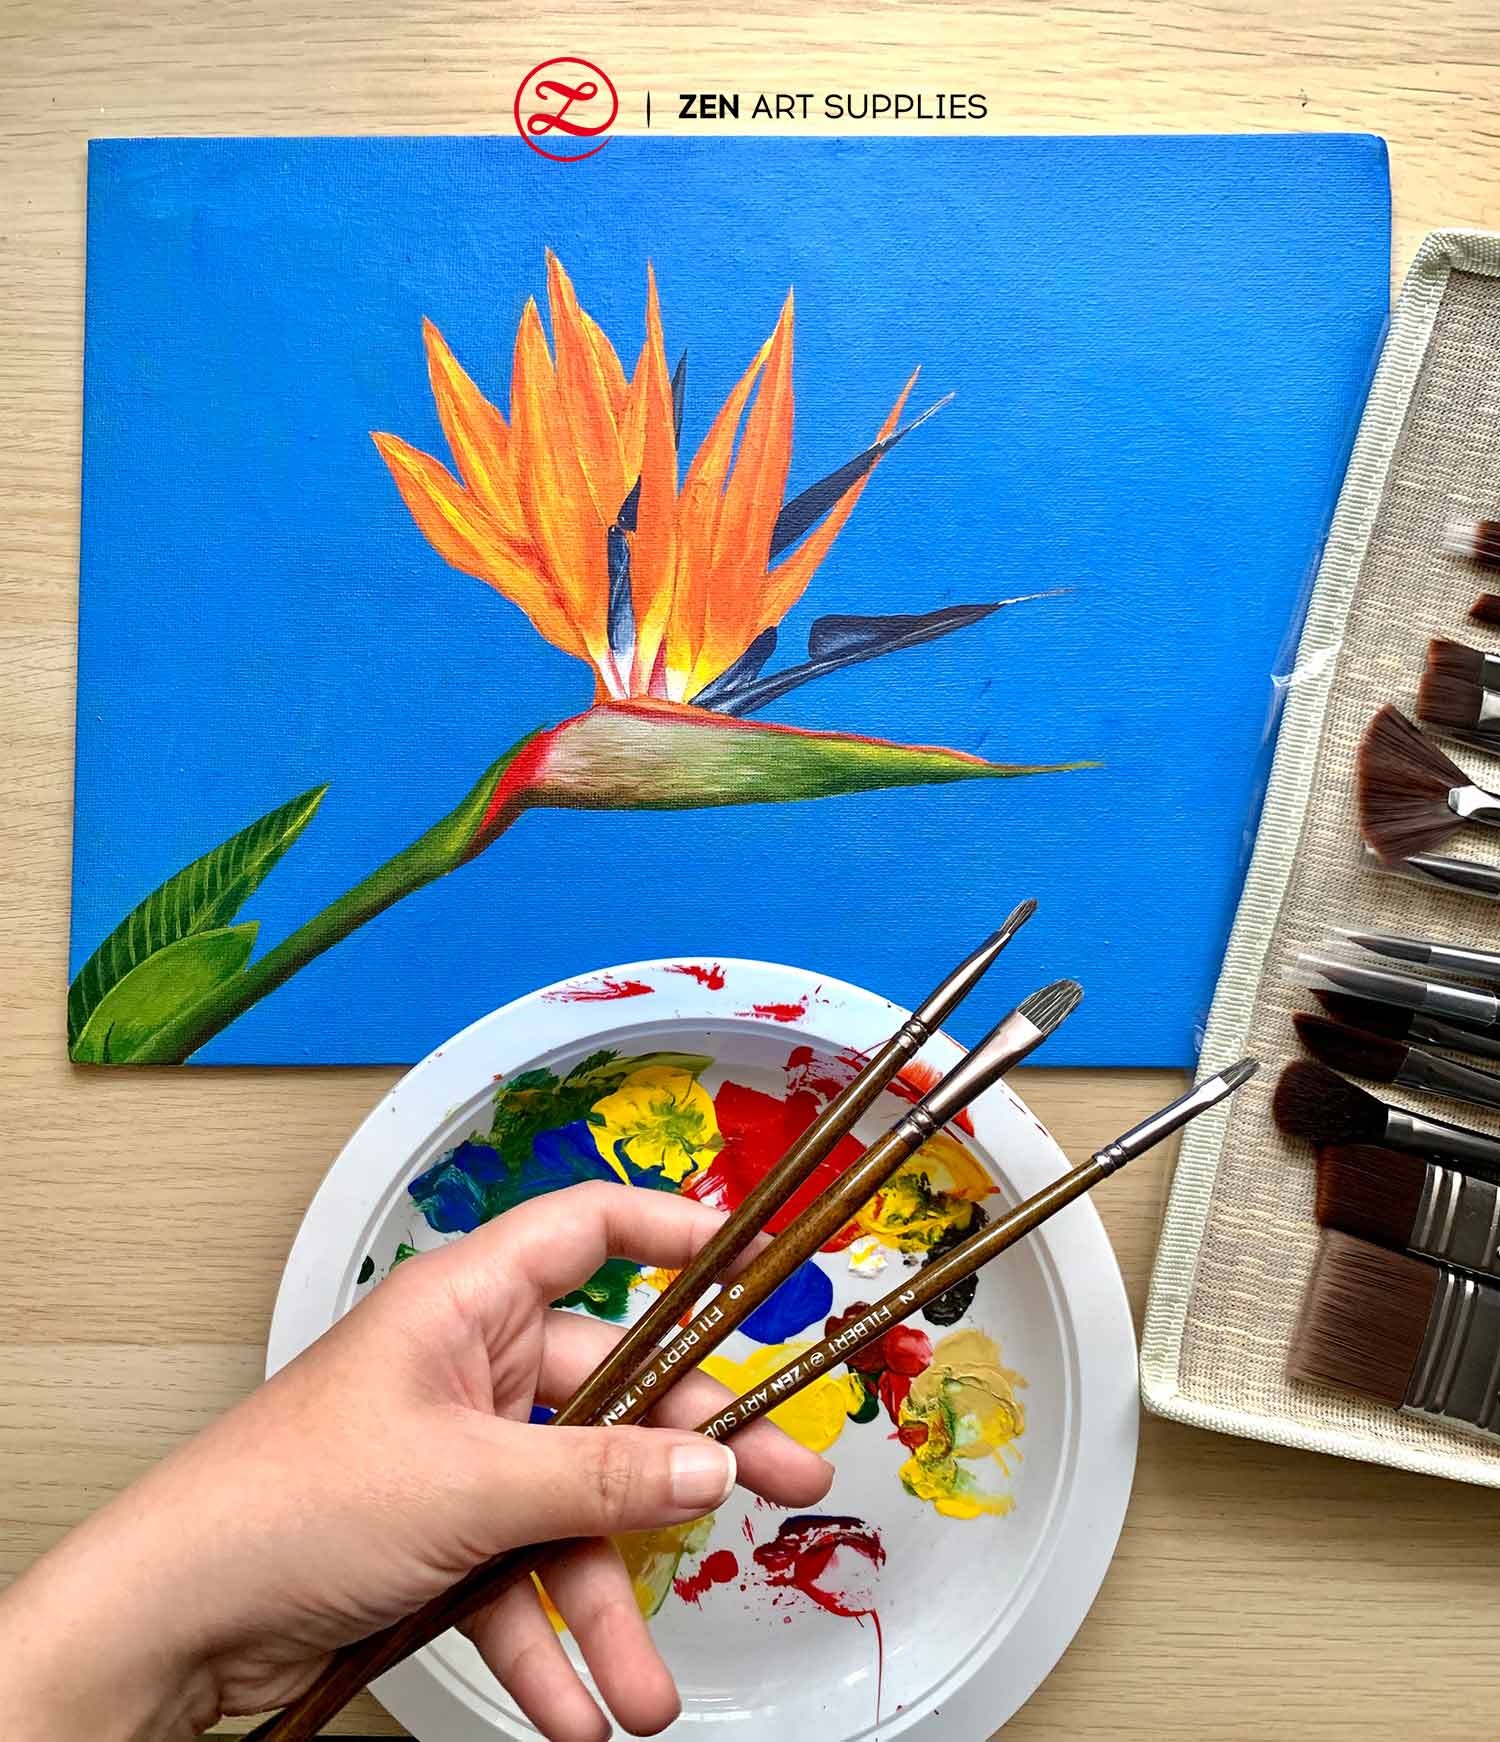
TABLE OF CONTENTS: Looking for something in particular? Jump ahead using the links below:
Acrylic Painting For Beginners - What You Need
How To Use Acrylic Paint and Things to Keep in Mind
Acrylic Paint Instructions and Tips
Acrylic Painting For Beginners - What You Need
The first thing you need to do is to find out what you need besides the acrylic paint, of course. Don't worry, acrylic paint is a very friendly medium so you only need a few other things and can be used on a ton of surfaces. Let's start with the paint!

Acrylic Paint
Acrylic paint comes in two different types - fluid which is thinner and easily drips out of the tube/bottle, and heavy body (high-viscosity) that has a thicker buttery consistency. The choice will depend on what painting style you want to do. If you're looking for a thinner and more fluid and smooth blending, then you can go for the fluid kind. But if you prefer thicker impasto like strokes and applications, then the heavy body will be perfect for this. You can always thin it down if need be.


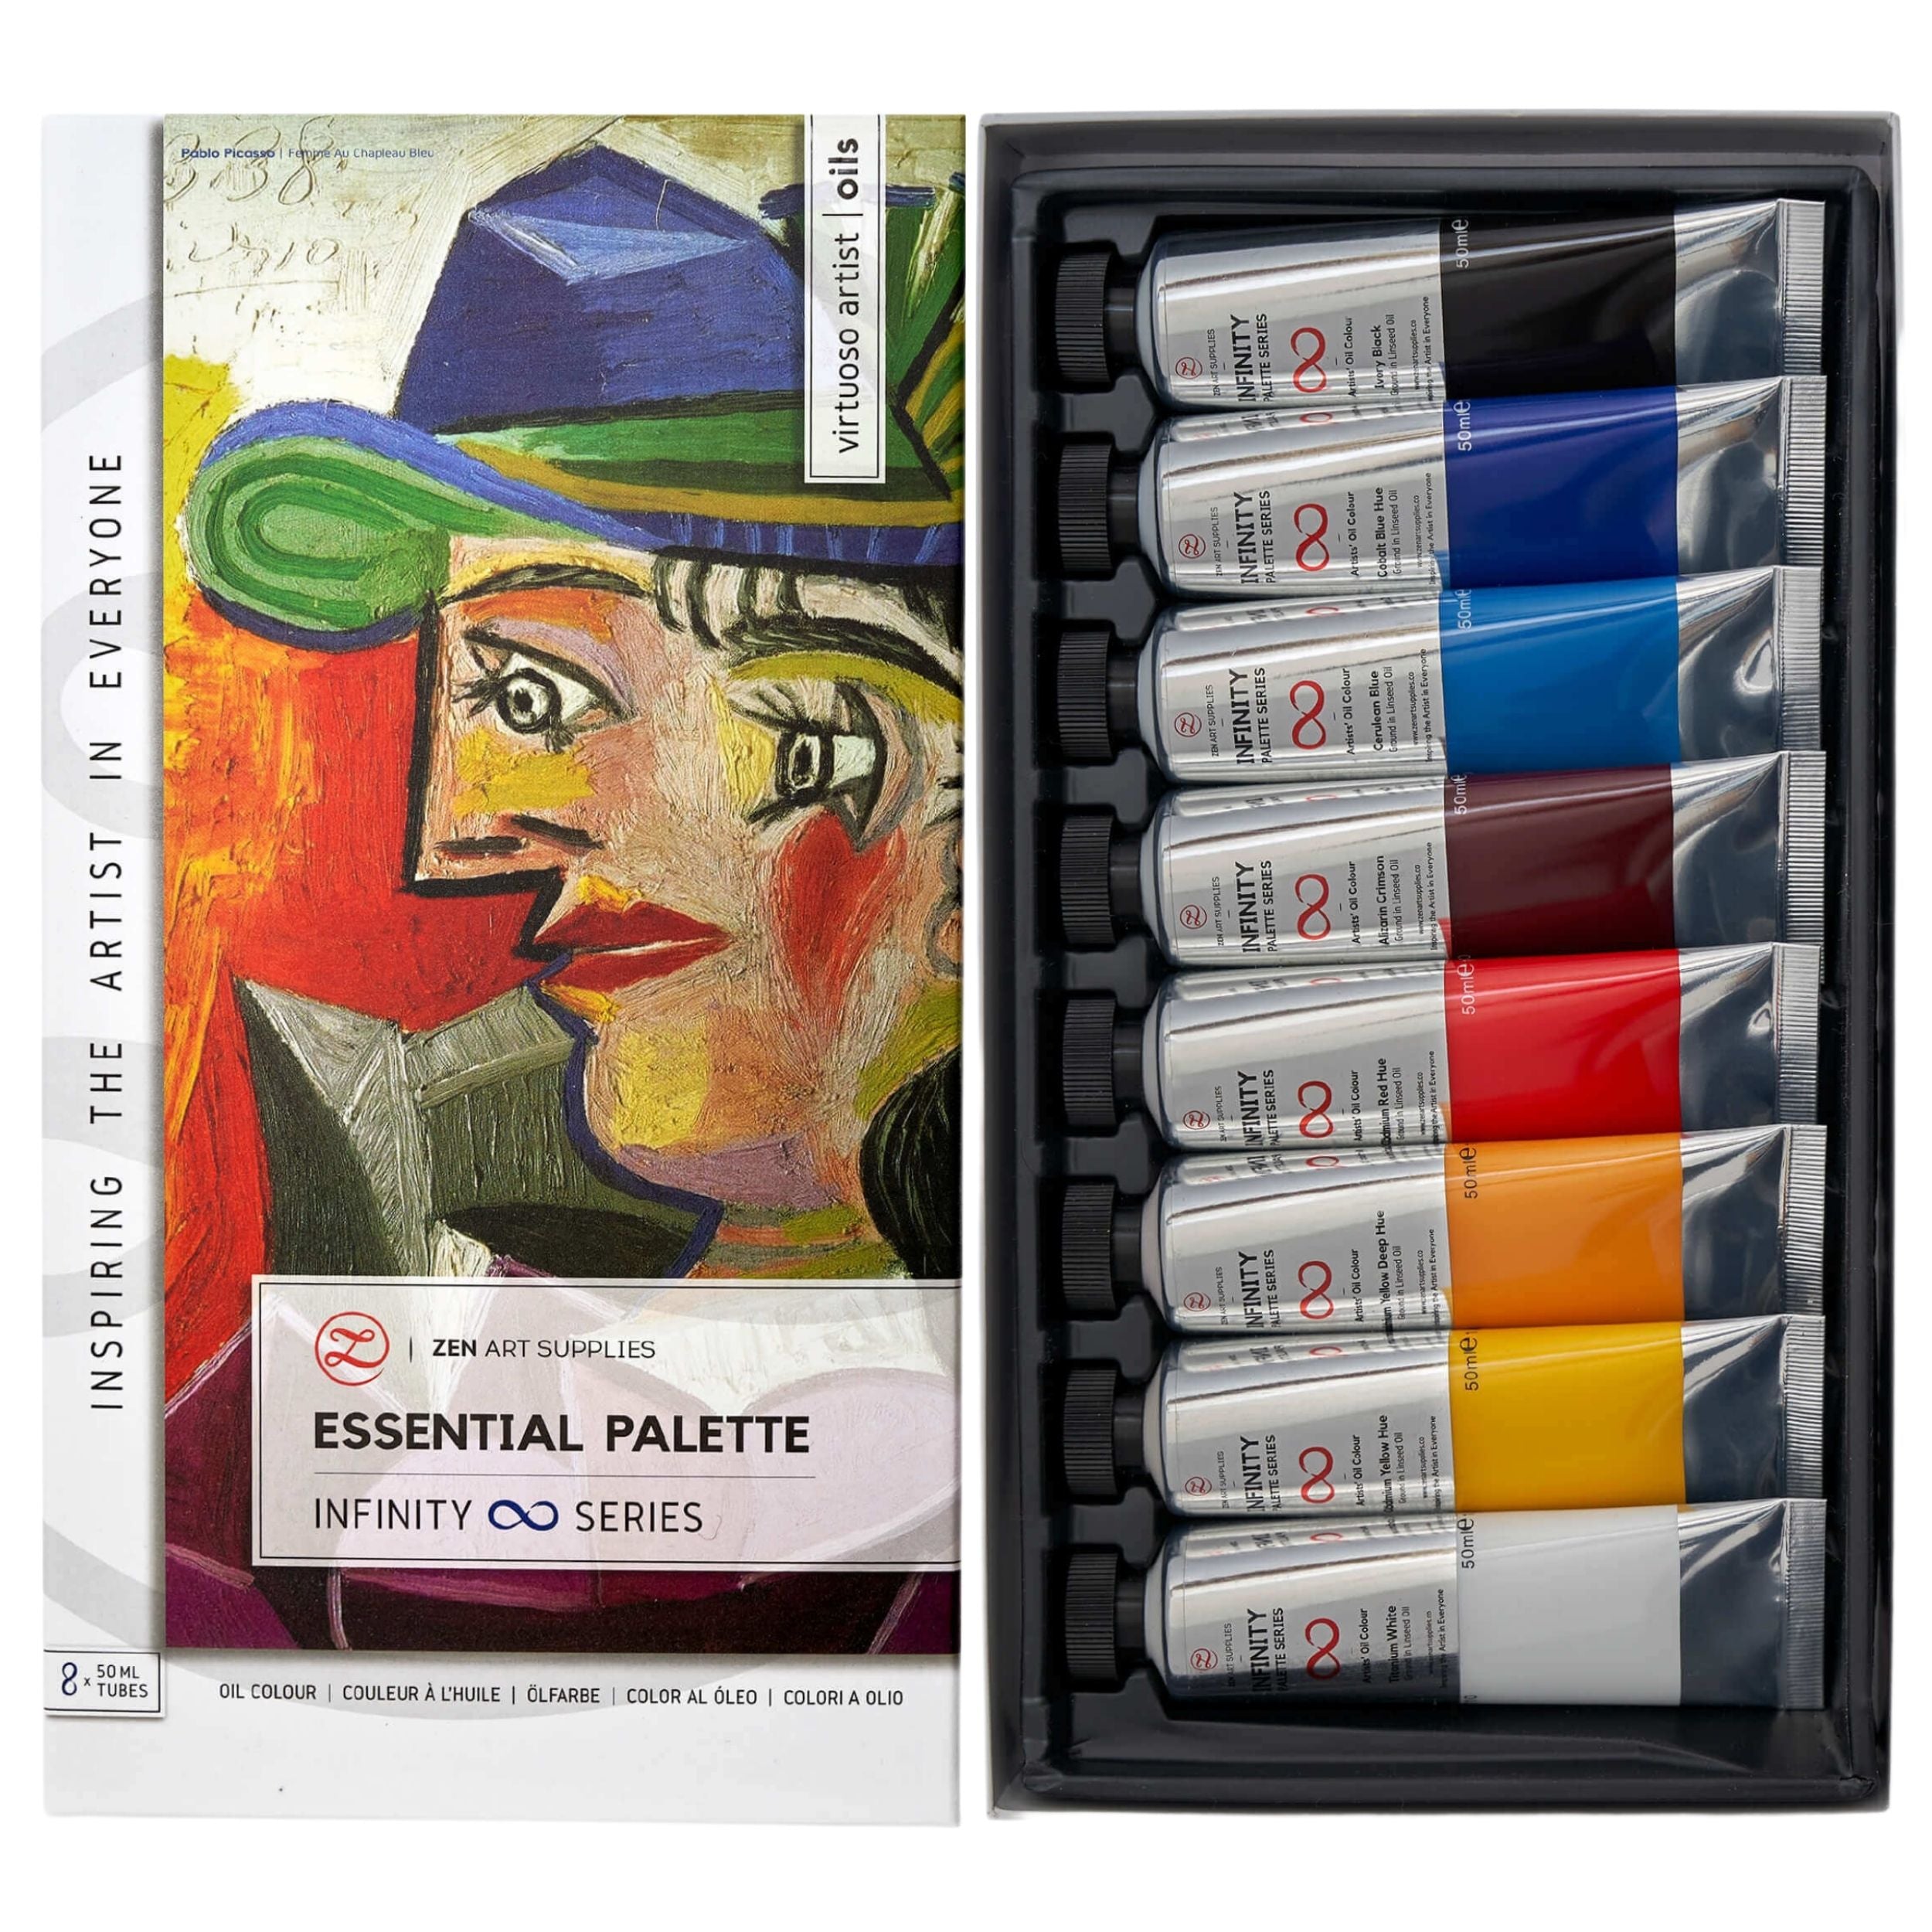
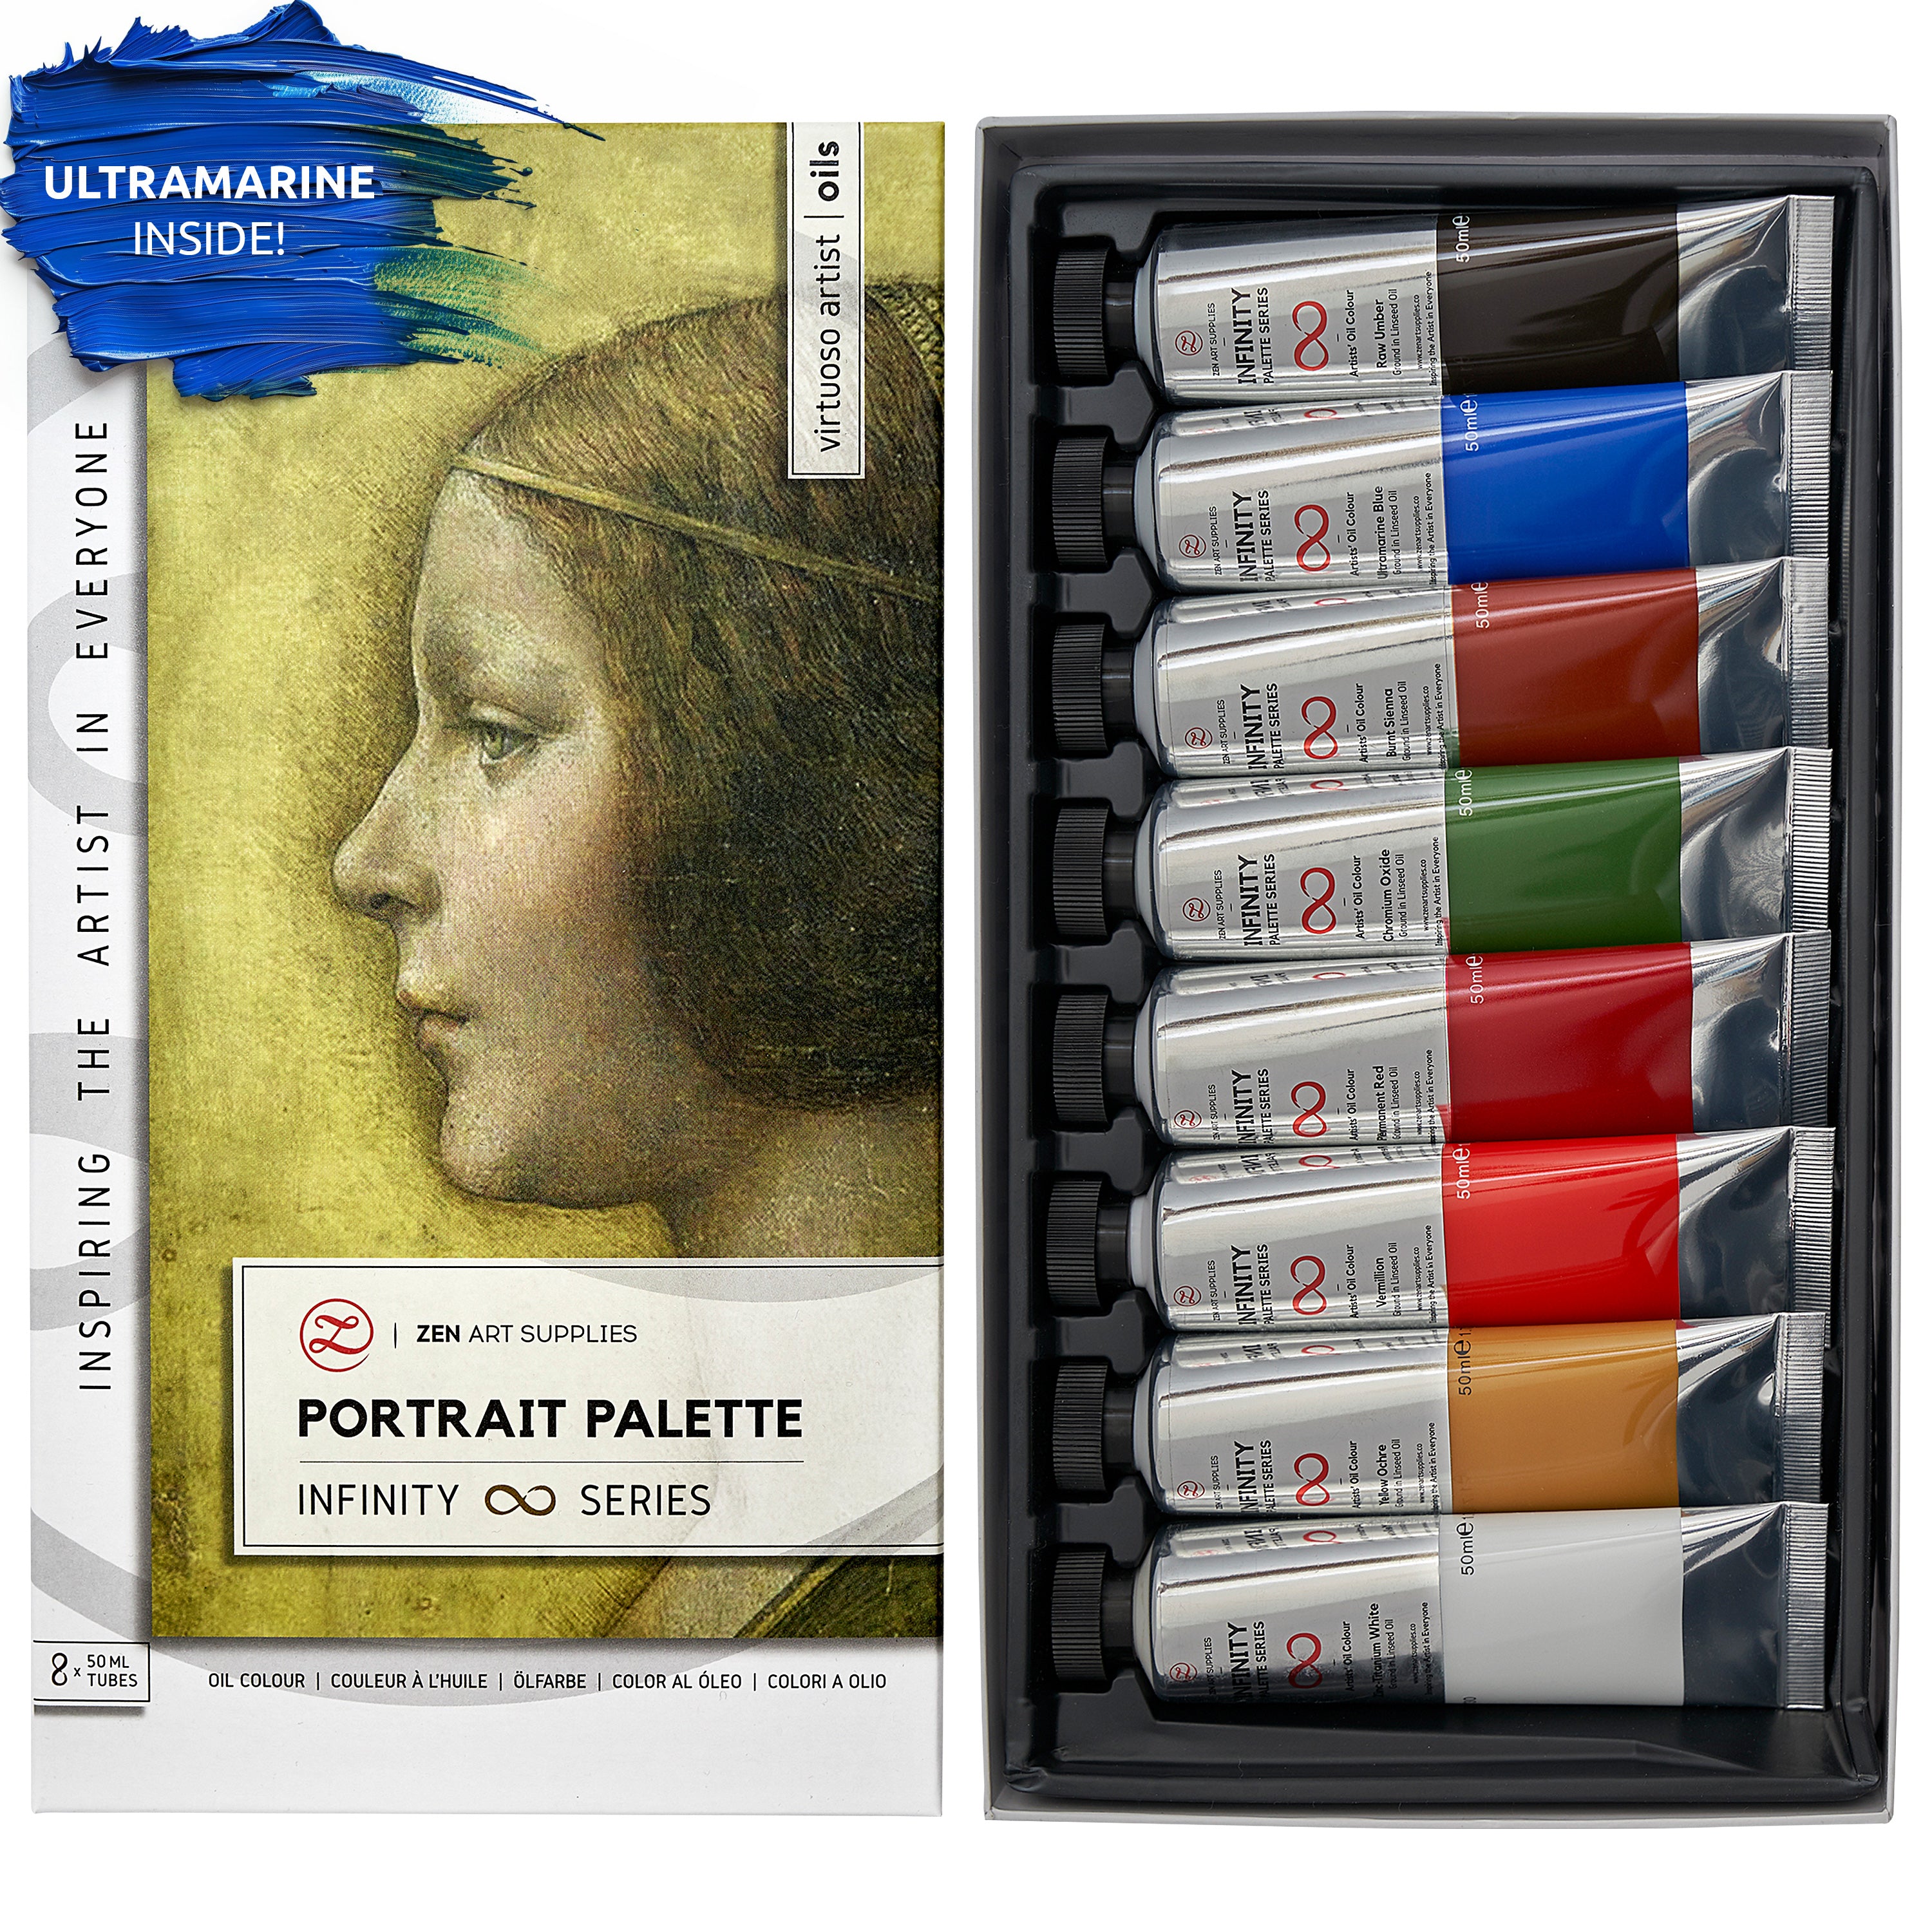
There's a dizzying amount of colors that are available, but you don't have to collect them all. You can start with a limited palette of 6-8 colors that you can use to mix the other colors you need. I suggest getting two kinds of primary colors, each one with a warm and cool color bias. Then one or two tubes of white, and having black or burnt umber will come in handy when mixing colors. You can always slowly add more colors depending on what you need on your painting journey.
Acrylic Brushes
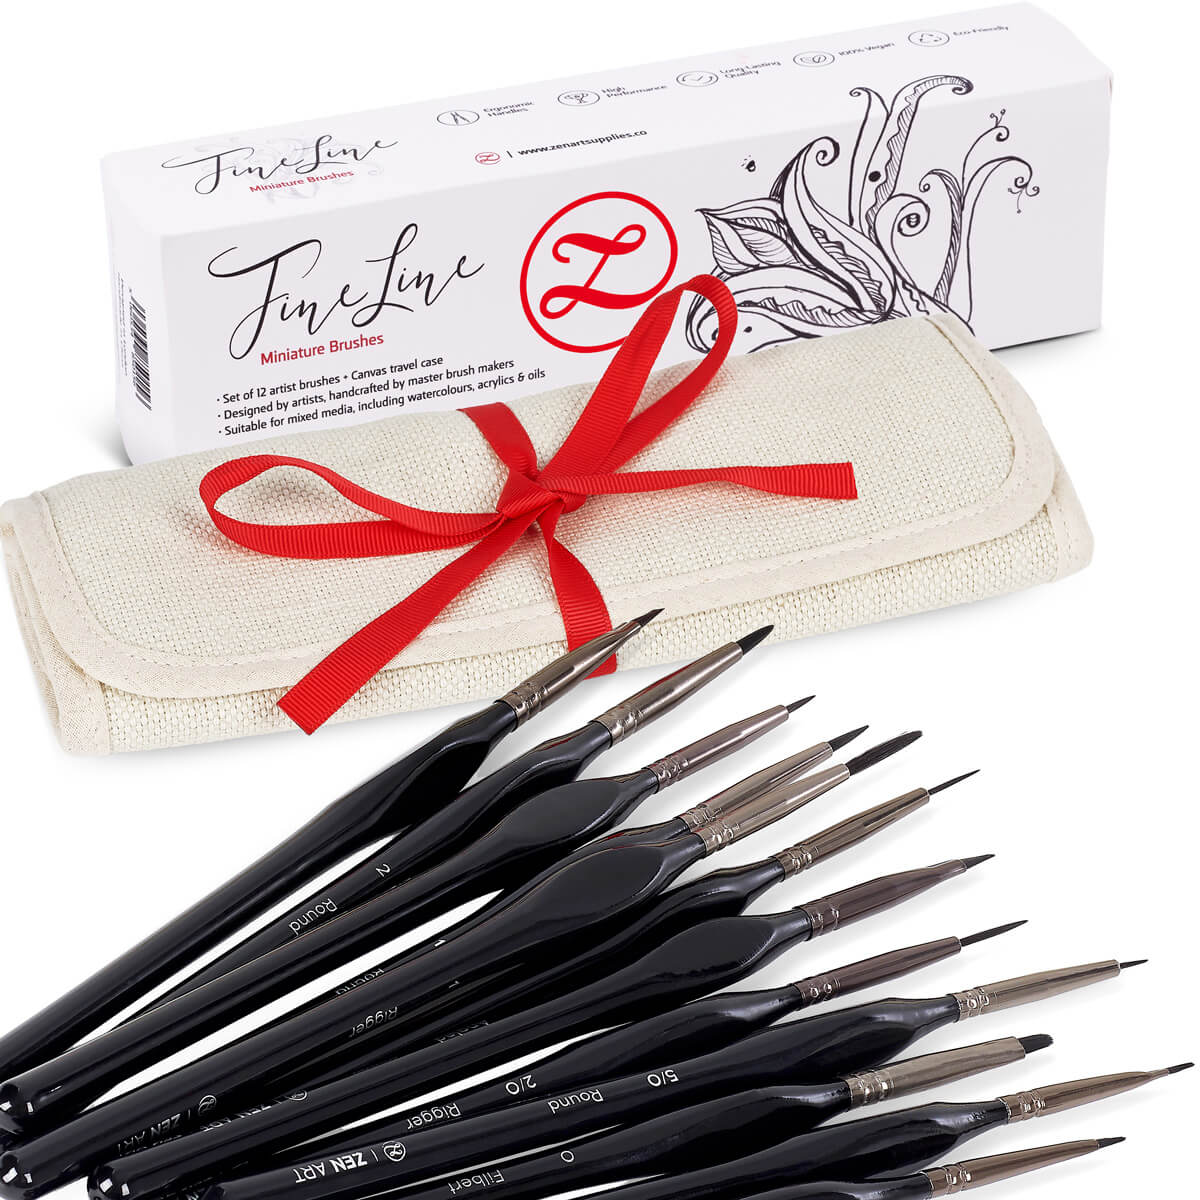
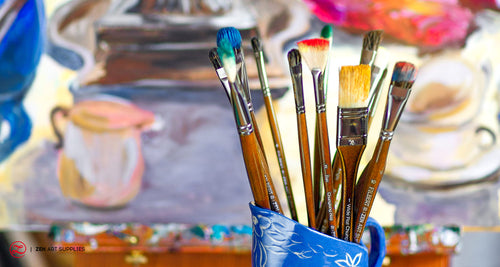
If you plan on using acrylic paint for thicker and more textured applications, you need stiff-bristled brushes which you will find among the natural hair selection. And for a softer and smoother painting style, you can opt for synthetic and other softer bristled brushes. You don't have to get a lot of brushes, you can start with just a select few. Then you can slowly add to your collection along the way depending on what you find you'll be needing. But if you're ready to invest in an awesome and complete set, check out our Verbena Acrylic Paint Brush set below.

My personal favorite and the ones I often find myself reaching for are the Filbert brushes. They are flat with a rounded and softer tip making them extremely versatile. You can use the tip to create fine thin lines and for smooth blending or feathering. Then just by pressing down, you can use the whole width of the bristles to paint thicker and wider strokes. Our Artist's Choice is an all Filbert brush set with sizes ranging from #2 to #12. The Badger Mix hair is the perfect blend of the two, it has some stiffness to it but is still quite usable for soft blending.

Painting Surface
The thing about acrylic paint is that you can paint it on many kinds of surfaces as long as it can stick to it. Just test it out in a small section beforehand so you don't unnecessarily waste your time and paint. The most common surface choices are canvases, canvas boards, wood panels, canvas pads, and thick enough paper. Just make sure to check your chosen surface to see what the manufacturer's directions are, a lot of them come pre-primed already. If not, then you have to properly prime it before painting on it.


Palette and Palette knife
You'll also need a palette to mix your paints on. There are wooden, glass, plastic, palette pads (disposable sheets), and my favorite for acrylics - stay-wet palettes. Disposable palette pads are quite convenient as you won't have to deal with clean-ups after. While stay-wet palettes are specially designed to keep your paints wet for a much longer time. Personally, I love to use those plastic party plates when I'm working on the finer details. It's super lightweight - I can hold it for a long time while working closely on the canvas - and the dried paint just peels right off.

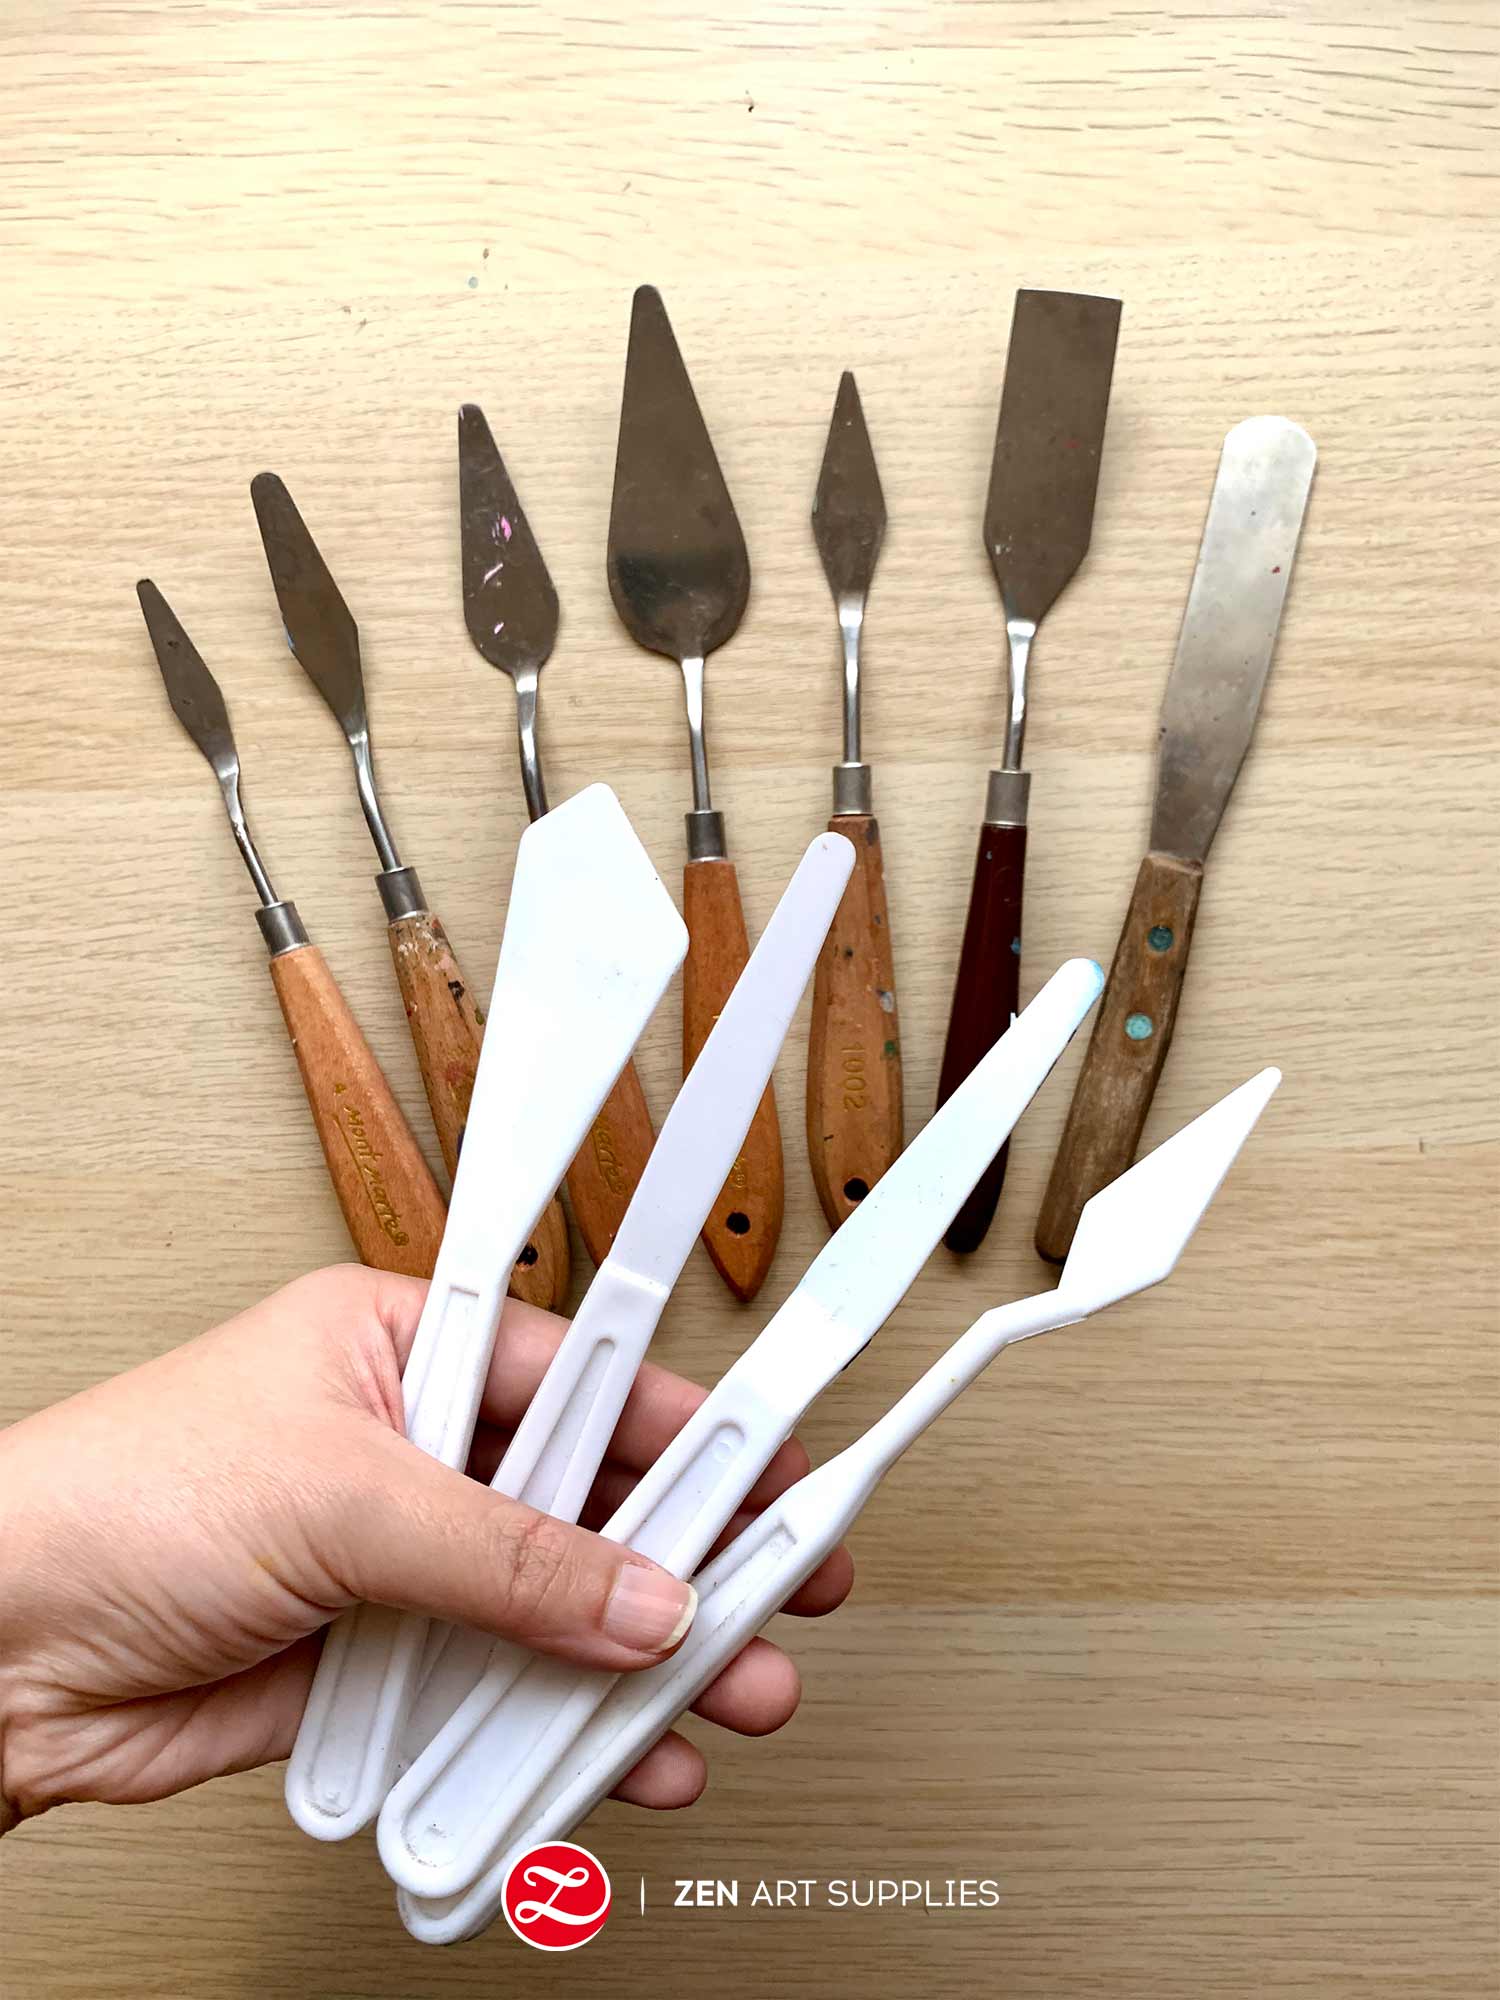
Palette knives are quite versatile, first, you can use them to mix your paint mixtures on your palette. You can also use them to apply the paint on your surface and scrape off paint as well - either to remove it or to create the sgraffito effect. They're perfect for creating those impasto applications and for scratching in textural effects. There are two kinds available, flexible metal (stainless steel) with wooden handles and plastic ones. And they mainly come in either a rounded tip or a pointed tip with a bent neck similar to a trowel or just plain flat. Plastic is cheaper but the steel ones will last you a long time with the right care.

Water, Scrap Paper, and Rag
And of course, you need water - lots of it. Be prepared to keep changing it, too. Don't let the dirty brown-grey water ruin your painting mixtures! You'll also be needing those scrap papers and rags for you to wipe and blot your acrylic paint brushes on while painting.

How To Use Acrylic Paint and Things To Keep In Mind
Now that you've got your supplies ready, you can start painting. But before that, here are some reminders and tips for you to remember.
How To Use Acrylic Paint On Canvas
If the canvas hasn't been prepped yet, prime it with gesso. Apply 2-3 layers, but make sure each layer is fully dry before adding the next. If you want a smoother finish, sand in between layers as well. Actually, even when I have a store-bought canvas that's already pre-primed with gesso, I still add at least one layer before painting on it. You can paint directly onto your primed and very white canvas or you can stain it with a watered-down wash all over - an imprimatura. Instead of starting with white, the initial stain provided by the imprimatura gives you a mid-tone to help you start off and easily plot out your shadows and highlights. Just let this first layer dry and you can go on right ahead and work on your painting.

How To Use Acrylic Paint On Paper
Acrylic paint is water-based and can also be used similarly to watercolor. You can paint with it on paper - just make sure it's thick enough and of good quality. Priming the paper with gesso is not required. But if you want your paint to stay on top and glide better, then it's best to coat the paper with one or two coats of gesso beforehand. The gesso also gives it that extra tooth for the paint to latch on to. Unprimed paper will absorb the water and pigment of the first one or two layers so just keep that in mind when deciding what to do. But unlike watercolor, acrylic once dried cannot be reactivated. So when doing your layers, no need to worry about disturbing the previous layers when layering over them. Learn more about the key differences between acrylic and watercolor.

How To Keep Your Acrylics Wet
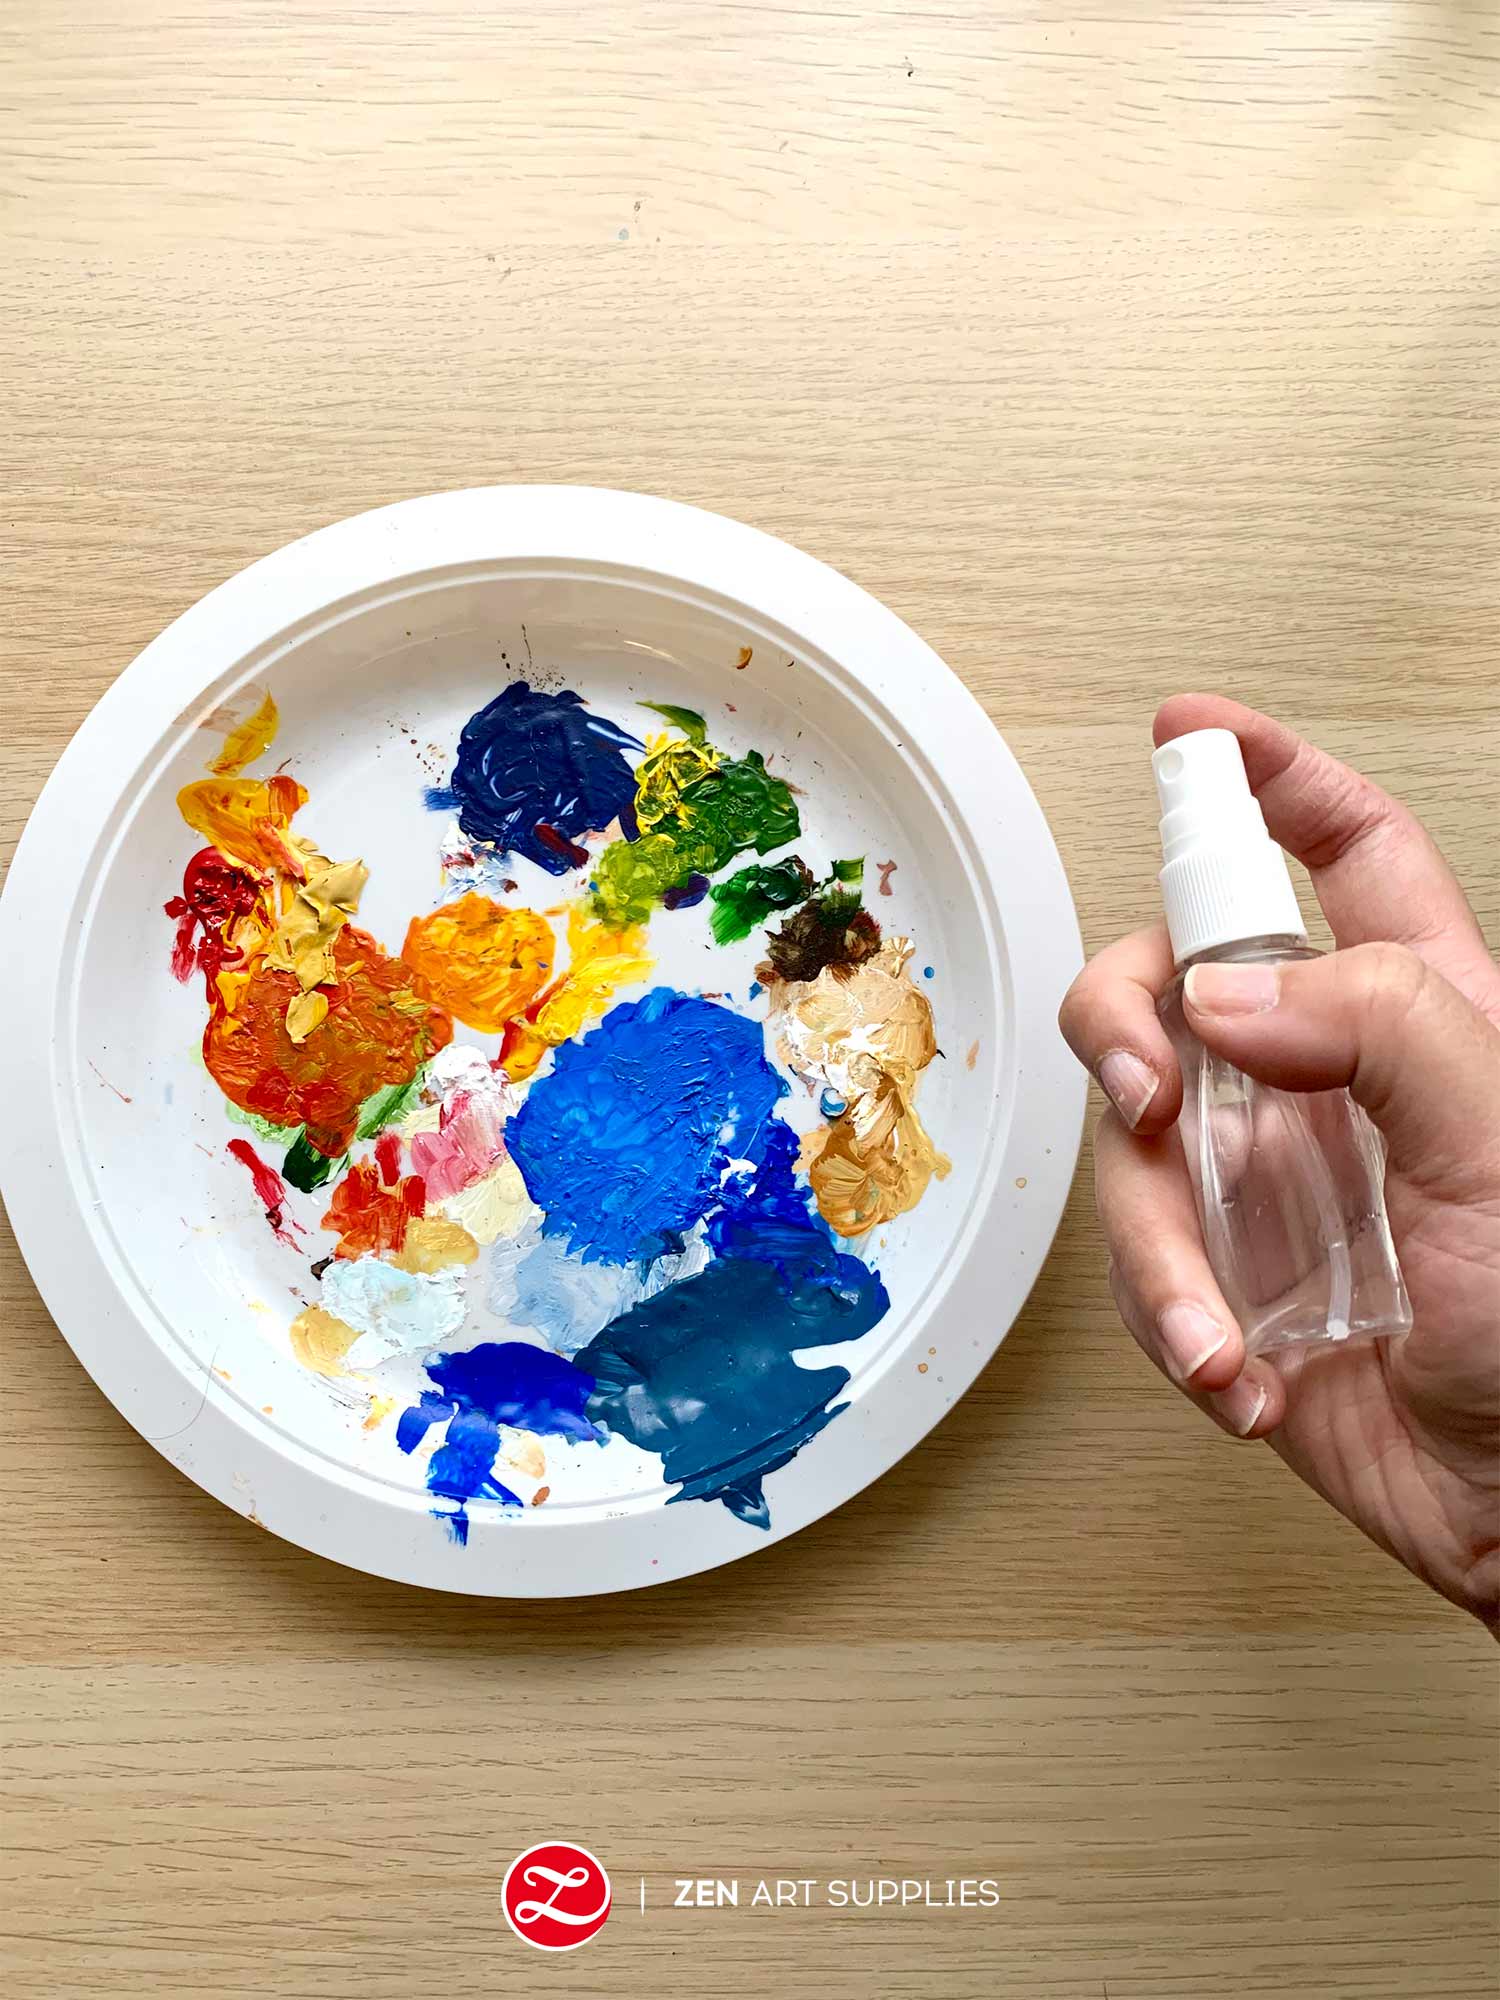
The first thing is to work quickly, when using acrylic paint you can't take your time unlike when using oils. That's one of the main differences between acrylic and oil paint. So work on the big sections first and the finer details last. When I work on large areas, I even squeeze the paint directly from the tube to the canvas. Keep a spray bottle loaded with water on hand and spritz the colors on your palette every now and then to keep them wet. Don't overdo it though as you don't want to end up with a runny mess either. My personal preference is using a stay-wet palette, it keeps the paint wet and soft for an extended period of time and comes with a tight lid for storage later on. Another option is to add an extender or retarder medium to your acrylic paints to slow down their drying time.
Here's my very own stay-wet palette that really comes in handy when I'm working on bigger paintings. I get to keep my paints wet for a day or two, I haven't tested for how long they can stay wet exactly. First, I don't want to waste any paint - thrifty me kicking in haha. And well I'm already pretty happy to have one to two days instead of just an hour or less without it.

Acrylic Paint Instructions and Tips
- You don't 'need' to start with a wet brush, but if you want your paint to glide smoothly then it's best to have the bristles wet. I just quickly dip my brush in water, it doesn't have to be soaking wet.
- Make sure the caps and lids of your acrylic paints are tightly screwed and covered. Once the paint dries up, that's it. This seems like common sense but when you're in the groove, you can easily forget this understandably. Been there, done that, crying inside - forgot to screw back on the cap and ended up with a hardened tube.
- Never mix oil or anything oil-based with acrylic. They won't mix well at all and you won't end up with something you'll like. The same goes for the surface primer, don't use anything oil-based.
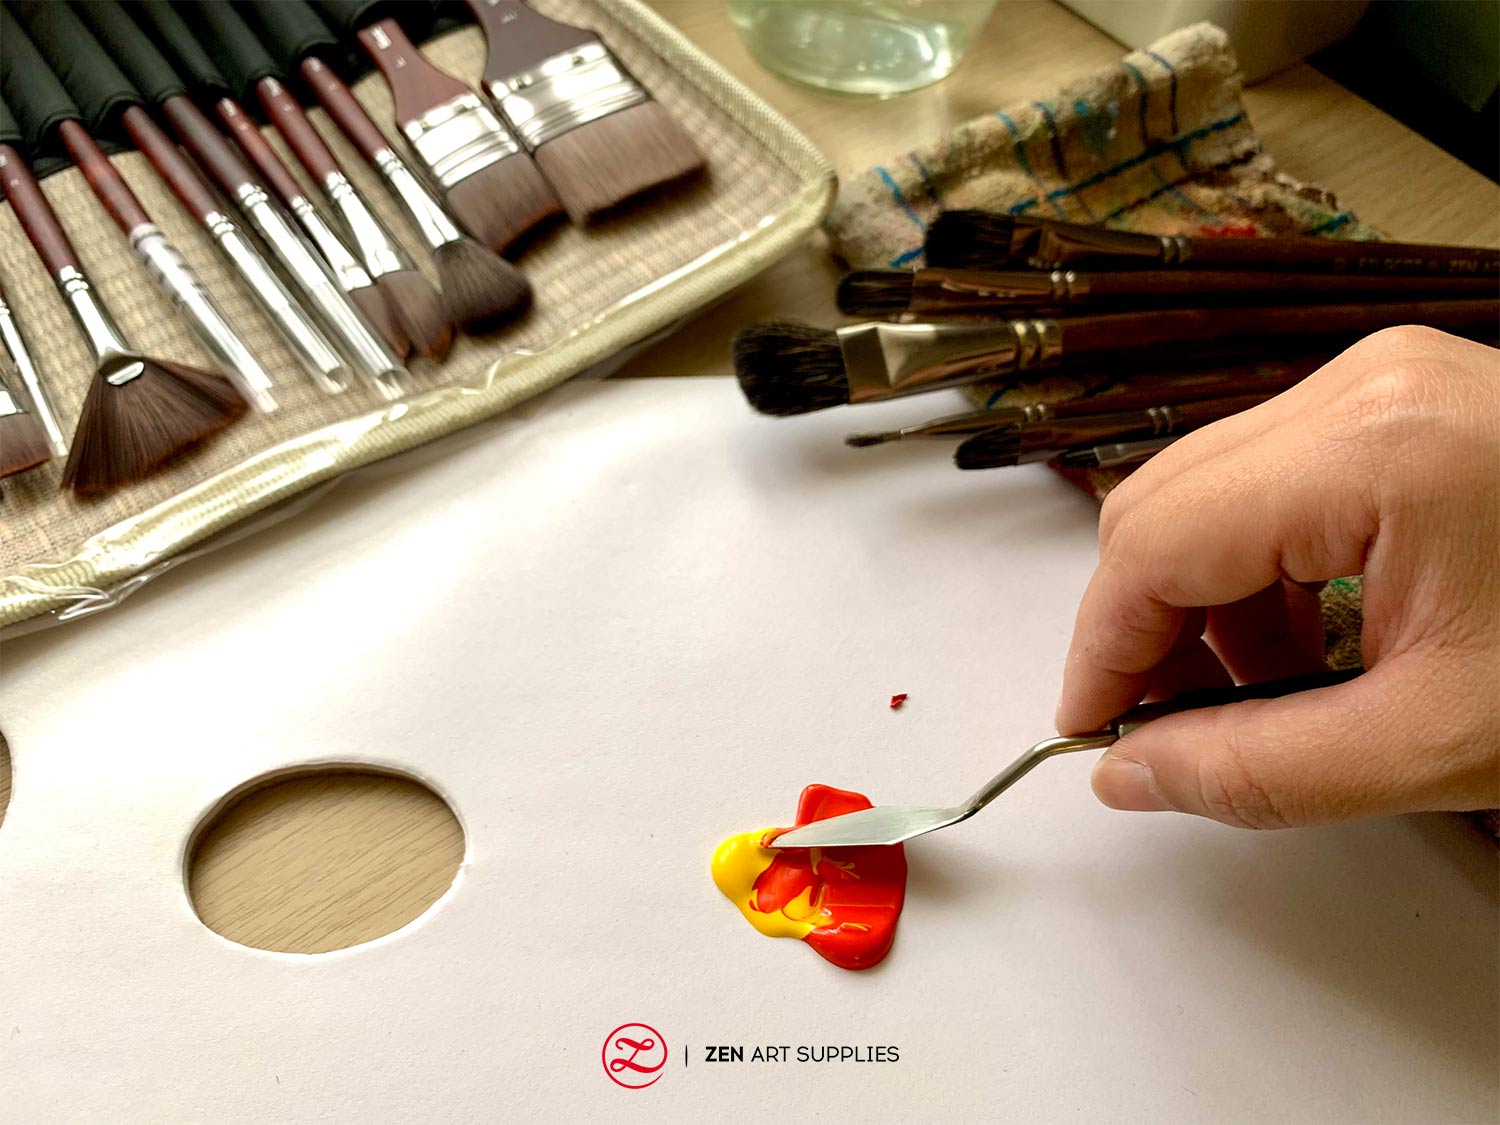
- When mixing your paint, don't overmix and do it smoothly to keep unwanted bubbles from forming. They can affect the integrity of the paint and cause it to crack later on.
- Don't squeeze out too much paint. Always just prepare as close as to what you need, you can always squeeze more out if needed. But you can't save the dried-up leftover paint once dry!
- Don't mix in too much water at once, this will affect the texture and quality of the acrylic paint. It's always much easier (and cheaper!) to slowly add more water as needed than to try saving a heavily washed-out mixture.
- Acrylic paint darkens when it dries, so keep this in mind when creating your mixtures.
- No need to use solvents like turpentine or mineral spirits for washing your brushes.
- Acrylic paints only need mild soap and water for a thorough cleaning. Start by rinsing your brushes in just water. Then use soap after, keep soaping and rinsing until you get all the paint out of the bristles. Do this kindly though, you don't want to have to keep replacing your brushes too early on by being unnecessarily rough on them. Read more in-depth instructions and tips on how to clean acrylic paint brushes.
- You can prepare a jar with water only at the level of the brush bristles. You can leave the brushes dipped in the water while painting and switching brushes around to keep the paint from drying and hardening on the bristles. Make sure the ferrule isn't soaked in as this will cause the glue inside to soften.
And that's the end of the line for the basics on acrylic painting!
And that's how you can easy-peasy start off and learn how to use acrylic paint! Don't let the quick drying time deter you from trying out this very versatile medium. Once you've passed the learning curve, everything is smooth sailing from then on. I find the quick drying time to be challenging at first but really the best quality of acrylic paints later on. You can produce and create finished and dry paintings just like that!
We'd love to hear back from you!
Are you inspired to try out painting with acrylics? What's your go-to painting medium at the moment? What future content would you like to see from us? Let me know in the comments below! Join our friendly art community Painting Inspiration Daily on Facebook. You can share your art and ideas, watch LIVE tutorials, and be inspired to paint!
Looking to learn more about acrylic painting, learn How To Blend Acrylic Paint on our next one! Until then, have a fabulous time exploring the world of acrylic paints!
- MEET THE AUTHOR-

Kathleen is the Wordsmith at ZenART, resident artist and art editor. When God sent a shower of talents, Kathleen made sure she got a basketful of them! She's a visual artist with practical knowledge on various fields from painting and sculpture, to costume and set design which comes in very handy when writing about various art techniques and theories. She also shares her passion for the arts through teaching. She runs her own brand of handmade wirework jewelry designs.


