Beginner Watercolor Materials | How To Use Watercolor | Watercolor For Beginners Tutorial
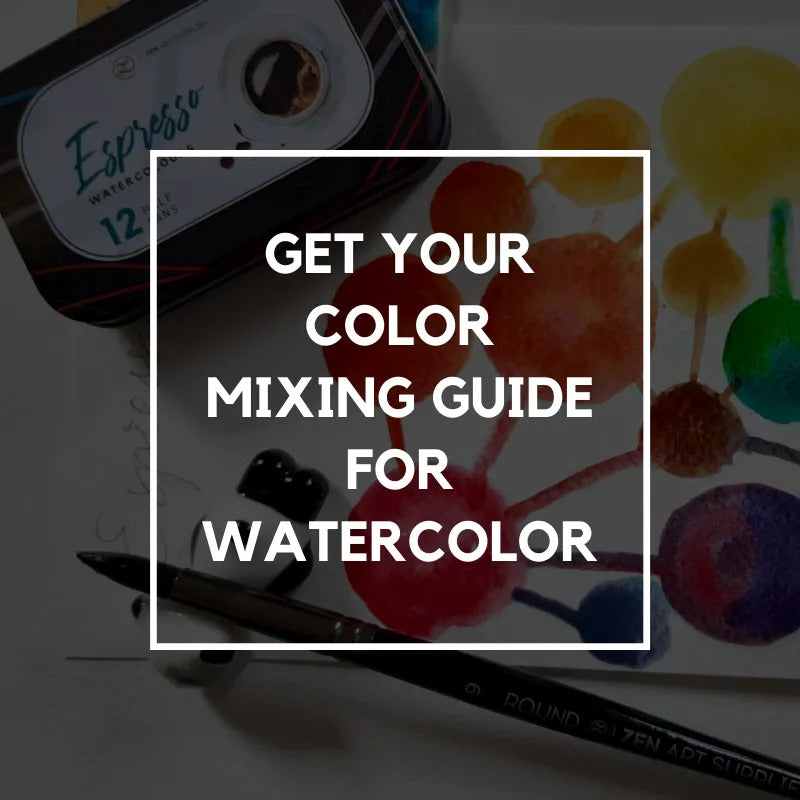
Before we start with the How To Watercolor For Beginners Tutorial, you might want to check out our previous article as well - How To Mix Watercolors - Essential Guide. It's a useful and in-depth guide on how you can mix the colors you want and need when using your very own watercolor paints.
TABLE OF CONTENTS: Looking for something in particular? Jump ahead using the links below:
Beginner Watercolor Materials
How To Use Watercolor
Watercolor For Beginners Tutorial
Beginner Watercolor Mixing
How To Use Watercolor Wet-On-Wet
How To Use Watercolor Wet-On-Dry
Beginner Watercolor Layering
How To Use Watercolor Paint - Light To Dark
How To Use Watercolor Paint - Color Gradient
Using Watercolors
It's hard to overcome all the mental hurdles whenever you're starting out on a new medium. The habit of overthinking and too much worrying can be hard to break. I know this all too well. And I hope to help you overcome yours so you can freely enjoy exploring and painting in watercolor. It's such an amazingly adaptable medium and I don't want you to miss out on it.
Maybe you've tried it before but gave up after so many frustrations, no worries you can always start over! My first experience with watercolor wasn't that great either. I would keep on reworking some works that I wasn't too happy with. And even now, there are times where I just decide to start over because it's really not going where I want it to be. And that's okay! I just step back and take a break, most times that was all that I needed.The joys and beauty of watercolor painting draws me back every time to continue working with it.
The first step is to get the materials that you need.
Beginner Watercolor Materials
There's not too many materials to prepare, it's why watercolor is such a travel friendly medium to pack and take with you anywhere.

1. Watercolor Paints
Watercolors come in pans and tubes, pans are usually cheaper than the tubes. When you're just starting out, pans are suitable enough to begin with. That's why in this how to watercolor tutorial I'll be using ZenART's sets of student grade watercolor paints for demonstration. The most common pans you'll see come in rectangle or square shapes with cakes of pigment in them, you can also choose to get half pans or full pans. Paints in pans are dry to the touch and need to be "activated" by wetting them with your brush, sponge, or by spraying some water on them.

With tubes, you can easily squeeze out as much paint as you need and they come out perfectly creamy and ready for use. There's no need for any activation. This makes it a convenient choice when painting huge sections of color as the paint comes out already concentrated. You don't need to spend a lot of time building up color unlike when using ones that come in pans. You just have to be careful to put the caps back on so they don't dry out. Though that doesn't mean you can't use them anymore if that happens, most tubes that dry out can still be used when rehydrated with water.

There are also two grades to choose from - student grade and artist grade. For beginners, a student grade set is good enough. You also don't need a bevy of colors, a well balanced set of 12 colors is already great. Basically you just need 1 cool red, 1 warm red, 1 cool blue, 1 warm blue, 1 cool yellow, and one warm yellow to start using watercolors.
2. Watercolor brushes
How to watercolor using the right brushes? Each artist has their own brush preferences, this usually depends on the painting style and size. Generally it's good to have a variety of shapes and sizes beginning with the round brush.
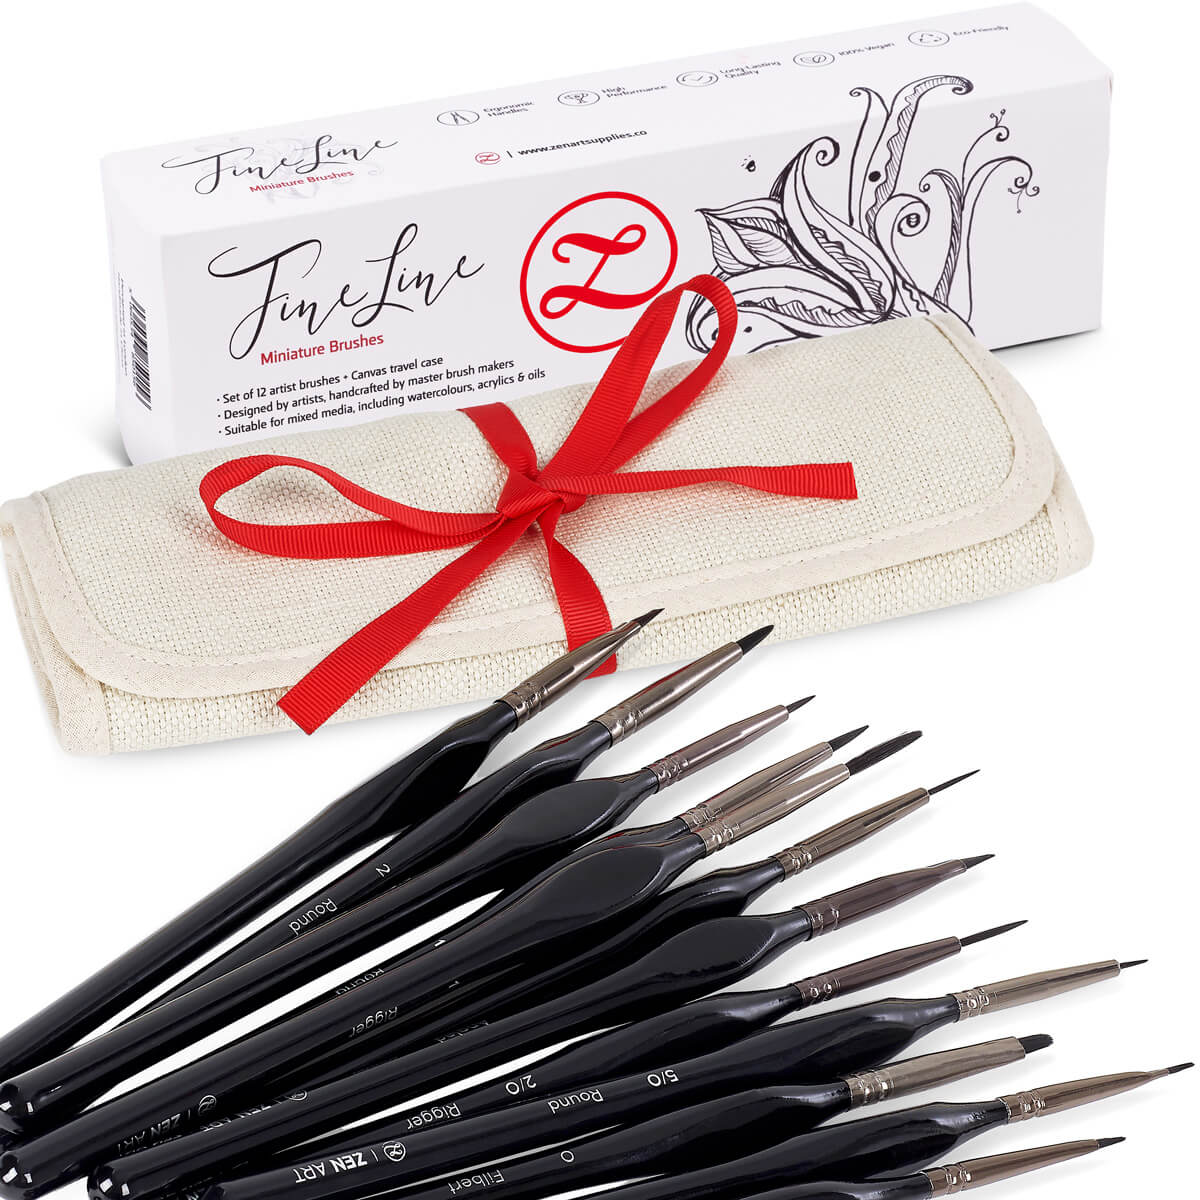
My personal staples are a couple of round brushes as they are perfect for holding a good amount of water and pigment while still having a fine tip that's good for small details. From small sized ones that are perfect for fine detail work, mid sized ones (size 7-8) for general use, and mop brushes that are great for big washes. I also have some flat brushes for large, broad strokes, sharp edges, and painting even washes. And the rigger brushes for long, thin lines and the fan brush for creating texture.


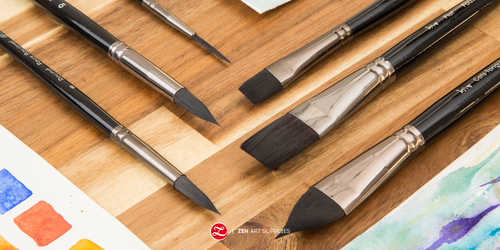
You can start with three round brushes of varying sizes and two flat brushes (also of different sizes). You can always add more to your collection later on depending on your own personal and discovered preferences. Our Black Tulip set contains 6 different brushes that are a perfect starter set for any budding artist.

You might be interested to learn the different watercolor brush strokes, check out Watercolor Strokes - A Beginner's Guide. It's an easy step-by-step guide on how to paint the strokes and how to use your brushes.
3. Watercolor paper
I recommend you use watercolor paper as it's specially manufactured to stand the wetness of watercolor painting. If you use regular paper, it will easily buckle and the paint bleeds in a bad way around the edges. But with watercolor paper, it allows the paint to stay on top, giving you better control on the effects you want to create.
Watercolor paper when sold comes with weight details. The heavier the weight of a paper is, the more water it can take without buckling. I usually have two kinds: 180-200g for lighter washes and exercises, and 300-400g for heavier washes. If you have a lighter weight paper, make sure to stretch it beforehand to keep it from curling when you do your washes. With heavier paper, you often don't have to stretch it. But if you're going to be doing a lot of heavy washes, then it's best to err on the side of caution and stretch it as well.


Cold-pressed is the usual favorite of many artists, it's the perfect in between texture. Not too rough nor too smooth, so you can achieve textural effects and still be able to do details. Hot-pressed is favored by artists who love to paint highly-detailed works. The smoothness of the paper makes it a much easier process. It's also very suitable for gouache painting, the smooth texture makes it perfect for illustrative works that need to be photographed. Rough paper is perfect for those who want to work with a lot of textural effects. The deeper pits on the paper allow the paint and pigment to settle more in some areas, so you get to play with a lot of effects. Works well with granulating paints as well.
Try them all and see how each one differs from the others. I have all three, what I end up using depends on the work I'm planning to create.
*If you have scratch paper lying around, have them handy. They'll be useful for learning how to use watercolor paint by testing your mixtures out first on a separate piece of paper before using them on your painting.
4. Mixing plate
Most watercolor pan sets come in a case with a built in mixing plate - usually the inside part of the lid. But if you want to have a separate mixing plate, any white plastic store bought mixing plate or ceramic plate will do. White is best so the colors you mix come out true and untainted.

5. Water and Cloth/Towel/Sponge
Water for painting and mixing your colors, and for rinsing out your brushes. You can have two separate jars for that if you want to keep your painting water clean for longer. I usually just make sure to keep changing out my water before it becomes too dirty enough to affect the color of my mixes.

You need a cloth/ paper towel/ sponge to absorb any excess water during painting. Sometimes your brush is just too wet and you need to temper the wetness down a bit. My personal choice is a paper towel.

How To Use Watercolor
The first thing to keep in mind about watercolor is in its name - water. Learning to have good water control when mixing and painting is a big step towards achieving great results.
Since we're using watercolor that comes in pans, let's start by rehydrating the paints - spray or wet them a minute or two before using them. Then, wet your brush thoroughly so it can absorb a lot of water. Next, you can directly dab or swirl your brush on the pigment to pick up some color and apply it to your paper.

If you're mixing colors, first wet your brush and let it absorb as much water as it can. Then press your brush against your mixing plate to release the water. Repeat as necessary and create a puddle that's big enough for your mixture's planned use. Then dab and mix in the colors that you need for your specific color mixing.

Test out your color on the separate piece of paper. If it's too dark or strong, add more water. If it's too light, add more pigment. Try to remember that watercolor dries lighter than when it was applied wet. Watercolor for beginners requires a lot of testing out and experimentation, so don't get discouraged if you don't get things right immediately.

Don't forget to rinse your brush properly in between changing colors. You don't want to dirty up your paint pans and spend a lot of time cleaning them.
Watercolor For Beginners Tutorial
Watercolor by nature has a whimsical side to it. Because of its characteristic quality of transparency, every brush stroke you make is left visible. And when you mix your colors and water on paper, they have a mind of their own on how they blend together. You can get just absolutely beautiful effects, but sometimes you might also end up with something that looks a bit muddy. That's okay, don't overthink it!
There's no way to find out except to just keep on exploring, and don't forget to have fun! Even if you think you just keep making mistakes, no effort is wasted because you'll always learn something from it.

Beginner Watercolor Mixing
Watercolor is not just about water control, but also learning how to mix different colors. As mentioned earlier, you need two sets of each primary color to better understand this. A warm and cool color of each primary. For a complete and thorough guide please have a look at another article of ours - How To Mix Watercolors - Essential Guide. It even comes with free downloadable charts that you can use for your own watercolor mixing.
Let's have a quick experiment on mixing the three cool primary colors together on one side, and the three cool warm ones on the other side for comparison.
Draw two triangles on your watercolor paper. On the first triangle use only the cool primary colors. For the second one, use only warm primary colors. Wet your first triangle and begin painting one tip with a primary color. It's best to start with the lighter colors as they are easily muddied up the darker ones.
Start with yellow, then followed by blue on another triangle tip. Let the two colors flow into each other to mix. Then continue with red on the last tip, again allow to flow into the two other primary colors that you already have.

Do the same for the other triangle using the warm primary colors. Now, observe and compare how the intensity of the secondary colors differ on both triangles. The success of your color mixing depends on you becoming more familiar with the colors on your palette. Experiment and have fun with them!
How To Use Watercolor Wet-On-Wet
Painting using the wet-on-wet process is often used for painting soft landscapes, big swatches of skies, anything that needs a soft and flowy effect. From the term wet-on-wet, you are literally adding wet paint to a wet surface. Because your paper is wet when you apply the paint, magical and unpredictable things can happen.
Simply wet your paper, preferable with clean water so your colors remain pure. Brush side to side and cover the whole designated area. Try not to rub your paper with the brush - it will ruin it, and don't soak with water - just the right amount of wetness.

See how the pigment reacted to the wet surface, you can create amazing textures and effects using this method. Wet-on-wet painting is very playful.
How To Use Watercolor Wet-On-Dry
With wet-on-dry painting, your lines will have crisper and sharper edges. This gives you more control over what they should look like. So if you need precise lines and shapes, then this is the method to use. From its technical term as well, you apply wet paint on dry paper. The edges remain hard and with hardly any bleeding.
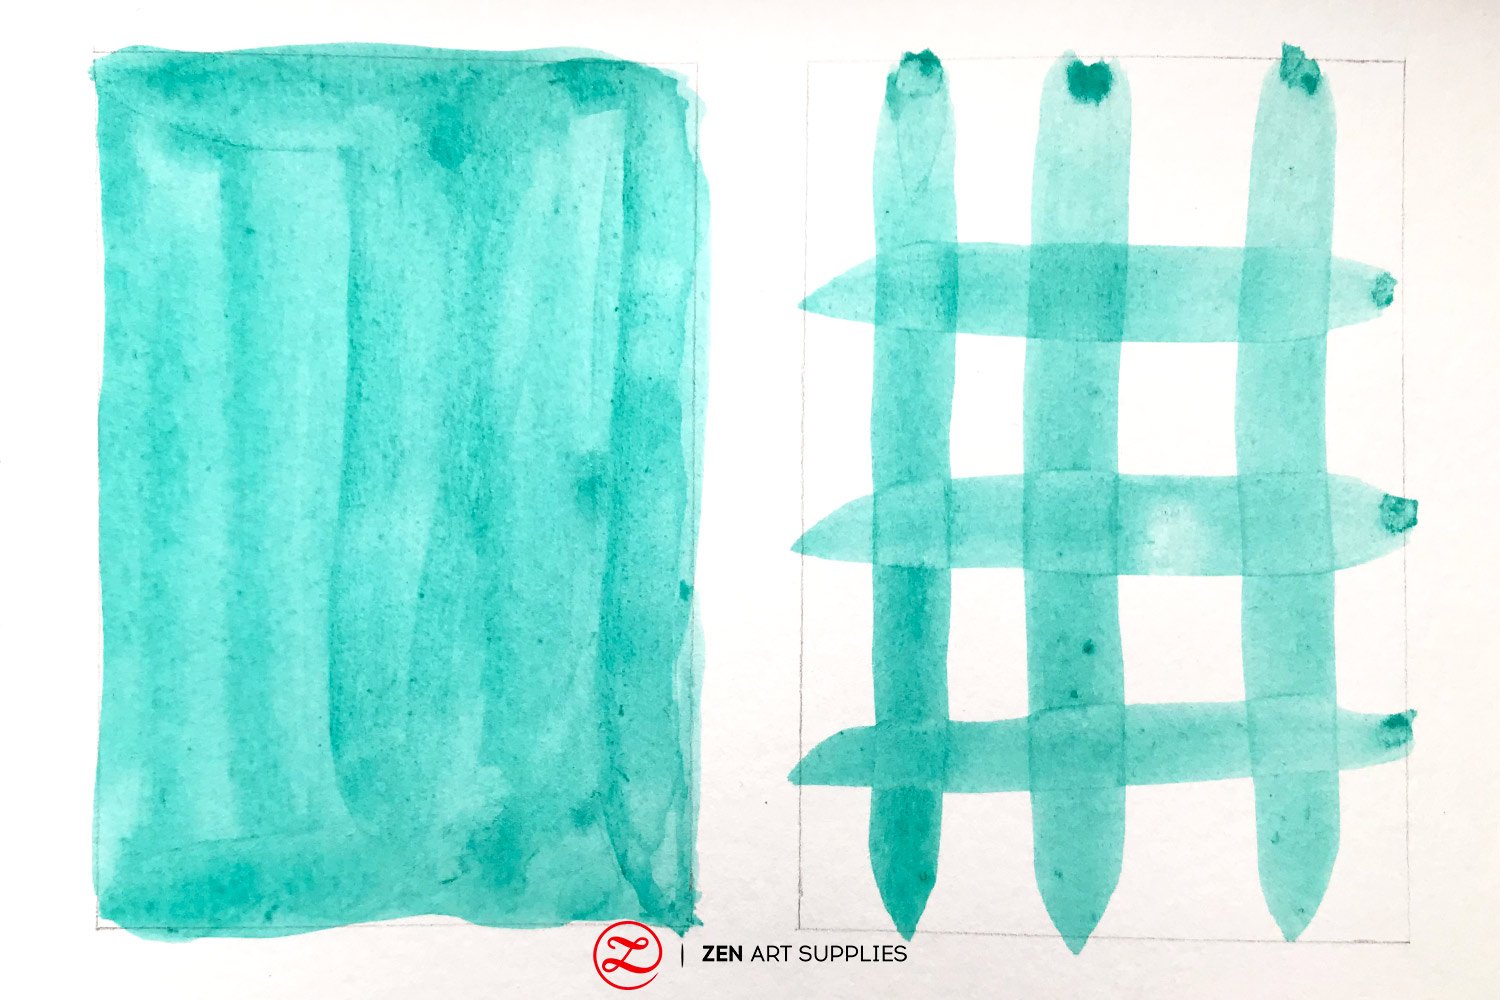
Of course, you can use a combination of both. Just remember to allow any wet parts to fully dry before using the wet-on-dry method or vice versa.
Beginner Watercolor Layering
Since watercolor has wonderful transparent properties, it's a good idea to play around with this quality that sets it apart from other mediums. If you do it right, you can see through all the beautiful layers underneath.
To fully take advantage of the effects of layering, mix diluted colors. If they are too saturated, it defeats the purpose of the layering. Start with the lighter color and then allow it to fully dry before adding the next layer. Patience is key here, if you paint over the still wet or damp layer, the two layers will mix and the effect will be marred. The more layers you add, the more saturated your colors will eventually become.


This layering effect is also called glazing, you can use this with other mediums as well like oil and acrylic.
How To Use Watercolor Paint - Light To Dark
This is a great exercise for water control. Learn how you can build up the saturation from almost white to a highly saturated mix with just a single color.
Start by drawing out a long strip on your paper. Then add the tiniest dab of color to the water puddle on your mixing plate. Let's use the wet-on-wet method and wet the strip and use that very washed out tint of color you just made to start off your strip. Slowly add pigments in small quantities as you move further along on your strip. Keep in mind that we want to create a seamless and soft transition from light to dark.

How To Use Watercolor Paint - Color Gradient
Now let's try to use a similar process to painting from light to dark. But this time around, we'll use two colors and transition from one color to the other by then of the strip. Choose two colors that are beside or near each other in the color wheel so you don't end up with a muddy effect.
Start by mixing a medium saturation of both colors in your mixing plate. Wet your strip, and start with the first color. Then slowly add in the other color to it in slow but increasing increments until you get to the full color to the other end of the strip. Try to make the transition from one color to the next as smooth as you can.

Use different color combinations to see different effects. This is great practice for painting sunsets.
I hope you learned the basics of how to watercolor for beginners in this tutorial. The more you practice and experiment, the better you will become. Since watercolor is a very portable medium, you can do it anytime and anywhere. Even if it's just 20-30 minutes everyday, that helps a lot in improving your knowledge and understanding of watercolors. Remember to enjoy the process and don't get discouraged or overwhelmed when you don't get things right. Take breaks and after some time you'll see things better with fresher eyes.

We'd love to hear back from you!
Which method do you think you'll have the most fun with, wet-on-wet or wet-on-dry? Are you excited to try the layering effect? What two colors will you first try out for your gradient? What future content would you like to see from us? Let us know what you think, we'd love to hear back from you. Feel free to leave a comment, and we'll be happy to answer any queries you have.
Discover how colors and emotions are closely linked to each other in our next Toolkit article - Colors and Emotions in Art. Until then, have a great time learning how to watercolor for beginners!
- MEET THE AUTHOR-

Kathleen is the Wordsmith at ZenART, resident artist and art editor. When God sent a shower of talents, Kathleen made sure she got a basketful of them! She's a visual artist with practical knowledge on various fields from painting and sculpture, to costume and set design which comes in very handy when writing about various art techniques and theories. She also shares her passion for the arts through teaching. She runs her own brand of handmade wirework jewellery designs.


