Oil Painting Brush Strokes | Types of Brush Strokes In Oil Painting | Oil Paint Brush Stroke Techniques
Before we go exploring the different oil painting brush strokes and techniques, you might be interested to head here after as well - How To Paint Watercolor Trees and Techniques. You'll find easy step by step guides to help you learn how to paint those trees and a video by ZenART's co-founder, Ardak Kassenova.
TABLE OF CONTENTS: Looking for something in particular? Jump ahead using the links below:
Types of Brush Strokes In Oil Painting
Alla Prima or Wet-on-Wet
Blending
Scumbling
Optical Color Mixing
Hatching and Cross Hatching
Feathering
Glazing
Sgraffito
Oil Paint Brush Stroke Techniques
Oil Painting Brush Strokes
Brush strokes are very important in oil painting. It's one of the challenging parts of it and one of the most fulfilling as well. Oil is the perfect medium to fully explore the different techniques and textures you can create, and how you can properly use them to convey the right look, effect, mood, atmosphere, and overall finish of your painting.
Take Vincent van Gogh's "The Starry Night", his expressive brush strokes fill the night sky with bursts of light. The stars are bright and twinkling, and the crescent moon is radiant. A beautiful contrast to the quiet town below.

Let's take a very close look at one particular spot of the painting - the moon. Look how thick the oil paint strokes are, the energetic directional and gestural strokes make the painting come alive with movement and contrast.

Wouldn't it be great to learn how to paint like this someday? Let's take a look at the various oil paint brush strokes and techniques we need to start with below.
Types of Brush Strokes In Oil Painting

Alla Prima or Wet-on-Wet
This technique is when you apply paint on top of a layer or layers of still wet paint. Artists who use this technique can possibly finish a painting in just one sitting. The challenge is to blend the colors just enough to create a blending effect. But at the same time being careful not to muddy up your painting with too much blending with the layers below.


Blending
The beauty of oil is you can take as much time as you want when blending. Typically brushes with stiff enough bristles are used for oil painting. But if you're looking to create a perfectly soft and smooth blend, then use softer brushes. This technique is usually used when painting realistically. You need to define which parts have a hard edge, soft edge, and a lost edge - like the disappearing horizon across the sea.


Gradient Blending - You can use this technique to create smooth transitions between colors and to show subtle value changes. Take your time when using this technique as abrupt shifting in colors and values will look odd, unless of course it's meant to be such. So just be careful to keep those transitions. Keep in mind that when blending thoroughly, you will lose the textural quality and energy of more raw brush strokes.

Scumbling
The scumbling oil paint brush stroke is when you create a more textural transition from one color to another, a more blotchy kind of look. You use unthinned paint and apply it on the surface with broken strokes. Brushes with stiff bristles are great for this, as it will lift off some paint as well and show the underlying layer here and there. Push it against the canvas until the bristles splay a little. Then rotate the brush while painting, twisting and turning as you move along. Flat and round bristles are often used for this technique.


Optical Color Mixing
Optical color mixing is when you use two or more different colors (greater contrast gives a better effect) and apply them to create a sort of blend but without actually blending them with your brush. You first apply one color in similar broken strokes (uniform sized strokes) and allow it to dry. Then use another color and apply it on top of the previous color that's already dry. The idea behind this technique is similar to pointillism where you use dots to depict forms and also to render them.


Hatching and Cross Hatching
Hatching is when you apply parallel lines over each other. With cross-hatching you apply them across each other like crosses and Xs. You can use a single color, or multiple colors. This technique lets you add extra texture to your oil paint strokes and adds more depth to your painting.


Feathering
This technique uses brush strokes to make soft, feather-like edges. So if you don't like seeing hard or crisp edges on some parts of your painting, then "feathering" will give them soft and fine fanned out edges.


Glazing
This is a very popular oil painting brush stroke technique. You start by having an opaque layer that has dried, then apply a thin and semi-transparent layer - a glaze - on top of it. You can paint as many layers as you want, just as long as you allow each layer to dry before adding the next one. The effect is a final work with colors that optically combine but the different color pigments actually remain pure and are not physically combined. This is a great technique for painting luminous skin tones as it gives a smooth blended effect.


Painting skin tones can be quite daunting at first. But if you know the right steps to take, you'll get better results before you know it. Find out how in this Oil Painting Skin Tones article.
Underpainting
This is not a brush stroke per se, but it's a very useful technique to learn. It's the first layer applied to the ground of your chosen painting support. There are several kinds and methods of underpainting. The most common purpose for using it is to plot out the composition and lines, and establish the values before adding the color to your painting. Some artists prefer to do a very detailed and complete monochromatic underpainting of their subject. While others use a loose sketching oil paint stroke that's more gestural and just for blocking in the major elements of the composition.


Sgraffito
Although you don't technically use the hair/bristles of your brush for this technique, I'll still include this here. It's still a kind of way of creating "strokes" though instead of applying paint, you remove it. You can use the tip of your brush's handle or a palette knife to do this.


Oil Paint Brush Stroke Techniques
Using The Right Brushes and Supports
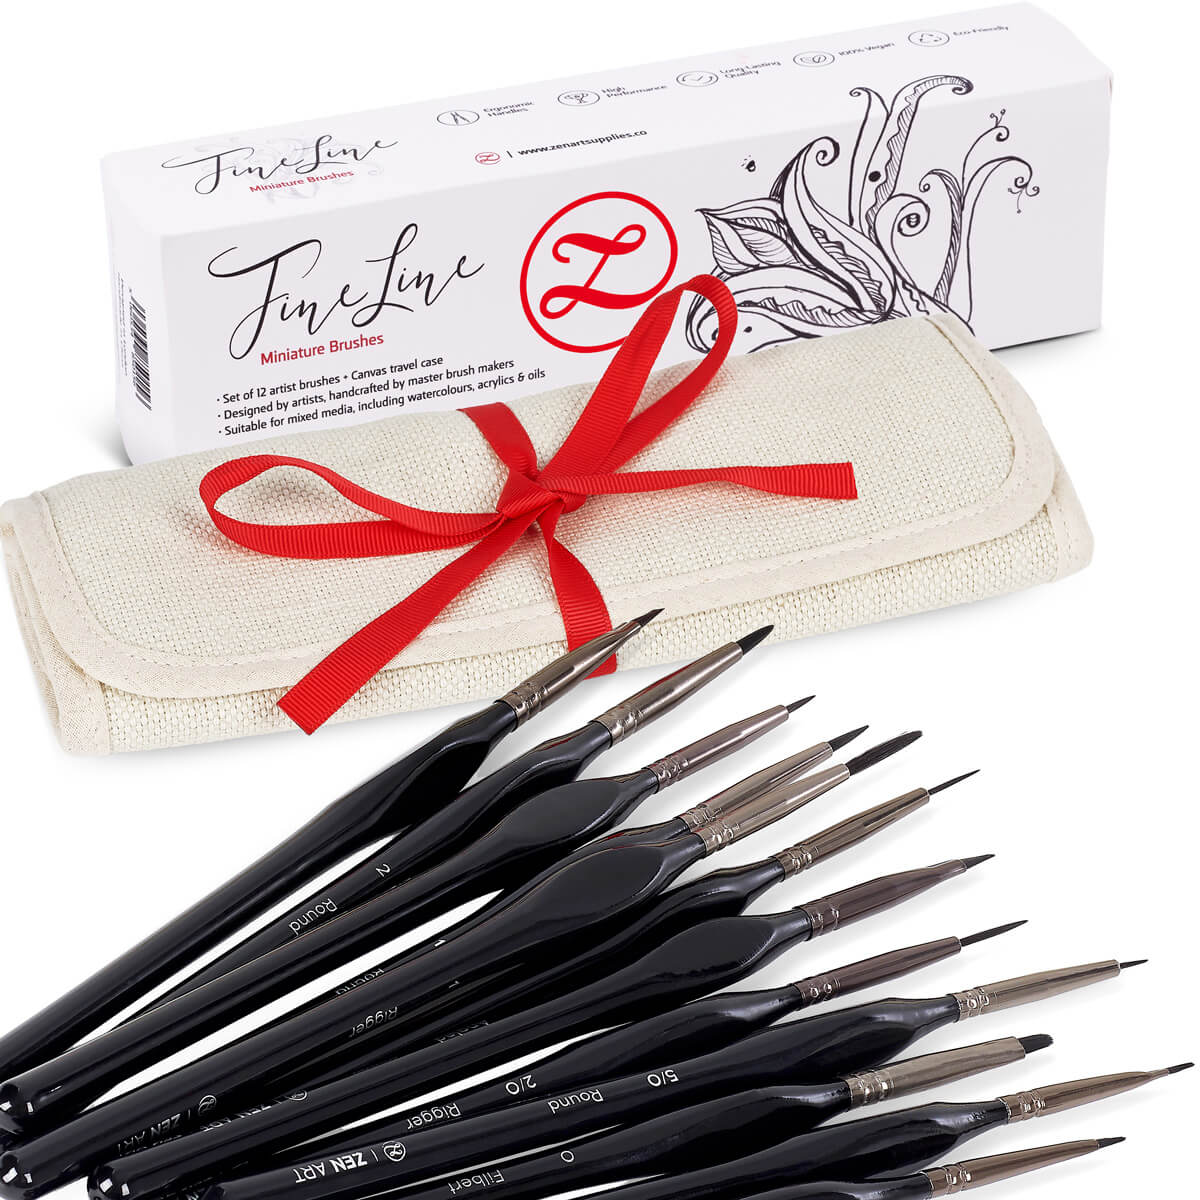
It's important to get acquainted with your different brushes and see what kind of oil painting brush strokes you can do with each one. The type of hair, the size and shape of the bristles, the length of the brush will all influence the look and effect of your brush strokes. I personally am a big Filbert brush fan, it's the most versatile brush for me. It's flat but with a rounded shape, so I can do broad, thin, rough, and smooth strokes with it. Experiment with each kind of brush that you have so you'll find out which ones to use for specific techniques and painting styles.


The canvas is the most popular support, the texture is not too rough nor too smooth. If you're looking for a smoother one, wood is great and also oil primed linen with a finer texture (they come in several kinds and thickness). So if your painting is meant to be smooth, it's better to use a smoother surface so you don't need to load up a lot of paint just to get that smooth finish. If you're not aiming for anything smooth and glossy, then a regular canvas is fine. The more stable your support is, the more paint thickness it can handle.

Using The Right Amount of Brush Strokes
This is a skill you will learn and get better at with time and continuous practice. Knowing how to apply the oil paint brush strokes and just as importantly, knowing when to stop. So when you find yourself pleased with what you've done, step back and don't overwork it. I know this too well, sometimes I just can't help myself and end up with a mess instead - oops! Try to think about how you will go about painting each part, so you can plan for it as best as you can.

Choosing The Right Brush Strokes
Ask yourself what you're trying to achieve. Do you want to show a lot of texture? A soft and diffused effect? Luminous skin? Or maybe you're trying to create a certain atmosphere? Once you've answered these kinds of questions then you'll have an easier time deciding which oil paint strokes would work best for what you have in mind. If you're not too sure yet or haven't really made up your mind between certain effects, then make quick studies trying them both out. This would really help you see them in actuality rather than just imagining them.

The size and direction of your brush strokes will also affect the look and feel of your painting. Like when painting grass, you would brush upwards to form fine tips, and vary the direction as well to show movement.
I hope you found that useful and helpful. The best way to learn is to try them all out yourself. Remember to be kind to yourself, even if you don't like what you end up with I'm sure you'll learn something from it. Brush strokes give our paintings their own kind of personalities and stories that are just irreplaceable. So try to have fun with the process and just keep experimenting and exploring. You can learn more about the techniques behind oil color mixing, use of diluents and solvents, and other tips in our Oil Paint Mixing Guide.
We'd love to hear back from you!
Which brush strokes are you familiar with? Do you have a favorite brush stroke that you use more often than the others? Which brush strokes are you looking forward to try out and experiment with? What future content would you like to see from us? Let us know what you think, we'd love to hear back from you. Feel free to leave a comment, and we'll be happy to answer any queries you have. Join our friendly art community, Painting Inspiration Daily for ideas, LIVE video tutorials, and guidance to help motivate you!
On our next Toolkit article - How To Clean Acrylic Paint Brushes. Learn how to keep those treasured brushes clean and in good shape for a long time. Until then, have a wonderful time learning the different oil painting brush strokes and techniques!
- MEET THE AUTHOR-

Kathleen is the Wordsmith at ZenART, resident artist and art editor. When God sent a shower of talents, Kathleen made sure she got a basketful of them! She's a visual artist with practical knowledge on various fields from painting and sculpture, to costume and set design which comes in very handy when writing about various art techniques and theories. She also shares her passion for the arts through teaching. She runs her own brand of handmade wirework jewellery designs.


