What are they? | Why are they used? | Different types of Oil Painting Mediums
Anyone who has ventured into oil painting will find themselves a bit overwhelmed by the sheer number and variety of oil painting mediums available. Do you really need them all and what do you do with them exactly? Let’s start with the first question…
What are oil painting mediums?
Oil painting mediums are additives that you mix with your oil paints to change their consistency or viscosity, drying time (faster or slower), or their surface finish.

Why are mediums used?
Using any medium will affect your paints in one way or another. Knowing how each one affects your paints, how to use them, and when to use them will give you more options with your techniques.
Some mediums hasten the drying process while some slow them down. There are also mediums that thicken your paint, allowing you to do impasto-like finishes without having to use too much of your paint. While some make a too thick or pasty paint more blendable (old paints for example). And some mediums help you achieve beautiful glazing.
Personally, I use oil painting mediums as sparingly as I can. This is what I’ve learned in school and I find that I agree with my teacher’s advice. Anything you add to your paints will change them and sometimes not for the better. The thing to remember is that you should always follow the 'fat over lean' principle.

What is fat over lean?
This means that you should paint the leanest layers first, these usually have some kind of solvent mixed in to reduce the fattiness of the paints. Then, as you add each layer, each succeeding one should be fattier than the last. Fatter means there is more oil mixed in.
Plan out your painting process so you’ll know when to use which oil painting medium and by how much. For my process, I usually mix in some odorless mineral spirits with my first layer where I want to have a very watery mix. Which I then use to sketch and block out the bigger shapes and shadows. Then if I’m in a hurry, I paint the first two layers with some Liquin (lean medium) mixed in with my paint. It dilutes the paint a bit and also hastens the drying time. After I use paint straight from the tube. For the final layer/s I add some linseed oil, but I usually just dip my brush in the oil and mix it with my color/s. I leave the layers that require some glazing for last as they are the fattiest of them all.
Here’s a simple diagram to help you visualize how this works.

The more oil painting mediums you use, the more careful you have to be. Try to stick to one per layer to be on the safe side.
Why is it important to follow?
Following the fat over lean process will ensure that your paintings won’t easily crack over time. If you painted with a fat layer first and then followed with a lean one, you’ll most probably end up with a cracked surface as all the layers start to cure.
Why? First, because lean layers will dry first. Fatter also means it has more flexibility because of the oil. Imagine a top layer that’s not as flexible as the layer below it that also dries first. The still wet layer below can still “move” while it’s drying and this will in turn create cracks on the layer above that’s already dry.
Layers below should dry first before the upper layers. To make sure this happens, always paint fat over lean when using oil paints.
Oil Painting Mediums Explained

Various mediums that I personally use mixed with colors (Cadmium Red Hue, Ultramarine Blue, Yellow Ochre) from ZenART Supplies’ Essential, Portrait, and Impressionist Palettes. Chungking Hog Brushes (Filbert and Flat) and a palette knife from the Renoir Collection to mix and apply the paint.
Mediums that change the consistency of the paints
Artist-grade oil paints have a nice, buttery consistency when used straight out of the tube. But not everyone will want to paint with that consistency all throughout their painting process. Here is where mediums come in quite handy as you can make your paints thicker or very thin and fluid-like.
For a more fluid flow, you can add oils, alkyds, or glazing mediums to your paints. You usually want this when you’re painting fine details, want a smoother finish where the brushstrokes are leveled out, or for some glazing effects. Or for the first leaner layers where you want more transparent or thinner applications.
If you’re looking to paint highly textural impasto work or where you want to retain the brush marks, then wax or gel mediums are your best friends. They come in a range of varying densities. Heavy ones are perfect for those ultra-thick and sharp-edged knife marks or brushwork. Then, there are also softer gels and waxes that are easier to work with and will give you subtler - yet still textured - effects.
Mediums that change the surface finish of the paints
All the different oil painting mediums will affect the surface finish of your paints in one way or another. Any medium you add will change the consistency of the paints and this in turn will alter the finish once it dries.
Solvents evaporate quickly but leave a dull or chalky finish. Wax mediums give a more matte finish. Synthetic resins such as alkyds can range from a satiny patina to very glossy. A good ratio of natural resins mixed in will usually yield a high gloss finish. And oils will also give you glossy finishes, too.
The choice will always be up to you. At the end of the day, varnish can be used to alter the final surface finish to whichever sheen you prefer as a final step in your painting process.

Testing out various mediums using the same color, Prussian Blue, from the Impressionist Palette, ZenART Supplies.
Mediums that change the drying time of the paints
Oil paints have varying drying times across different brands as the formulations also vary. And for artist-grade paints, for each color or pigment as well. Some colors dry faster than others and this will be one of the things that you should want to learn and take note of. The good news is, oil painting mediums can help you adjust the drying time whether by hastening it or slowing it down.
Why use oil painting mediums that hasten the drying time?
This is quite essential for the first few layers and also if you don’t have the luxury of allowing your paints to dry in their normal drying time - perhaps a commission with a deadline where you’re pressed for time.
Driers, solvents, and resin are used in greater amounts while oils are kept to the bare minimum. How fast your layer of paint dries will depend on how much you use and how thick of an application you do. Thinner layers can be dry to the touch by the following day.
Mediums that hasten the drying time can be bought ready-made or you can make your own too.
Now let’s have a quick overview of the most used mediums and solvents by artists below. I’ll divide the list into four: solvents, oils, alkyds, and waxes.
A List of Oil Painting Mediums: The Usual Suspects
Solvents
Solvents can be used for cleaning your painting implements and for thinning down your paint. Your mixture will become runnier, more transparent, dry quicker (as the solvent evaporates very quickly), and will dry with a matte finish.
You don’t have to use solvents if you’d rather not. It is quite alright to paint solvent-free, too.
Turpentine - can be used both for cleaning and for diluting your paint. Many artists still favor it as it mixes very well with oil paints. But it is a toxic substance that also releases noxious and heady fumes and should be used with great caution and in a well-ventilated area. Containers with lids are best so they can be kept closed while not in use. Use rubber/latex gloves to avoid direct contact with the skin and keep away from your eyes as well. It’s best to keep these precautions in mind for the next three solvents on this list: turpentine, OMS, and oil of spike lavender.
The good thing about turpentine is that it can be reused multiple times. Wait for the paint sediment to sink to the bottom of the container. Then transfer the now clearer liquid onto a new container and use it again.
Odorless mineral spirits or Artist’s white spirits - can be used similarly to turpentine (cleaning and thinning paint) but is considered to be subpar for thinning down paint compared to turpentine. It’s more aggressive and can cause the paint film to be greatly weakened which might lead to a more brittle surface that’s prone to cracking. I use it mainly for cleaning, then thinned down only for sketching or blocking out rather than as an oil painting medium.
It is odorless but the fumes are still there and will affect your health in the same way as turpentine when not used with care. I also reuse it just like turpentine for cleaning my brushes.
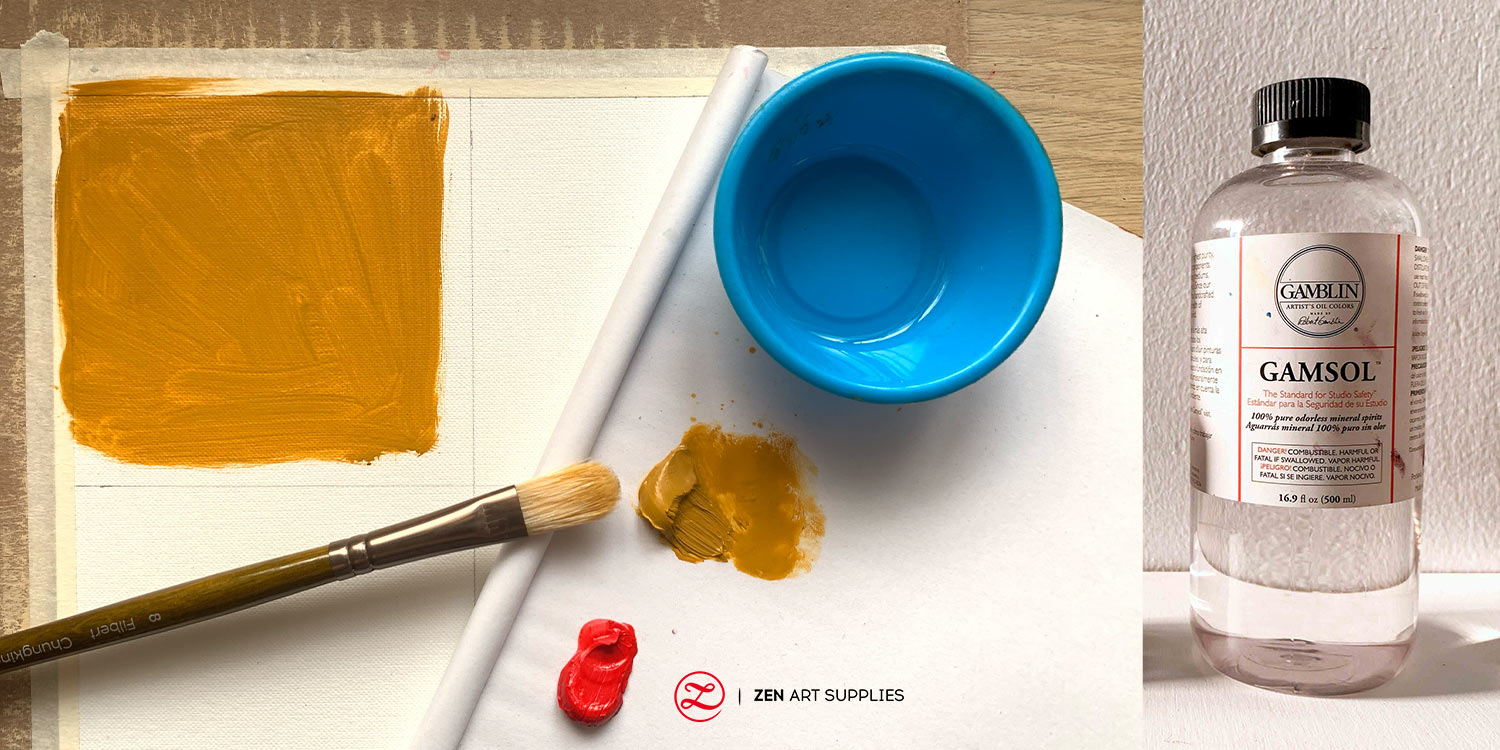
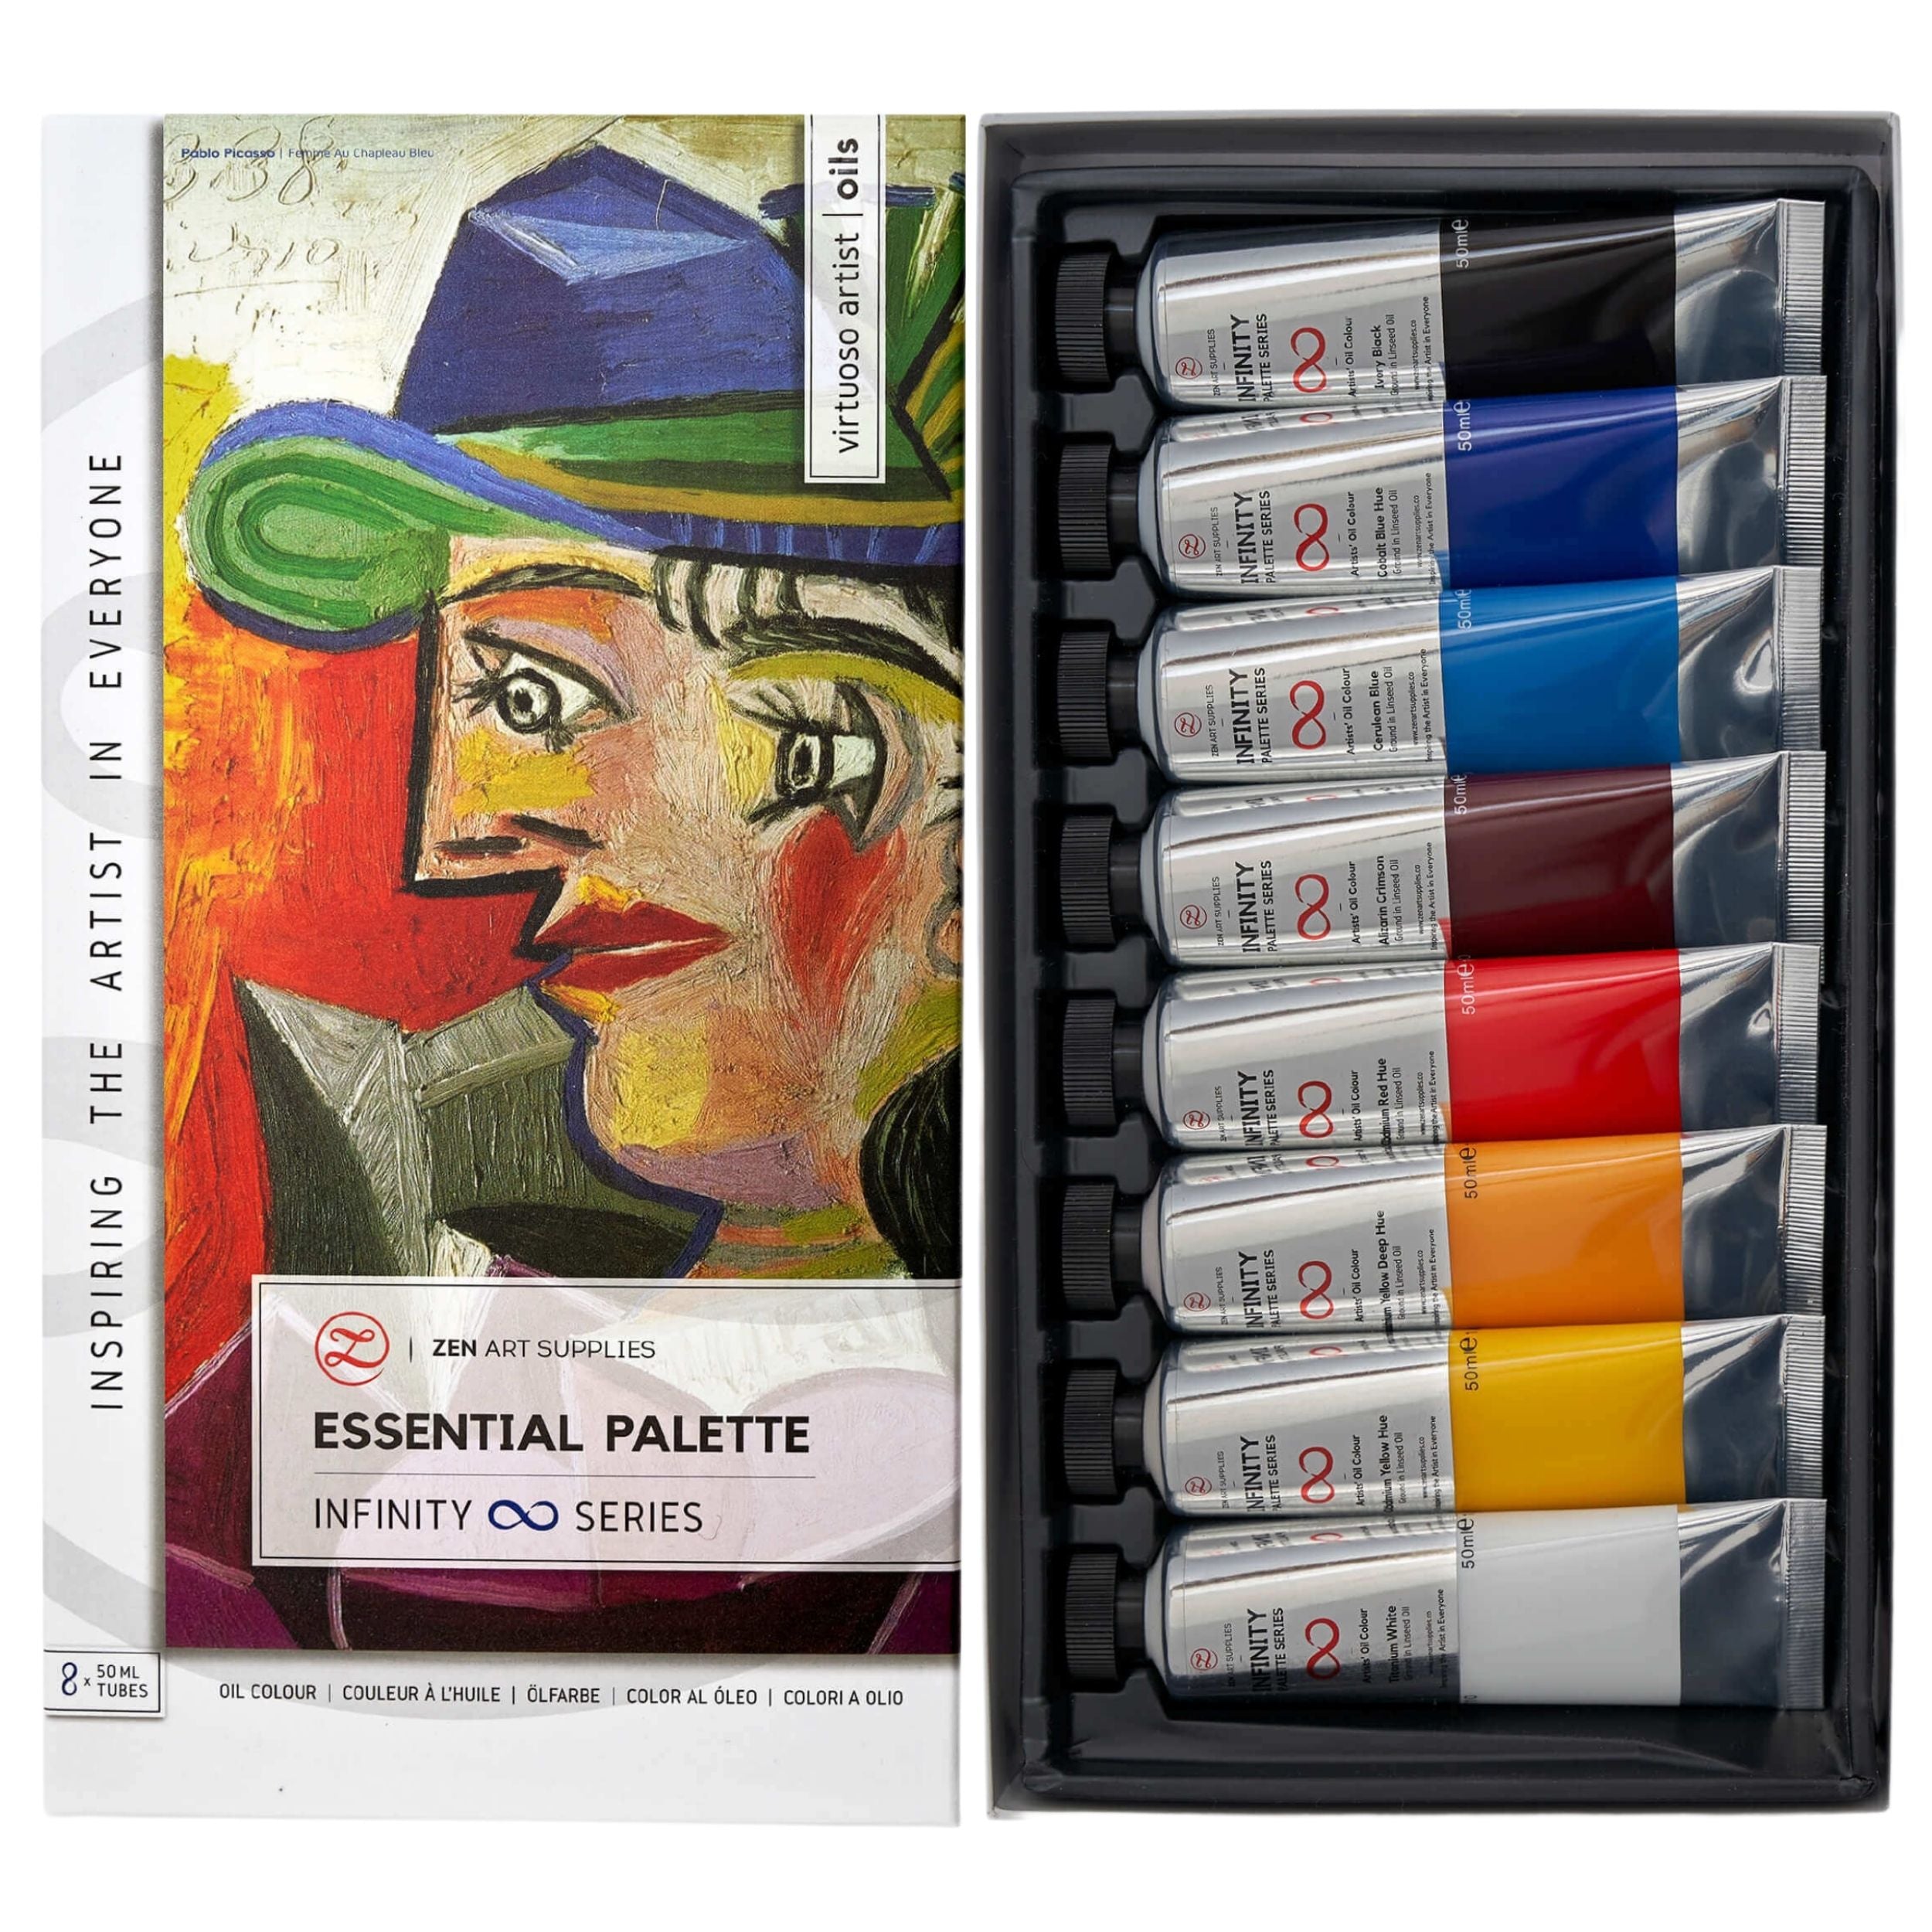
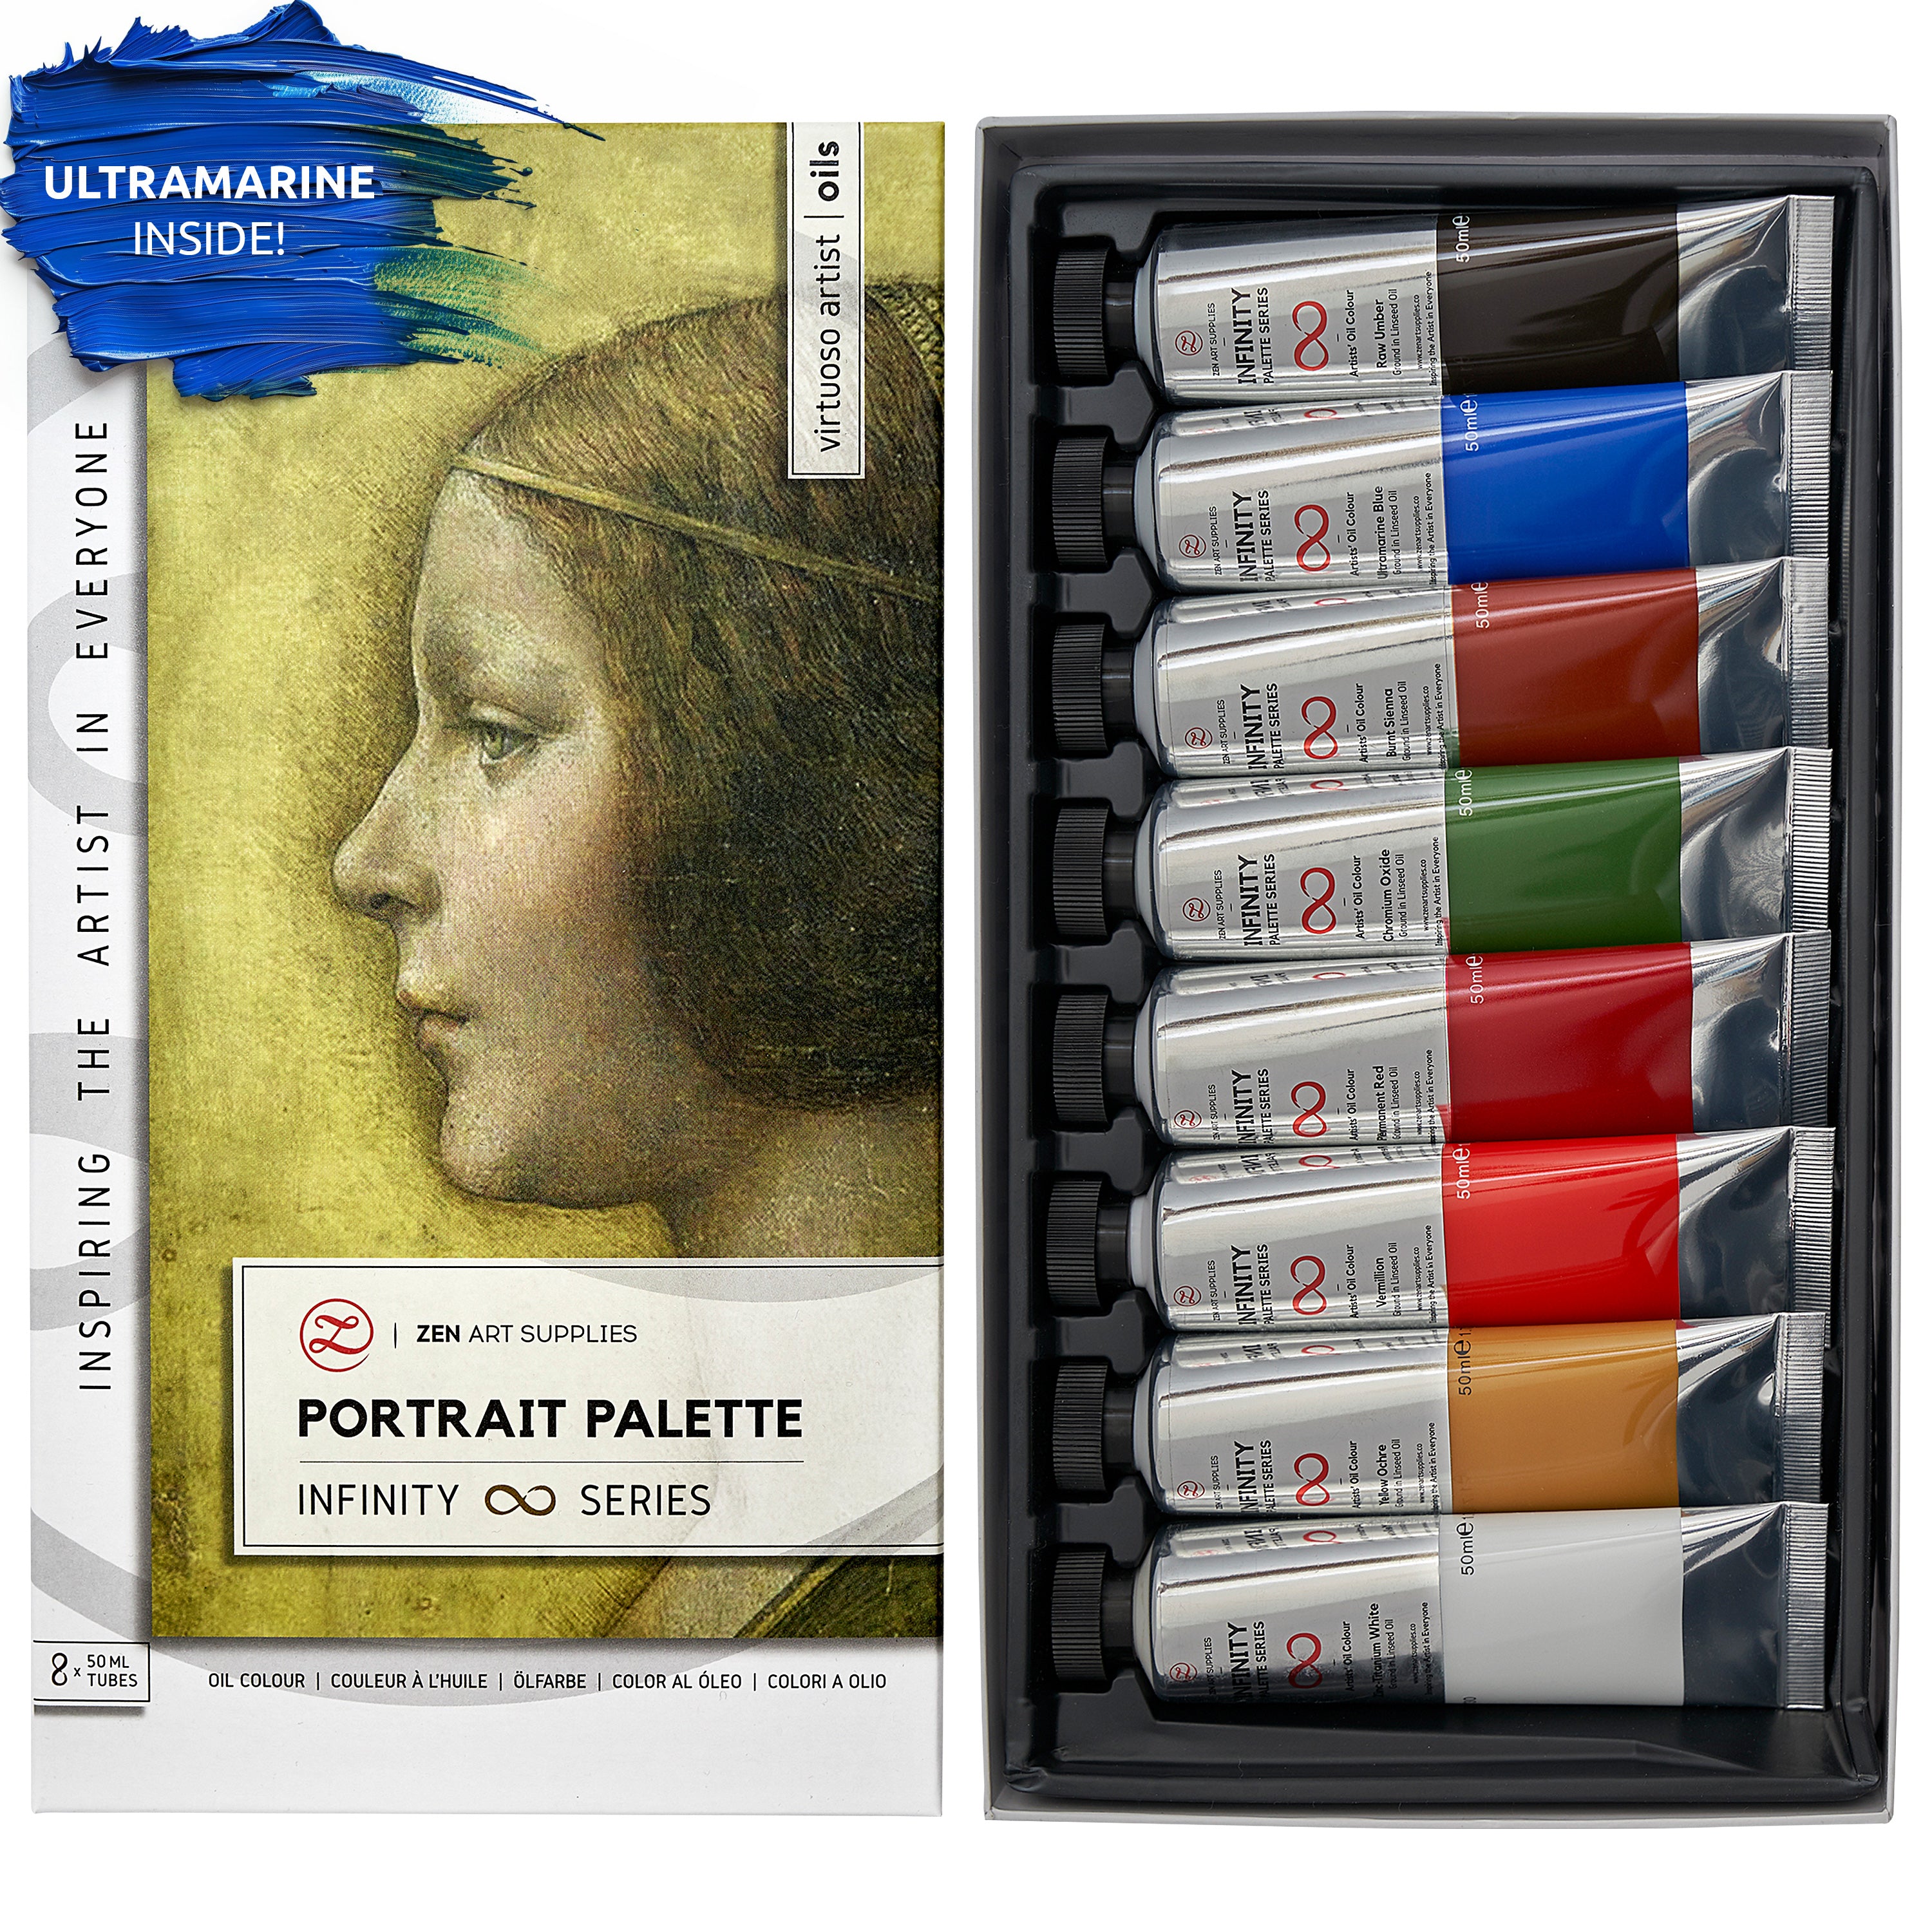
Yellow Ochre from the Portrait Palette of ZenART Supplies’ Infinity Series oil paint sets.
Do not use regular white spirits from the hardware store as those have a lot of undistilled impurities that will affect your painting’s integrity over time.
Oil of spike lavender - is a good alternative to turpentine and mixes almost as well when used as a medium. It is much stronger so you’ll also need to use less, but it’s also less toxic. Many also agree that it has a much more tolerable smell, too. It’ll cost you more (compared to turps) but since you’ll use far less, it just evens things out.
Zest-it Oil paint Dilutant and Brush Cleaner - is an eco-friendly alternative to all of the above. You won’t have to worry about fumes and strong smells as it has a pleasant citrusy aroma. It’s also biodegradable which is always a good thing. You can use it to thin your paint (though it’s on the thicker side compared to the three above), clean your brushes, and mix with other mediums. This is ZenART Supplies’ co-founder, Ardak Kassenova’s personal choice as it’s much safer to use when there are kids (and or pets) around.
Turpenoid (Odorless) - is another odorless turpentine substitute. It can be used in the same ways as turpentine (painting properties and drying time) but is odor-free.
Oils
Oil paints from the tube already have some kind of drying oil mixed in them (usually linseed). Adding extra oil makes the paint ‘fatter’ and more transparent, you can get smoother brush strokes, too. But it will slow down the drying time.
Oils dry differently than acrylic paints where the water just evaporates, allowing the paint to dry quickly. With oil paints, the oil gets exposed to the air and oxidizes. The paints then start to ‘cure’ and start to dry through this process. Only use oils that are meant for oil painting (drying oils) as not all oils will be suitable. Almond oil and olive oil for example are non-drying oils, so if you use them, your painting will never dry.

The most popular oil used for oil painting is linseed oil, it comes in several different varieties as well. Other popular oils are safflower oil, walnut oil, and poppy seed oil. There are other painting oils but the ones most used are these.
All oils fall under the ‘fat’ umbrella. Add oil/s to your paint or your medium mixture in small increments and increasing amounts as you layer on.
Refined linseed oil - is from the seeds of the flax plant (all linseed oils are). This is the most popularly used oil paint medium both for mixing with solvents and for creating DIY mediums. When it dries, it creates a strong and durable film because of its high linoleic content. It also contains another acid (linolenic) that causes yellowing over time.

Cold-pressed linseed oil - compared to refined linseed oil, gives you a shinier and harder film when it dries. But it will take longer to dry. So if you’re not pressed for time, it’s a good choice to opt for.
Linseed stand oil - has a much thicker consistency compared to other oils, very heavy-bodied like a very sticky syrup. When used, it will give you a smooth and glossy finish. Due to its thicker body, it’s not as flowy as other oils but levels out very well. You also won’t have to worry so much about areas ‘sinking in’ when using it. This is the perfect fat medium to use when creating your own glazing medium. It also doesn’t yellow as much as regular linseed oil over time.

Safflower oil - is more fluid than linseed oil and allows you to have a runnier mixture. It dries much slower than linseed and dries to a much weaker film. But it doesn’t yellow as much as linseed which is why it’s usually used for painting areas with pale or white colors. When you compare it with linseed oil in the bottle, it is visibly a much paler yellow in color.
I advise you to use it sparingly. If you find yourself using it a lot then mix in a bit of linseed to help with the durability. Then varnishing your painting later will also help with the longevity of your painting.
Poppy seed oil - is much like safflower oil, it’s a paler and clearer oil paint medium that minimizes the change in color over time. Though it’s also on the more expensive side compared to other drying oils. It also dries slower than linseed but gives your paints great flow and a glossy finish. Similar to safflower oil, it’s not as durable as linseed oil in the long run.
Walnut oil - walnut oil is a good substitute for linseed oil if you don’t mind the longer drying time. From the bottle, you can see that it’s a very pale color similar to safflower and poppy. But unlike the two, walnut oil dries to a much more durable and even flexible film.

This is my preferred drying oil for painting light-colored sections. It has been used since the Renaissance and was often mentioned by Da Vinci. It enhances the flow of the paint and gives colors an added depth. You can use it to ‘oil out’ a painting that has dull and chalky parts or for the areas that have ‘sunken in’.
Some artists also use it for cleaning their tools instead of solvents. Just keep in mind that walnut oil can noticeably go rancid. It’s best to store it in the refrigerator and away from sunlight to extend its shelf life. Oils from nuts are more sensitive in general.
Cold wax
Cold wax doesn’t require heat to harden, hence the name. Adding cold wax to your paint will thicken it, allowing you to paint with heavily textured brushstrokes. It will also give your paints a matte finish due to the natural matte finish of the wax but will make them dry faster as well. By adding a little alkyd to the mix, you can bring back some sheen to it. Though it won’t be glossy, more on the satin side.
With this medium, you can achieve impasto brushstrokes without having to use a lot of your paints. You can build layers upon layers using wax without having to worry about the ‘fat over lean’ principle. And it will also be dry in a couple of days even when applied very thickly. Different brands offer their own cold-wax formulations and choices.
Alkyds

Cadmium Red Hue from the Essential Palette of ZenART Supplies’ Infinity Series oil paint sets.
Alkyds are a synthetic medium created from oil-modified resin treated with alcohol to speed up the drying time. There’s a great variety to choose from depending on what you’re looking for. There are formulations that are either thickening or thinning, give a satin or glossy finish, and hasten or slow down drying time. Varying levels of viscosity allow you to have a range of options from light washes to heavily textured strokes.
Alkyd mediums mixed with your paint can be touch dry in 24 hours. If you don’t want to wait for days on end between each layer, then consider adding alkyds into your painting process. I usually use this for painting the first two layers after blocking in my painting. It allows me to paint thinly but without worrying about it being too runny. Most alkyds give a flexible and glossy finish and dry to a durable film, almost enamel-like.

Ultramarine Blue from the Impressionist Palette of ZenART Supplies’ Infinity Series oil paint sets.
Driers
Driers work by hastening the drying, curing, and hardening time of the oil paints by acting as a catalyst. You’ll find dark-colored (Cobalt, Manganese) and light-colored driers (Calcium, Zirconium). Dark ones can affect the color of your paints but are very effective. While the lighter ones are less prone to discoloration but also dry slower.
You can mix them directly to your paint but must be used sparingly - just a few drops at a time. This may be necessary when you have deadlines that you don’t want to miss, as the drying time of oil paints varies across pigments and brand formulations.
Ready to explore oil painting mediums?

Experimenting and trying out different oil painting mediums is the best way to find out what works for you and your painting style and process. But don’t get bogged down on them or discouraged when you don’t find what you’re looking for. Personally, I only use a handful and find myself quite content with what I can achieve with them. The important thing is to properly get to know each one you plan to explore and be careful with the more toxic ones. Your health should always be number one.
Before you splurge on said mediums, check out our oil painting supplies list as well and make sure you have all the oil painting essentials that you’ll need.
We’d love to hear your thoughts!
Which oil painting mediums have you tried using so far? Did you see one from above that you’d like to explore? Comment away below! Join our friendly art community Painting Inspiration Daily on Facebook. You can share your art and ideas, watch LIVE tutorials, and be inspired to paint!
While you’re trying out new mediums, I recommend you explore the different oil painting brush strokes at the same time, too. You’ll never know what special combination of mediums and techniques you’ll come up with that will be your very own. Have fun with your oil painting adventures!
- MEET THE AUTHOR -

Kathleen is the Wordsmith at ZenART, resident artist and art editor. When God sent a shower of talents, Kathleen made sure she got a basketful of them! She's a visual artist with practical knowledge on various fields from painting and sculpture, to costume and set design which comes in very handy when writing about various art techniques and theories. She also shares her passion for the arts through teaching. She runs her own brand of handmade wirework jewelry designs.


