Oil Painting Supplies List | Other Optional Supplies | Useful Tips
You’re ready to try out oils but just looking at the plethora of seemingly endless oil painting supplies that you need to get makes it all a daunting task. Don’t be discouraged, you don’t need all of them especially if you’re just starting out.
Let me guide you through the basic supplies you need that will be more than enough for a seamless painting experience.

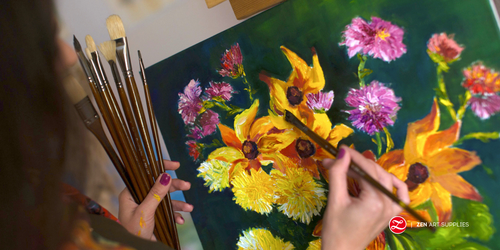
ZenART’s co-founder, Ardak Kassenova, painting vibrant flowers on a stretched canvas mounted on a french easel and with her handy trolley on the side for extra surface and storage.
What do beginner painters need?
When I was in art school, it was a mix of emotions when it was time to study oil painting. I was both excited and dreading it, it just seemed too complicated and it looked like I had to buy a lot of materials. But you really don’t, there are just a lot of options available. I’ll go through them just so you can understand how to make your choices by the end of this article.
My art teacher for example gave us a list of the things we needed and it wasn’t a long list at all. Just a handful of oil paint colors, a few brushes, a medium, soap for cleaning, other supplies easily found at home, and materials to make our own stretchers. We had to learn how to make one ourselves and stretch our own canvases. But don’t worry, you won’t have to do your own stretching here!
If you’re like me and have this preconceived notion of oil painting as too fussy or complex, then dread no more. Let’s start off our list with the very first thing you need for any painting — some paint.
Oil Painting Supplies List for Beginners
Oil Paints
Of course, the first thing you need will be your oil paints. And you don’t have to get the most expensive ones when you’re still trying to find out if this is something you will enjoy long term. But don’t get the cheapest ones either because you will never be able to appreciate the magic of painting with oils.

You also don’t need a mountain of colors. Here’s a handy guide for the basic oil paint colors you need and the advantages of learning to work with a limited palette as a beginner.
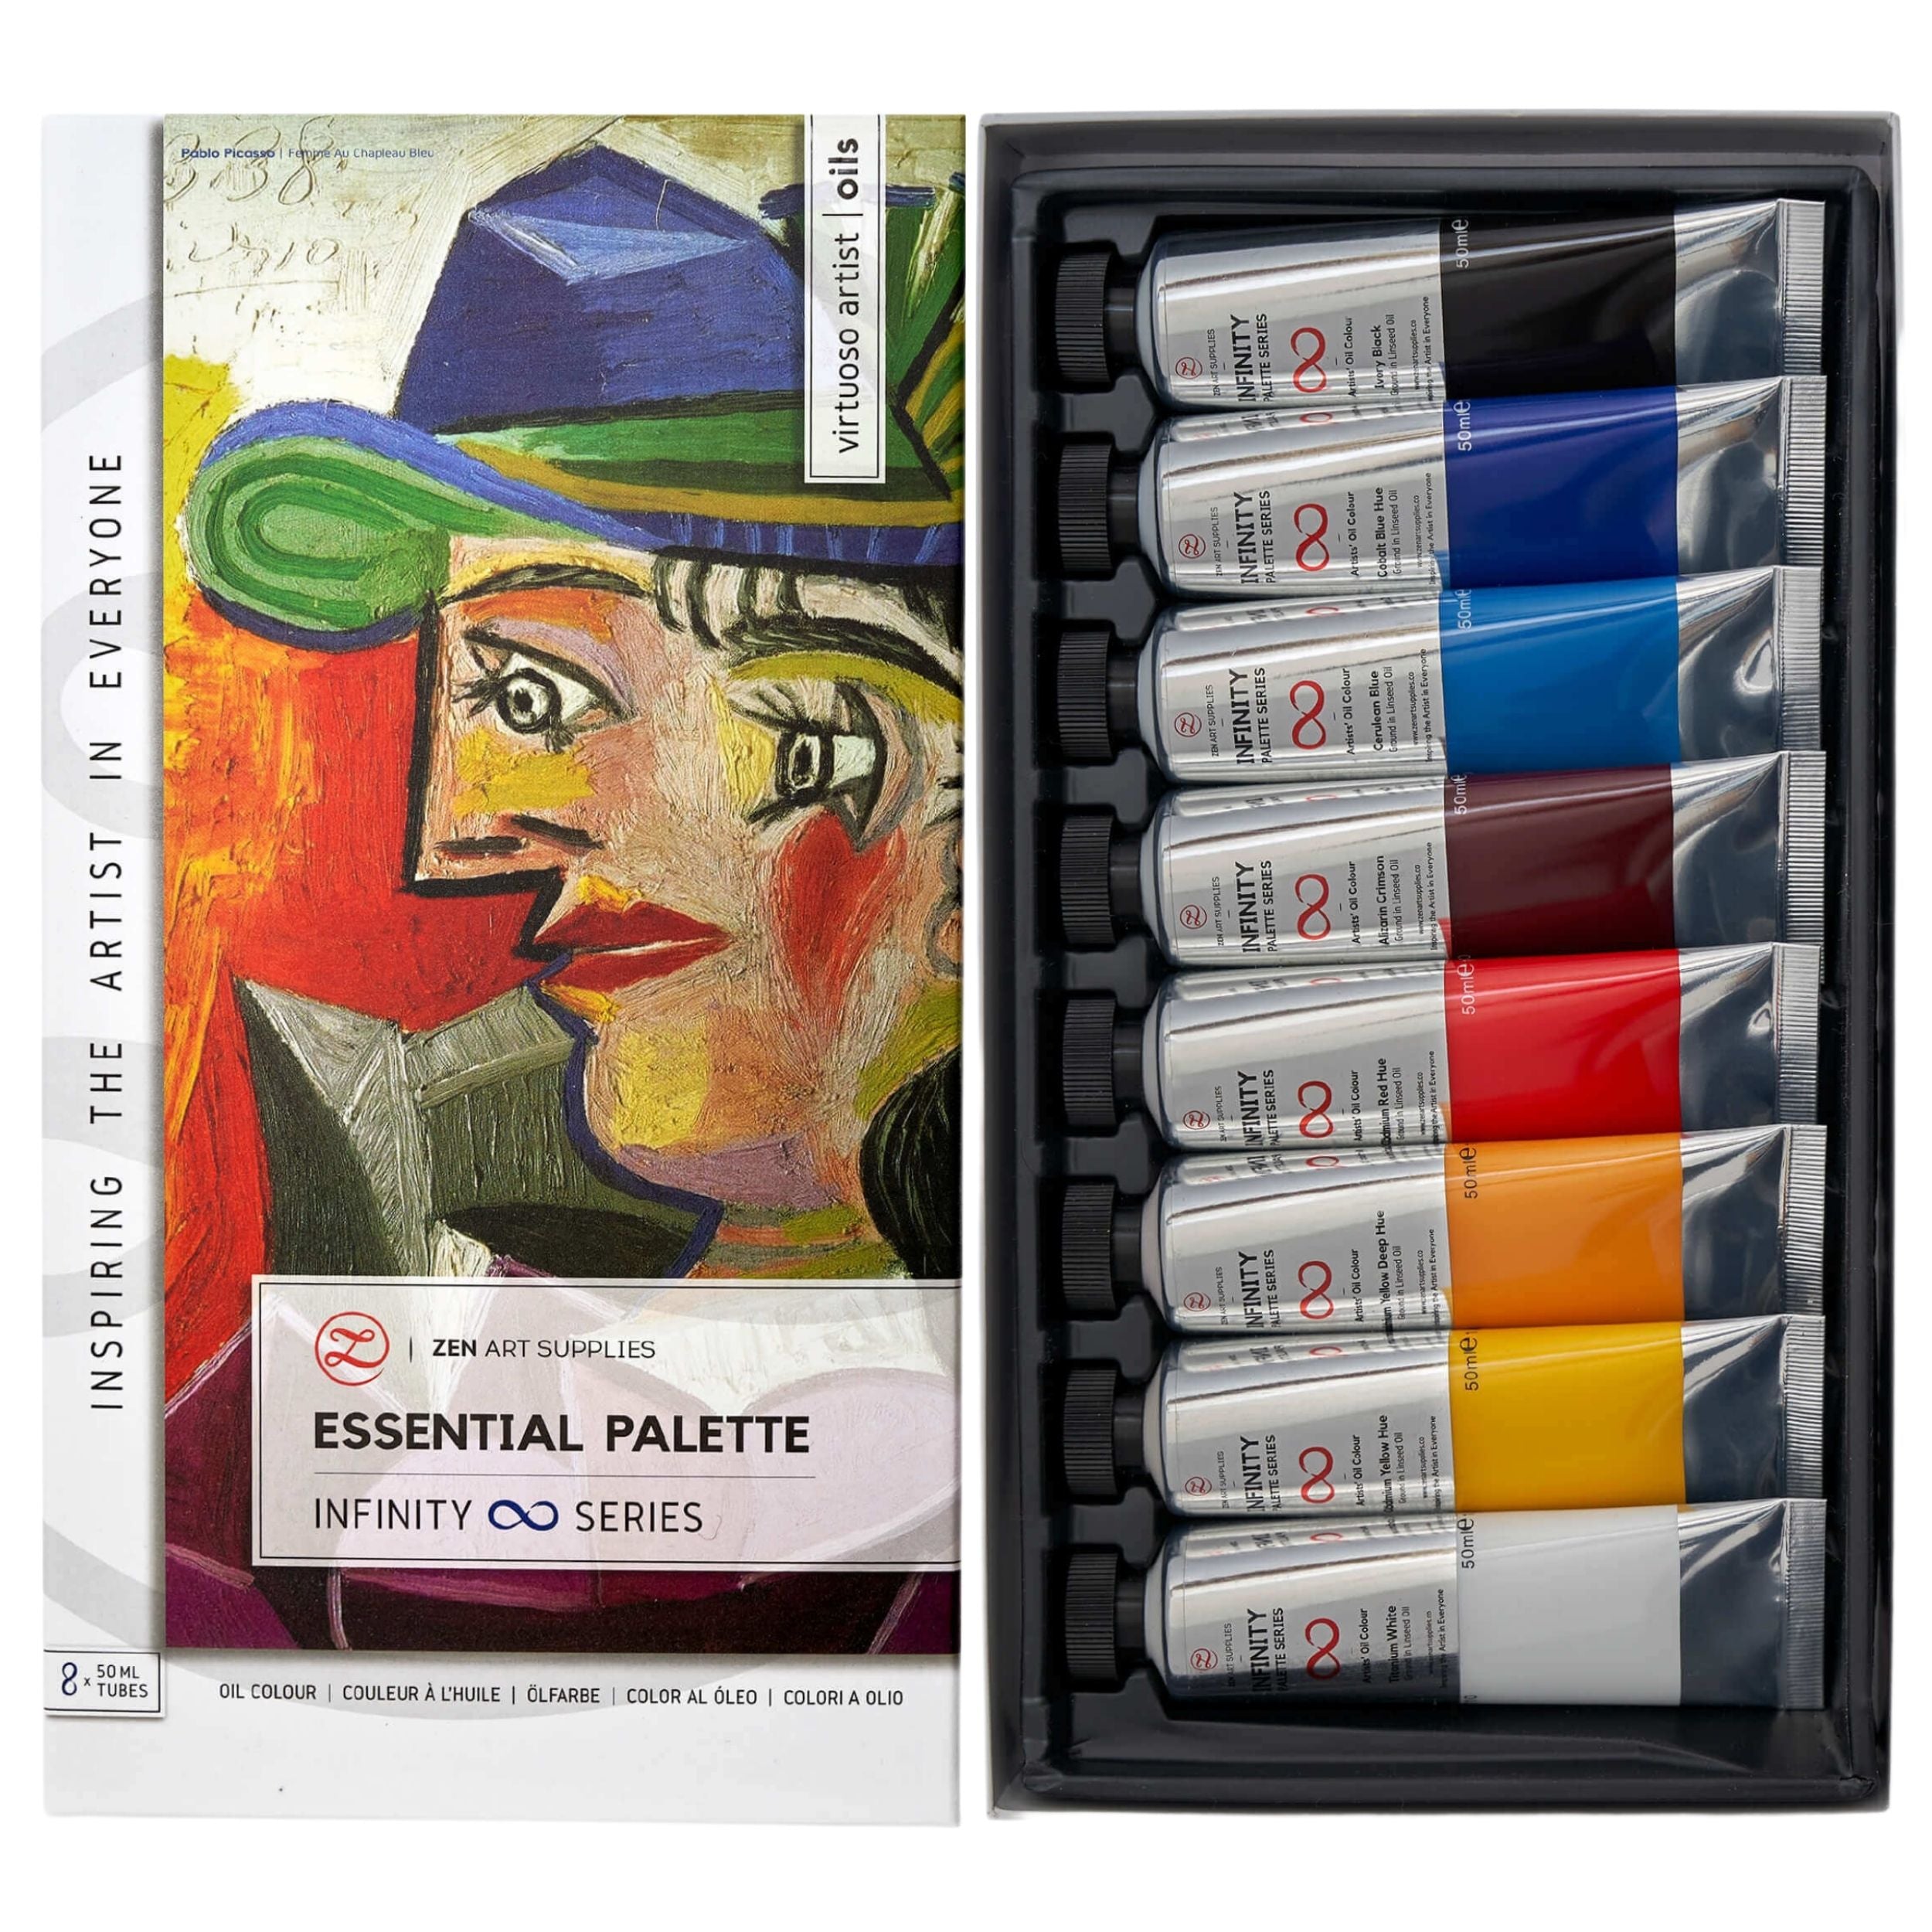
The Essential Palette from ZenART Supplies has all the fundamental colors you need to mix a multitude of other colors. For limited palettes, you’ll need two sets of each primary color – a cool and a warm red, blue, and yellow. White is a must-have and black is useful for deepening your colors.
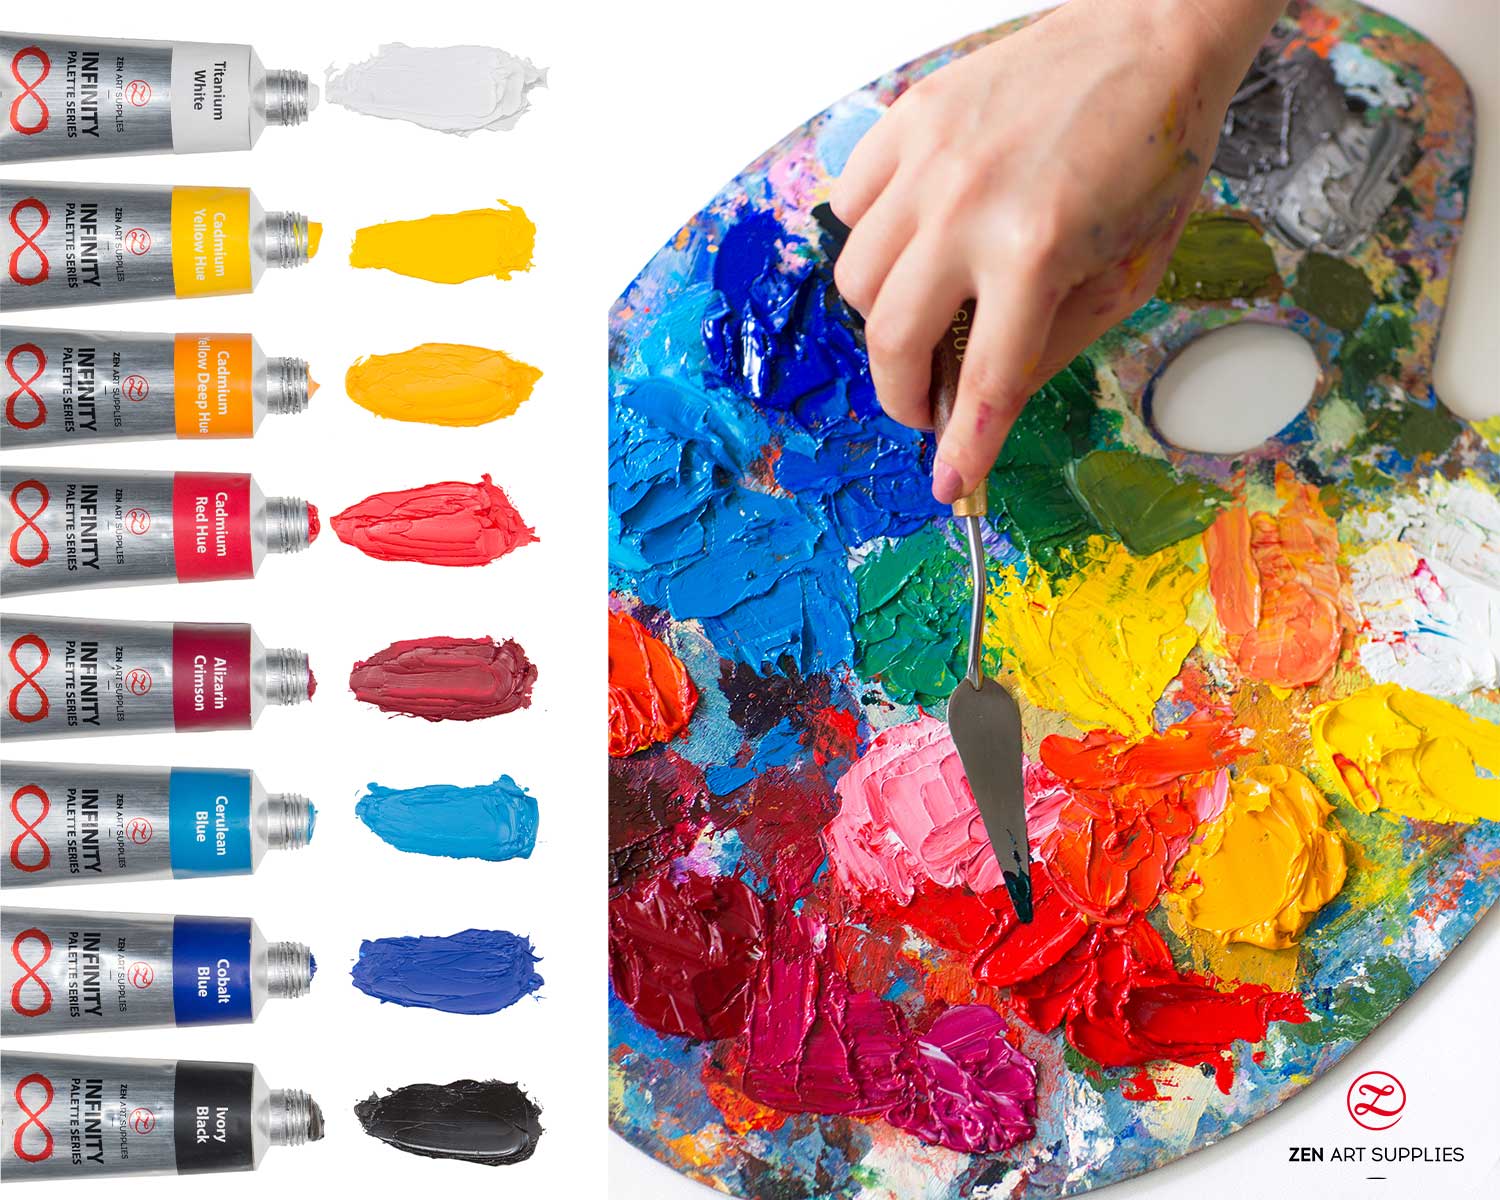
Essential Palette Colors:
- Titanium White
- Cadmium Yellow Hue - cool/neutral yellow
- Cadmium Yellow Deep Hue - warm yellow
- Cadmium Red Hue - warm-ish red
- Alizarin Crimson - cool red
- Cerulean Blue - cool blue
- Cobalt Blue Hue - neutral/warm-ish blue
- Ivory White
Tip: You’ll be using your white more than your other colors, so definitely get more than one tube. You’ll often use it for tinting your color mixtures.
Our Box of Whites contains three different whites. It’s a set specifically created for the various color-mixings you need to do. Titanium White is more on the opaque side, while Zinc-Titanium has more translucency, and Naples Yellow is perfect for mixing when you want a warmer tint.

You can always add more colors to your essential colors depending on what you find will be useful to have around. This will depend greatly on what you discover you like to paint more. Will it be landscapes? Still-life? Portraits?
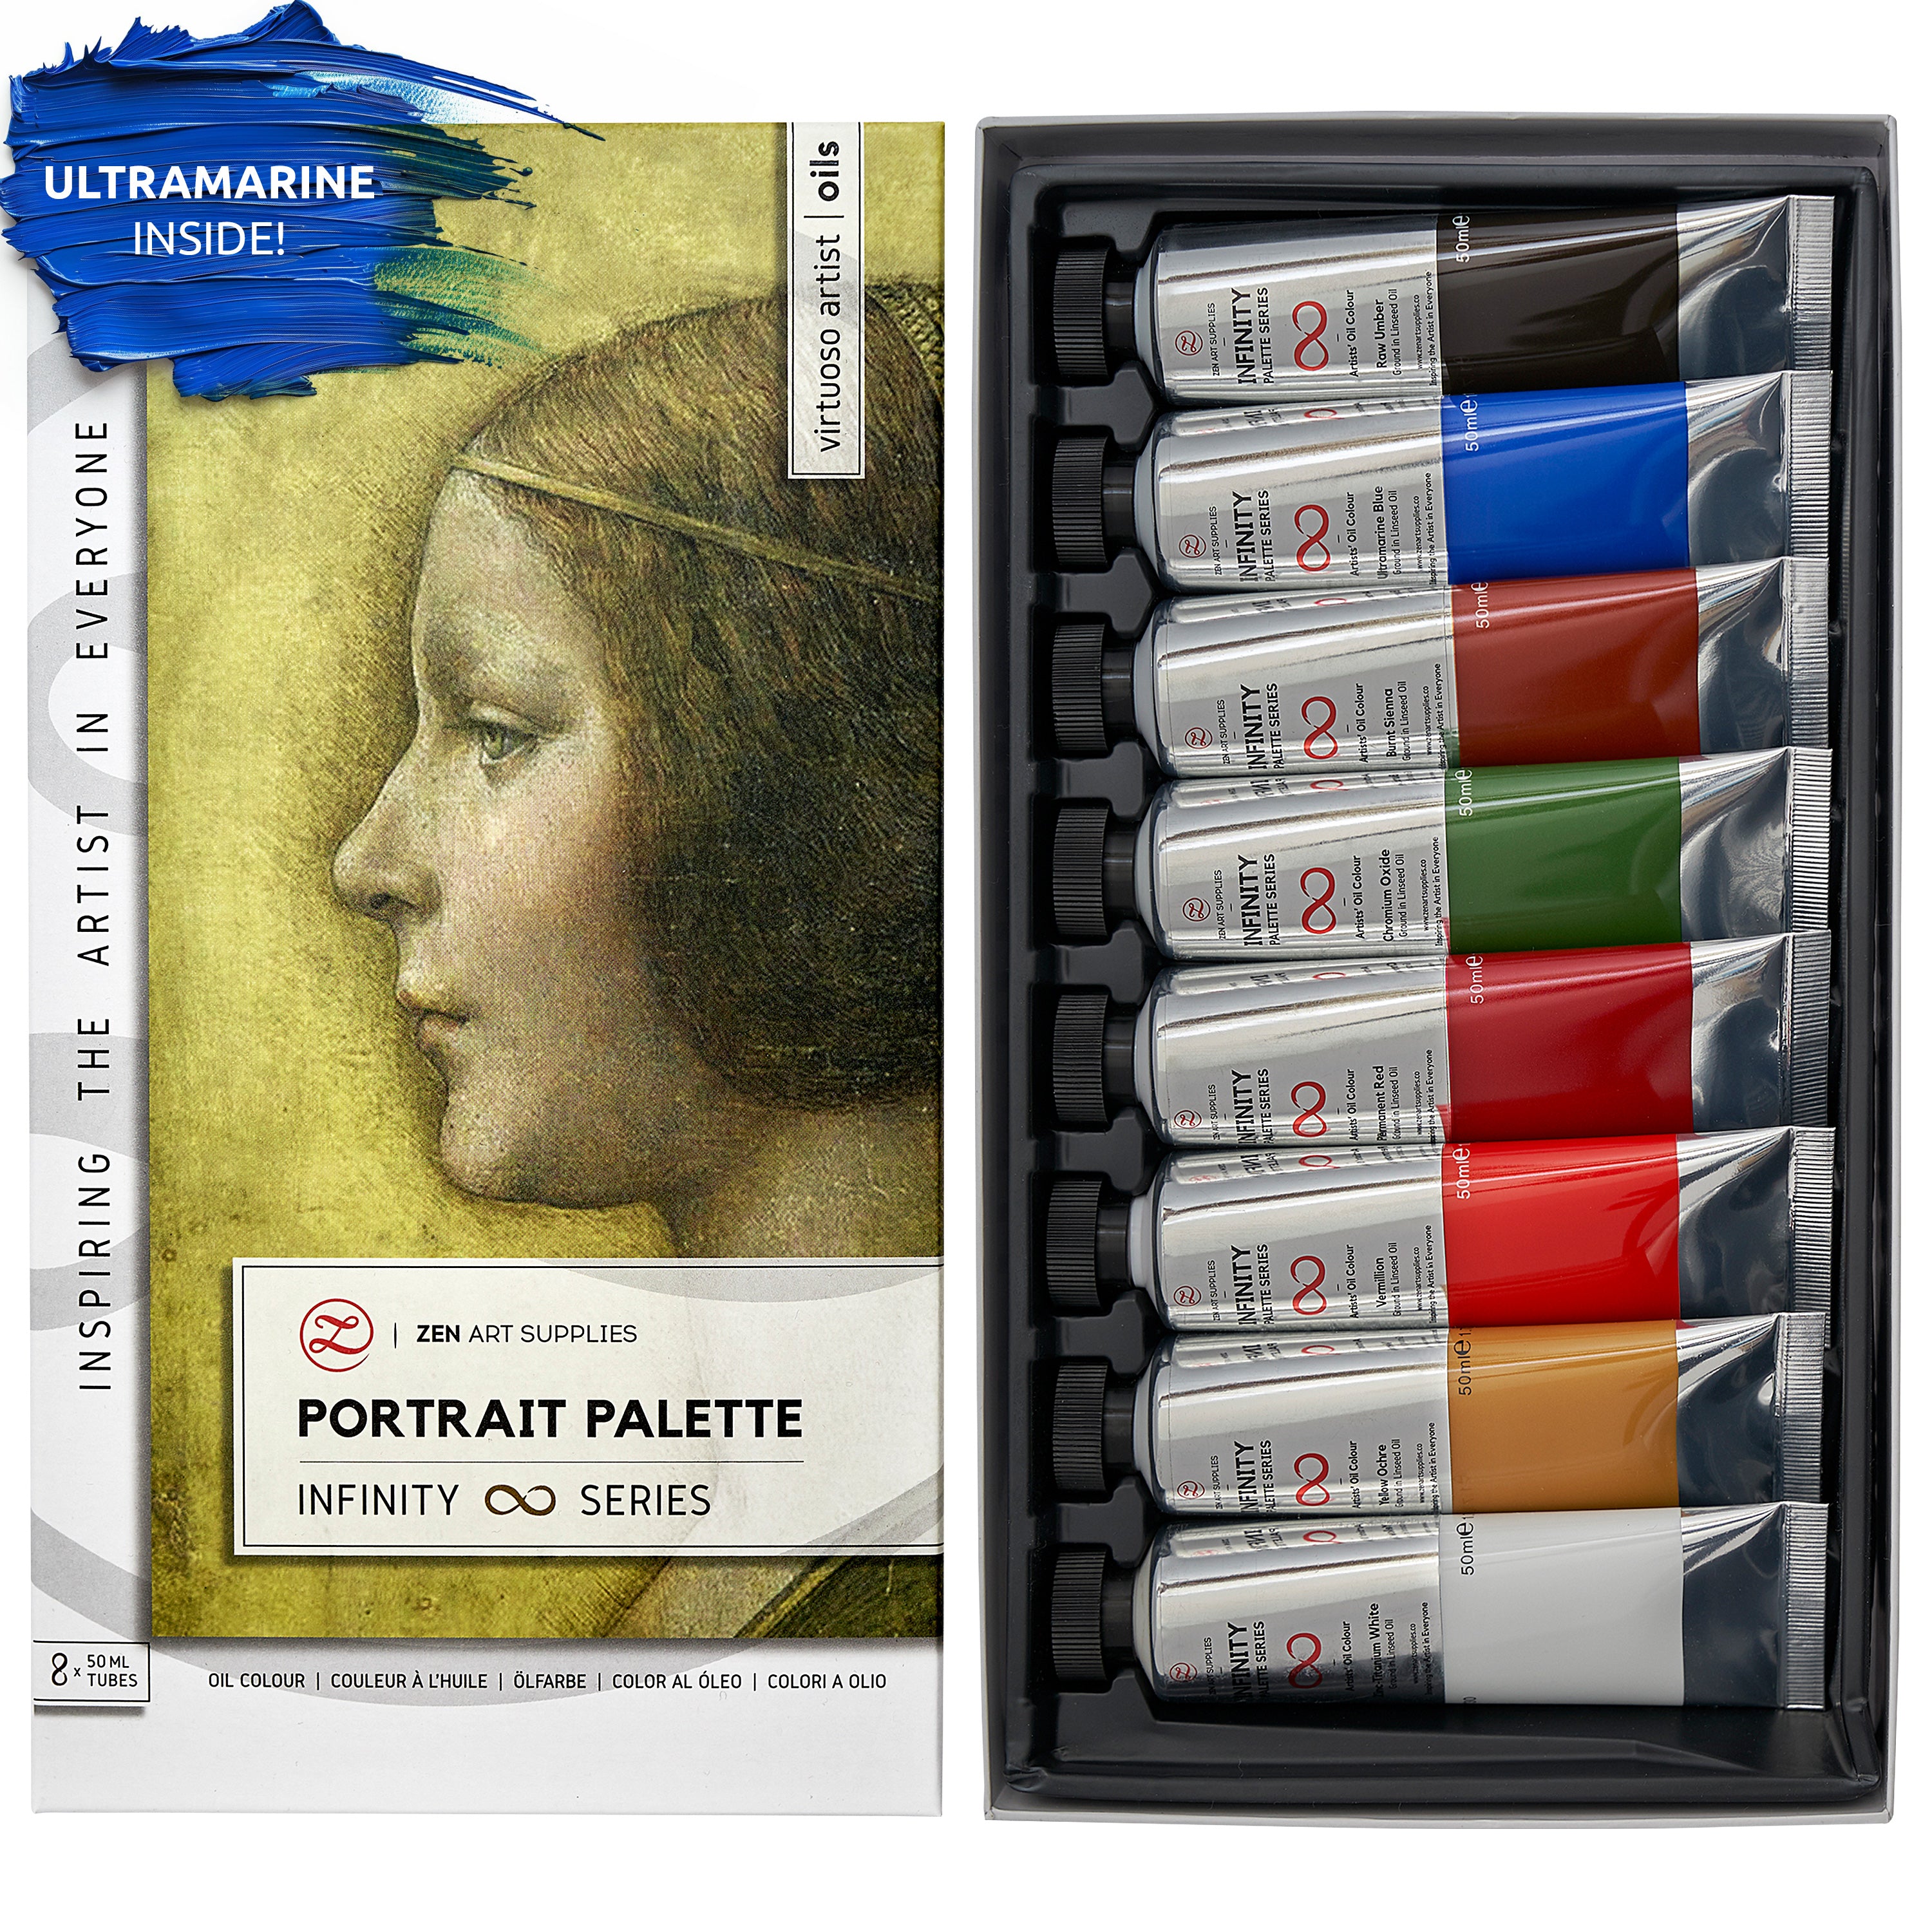
There are also oil paint sets curated specifically for specific painting styles like the Impressionist and Portrait Palettes from ZenART.
Impressionist Palette
This set contains colors inspired by the color palettes of the Impressionists. Eight beautiful and vibrant jewel-like colors: Titanium White, Lemon Yellow, Indian Yellow, Rubine Red, Dioxazine Purple, Viridian, Ultramarine Blue, Prussian Blue.

Oil paint brushes featured are from ZenART Supplies’ Renoir Collection.
Portrait Palette
And this set has been specially curated for those who like to paint portraits and people as their main subjects. You’ll find all of the earthy and warm colors that you’ll need to mix all the different skin tones: Zinc-Titanium White, Yellow Ochre, Vermillion, Naphthol Red, Chromium Oxide, Burnt Sienna, Burnt Umber, Raw Umber.

Oil paint brushes featured are from ZenART Supplies’ Renoir Collection.
Other kinds of oil paints
Water-mixable oil paints
There are also water-mixable oil paints available. This was developed specially for people who are allergic to solvents (mineral and vegetable) but still want to be able to take advantage of the handling qualities of painting in ‘oil’.
Alkyd oil paints
These paints dry faster than regular oil paints because of the added alkyd (synthetic resin) to the paint formulation. They behave just like the traditional oil paints, but the color selections are much more limited. They’re useful for underpainting as they have a quicker drying time. Don’t use them on top of the regular oil paints as the quick drying time might affect the overall stability of the layers.
Oil sticks
They can be used to draw on the support, can also be thinned down with turpentine or mineral spirits, and can be blended by adding mediums to it just like regular oil paints from the tube. Though you will be limited as to how thick you can go with oil sticks compared to paint from tubes.
And now let’s head on to the next on our list of beginners supplies for oil painting.
Oil Paint Brushes

Chungking hog and badger and synthetic mix oil paint brushes from the Turner Collection of ZenART Supplies.
To apply your oil paints, you will need some brushes. Just like with the paints, you don’t need to have a whole collection of dozens of brushes to start off.
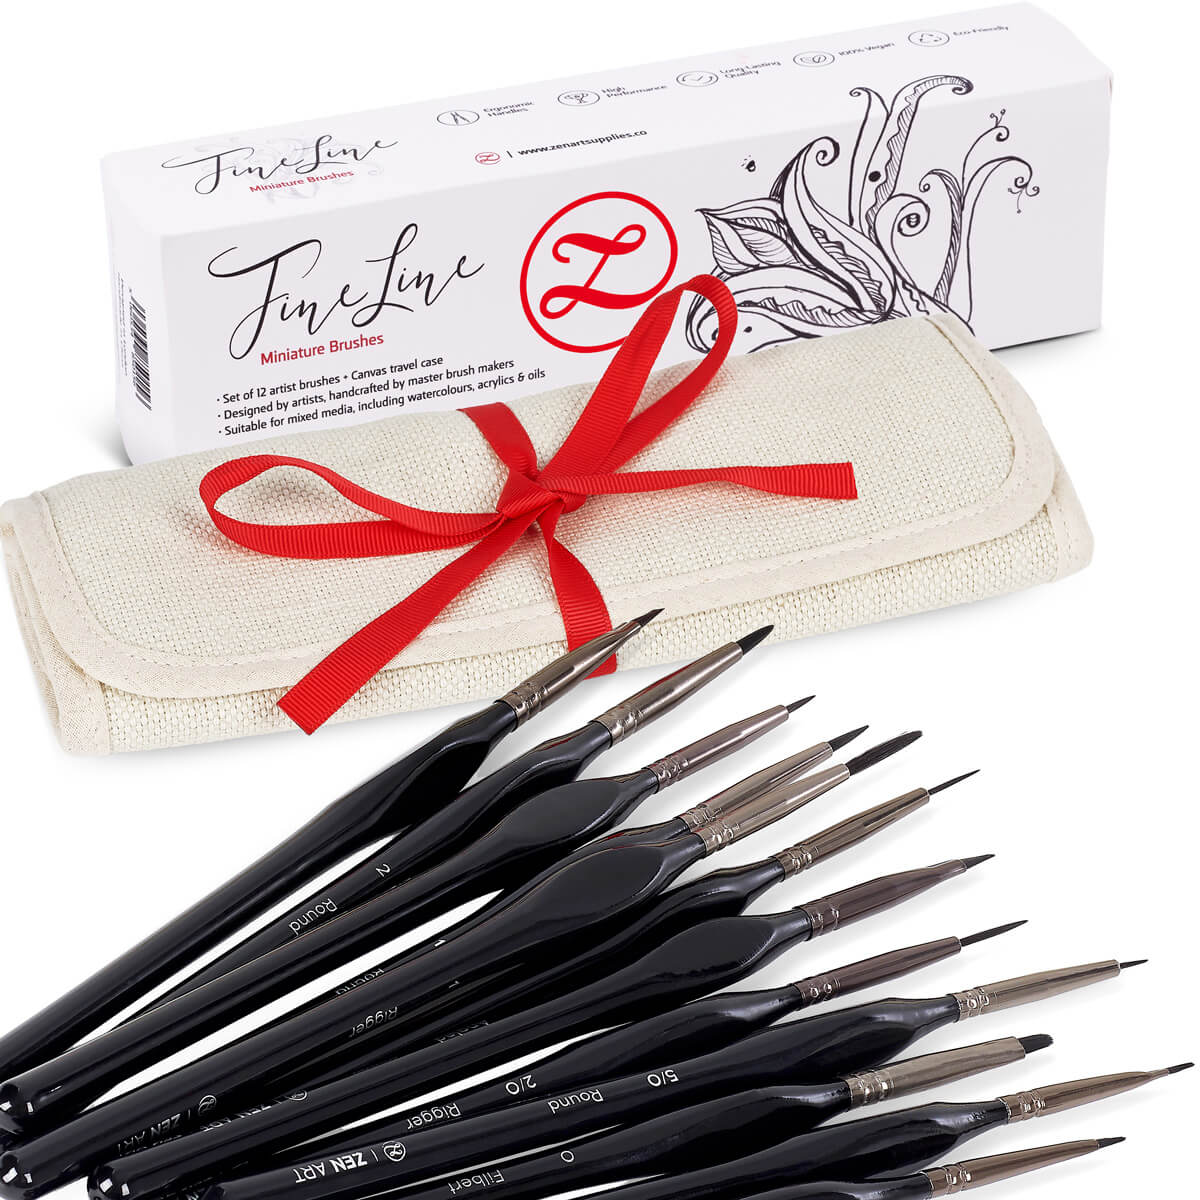
Brushes come in a wide variety of shapes and sizes, handle lengths, as well as the type of hair or bristles. The only way to find out which one suits your painting style best is to be able to try them all eventually. But to start out, it’s best to get a couple of flats in at least 3 different sizes and one or two rounds. And maybe it’s just me, but I suggest you also give Filbert brushes a whirl as they are my favorite! I find myself reaching for them a lot, A LOT.
Flat and filbert brushes are great for covering large areas. Round brushes are essential for the little details and fine lines. You don’t need to fill your oil painting supplies kit with too many that you might not even end up using so much.
The hair/bristle options are quite varied as well. There are natural hair brushes (hog, goat, badger, camel, and more), synthetic hair brushes (nylon), and brushes with natural and synthetic mixes. Natural hair brushes are favored for the effortless textural strokes that you can achieve with them. While synthetic brushes are often much cheaper than natural-haired ones.
Learn more about the different types of paint brushes so you’ll be better informed on which ones might be the best fit for you.
Here’s a great beginner set of 6 Filbert brushes that’s perfect for starting out. The perfect middle ground, a synthetic and natural hair mix.
Artist’s Choice
A Badger and synthetic blend of brushes in sizes 2, 4, 6, 8, 10, and 12.

You can also go for a full and comprehensive set of brushes to cover all the painting styles and techniques that you’ll come across.
Renoir Collection
A 14-pc brush set mix of Chungking Hog brushes and Badger and synthetic mix brushes in various shapes and sizes. Plus a palette knife!

Other Alternative Paint Applicators
You can also use other tools besides your brushes for applying paint. The most commonly used one outside of brushes is the palette knife. Just like the brushes, it comes in all sorts of shapes, sizes, and makes.

Other tools used are as follows:
- Paint shapers
- Sponges (natural and man-made)
- Sponge applicators
- Foam rollers
- Wire wool
- Rags
- Cardboard
Basically, anything your mind can conjure can be used to add special textural effects. But just be careful when doing this. Make sure that what you use won’t fall apart on your work or leave any residue. To be on the safe side, stick to the usual suspects while you’re still getting the hang of things. Check out these different oil painting brush strokes and techniques that you can explore.
Your paints and brushes will need a surface for you to use them on. Next up on our oil painting supplies list for beginners: the different surfaces or supports you can use.
Supports or Surfaces
You’re in luck as there are so many kinds of surfaces that you can use for oils. Some you need to prepare before painting on them, while some already come pre-primed for your convenience. Having constructed a stretcher from scratch, stretching the canvas, and prepping it — I’m so grateful for having the option of buying them done and ready for painting. Though I usually check if I need to add another layer or two of gesso for the surface finish that I prefer to paint on.

Below are the usual surfaces that you’ll come across. I recommend the first three for beginners: canvas paper, canvas boards/panels, and pre-stretched + pre-primed canvases. They are the cheaper options and are good choices for beginners' supplies for oil painting. Too expensive materials can be restrictive if you're just at the exploratory stage. As a beginner, go for the ones that will allow you to keep painting and painting without heavily compromising on the quality. That is the best way to learn after all.
Canvas paper
Canvas paper is thick paper with a surface texture similar to a cotton or linen canvas. It usually comes already primed so you can paint on it directly. This is great for creating studies and taking notes of your paintings’ compositions, colors you plan to use, or just for general painting practice. Keep in mind that it’s not suitable support for paintings that you want to last for a long time.
Canvas boards and panels
Canvas boards and panels are also cheap alternatives for beginners. They are boards or panels that have canvas stretched or glued over them. They are much cheaper and thinner than stretched canvases. I like to use them for small quick paintings and also for plein air painting as they’re not too bulky to pack and store.

Stretched canvases
Stretched canvases are easy to source and are relatively cheap, which is great for beginners. There are cotton canvases and linen ones, linen is pricier but considered to be stronger and of better quality. Most of the ones you see at the store come pre-primed, ready for immediate use. Though some stores also carry the option of unprimed ones for those who prefer to prime them themselves.

There are different weaves (which also contribute to the grain: fine, medium, or coarse), weights, and sizes that you can choose from. And make sure to check how it was stretched so you can choose which one you prefer. Some are stretched and stapled on the side and others are stapled at the back. The thickness of the stretching bars also differs. Deep edge canvases have deeper sides that you can also paint on and generally don’t need to be framed – but still can be if preferred. While thinner-edged canvases are more traditional and are much easier to frame.
Unstretched and primed canvases
Unstretched and primed canvases are quite handy to have around as well. I have one in a roll and I use it for studies, painting exercises, and when I’m teaching my art classes. You can cut it down to whatever different sizes you need.

Wood
Wood is also a favorite with artists as it has a much smoother surface and feels very solid under the brush. It’s a fantastic surface to paint on when you’re working with a lot of fine details. You’ll need to size and prime the wood before you paint on it if it isn’t yet.
Cnavas stretched over wood panel stretcher
Canvas stretched over wood is another that I’ve been trying out lately. This is great if you like to paint on a canvas textured surface but want the stiffness of the wood for that extra rigid support.
There are other surfaces that you can paint on such as metal and glass, but for now, the ones above are more than enough. The most important thing to remember is that your support must be sized and primed before you paint on it. Otherwise, the oils will seep into the material of the support and cause it to rot. And it will cause the paint on the surface to be brittle and very possibly flake over time.
I also encourage you to start small and try to get acquainted with the medium first. Eventually, you can decide if you want to go bigger or maybe even smaller.
Now you’ve got the three: oil paints, brushes, and supports. But painting will be no fun if you don’t do any color mixing, and for that, you need a palette!
Palettes
There’s one more oil painting supply you’ll find to be quite essential. Before reaching the canvas, the paint usually goes through your palette. It is where all the color mixing, exploring, and the fun starts! There are many different kinds of palettes that you can choose from. To be honest, I started with cheap party plates as a student – I’m super thrifty like that back then.

You’ll find they come in wood, glass, plastic, and tear-off ones as well. I have all of those, but my favorites are my tempered glass and tear-off palettes because I’m lazy with clean-ups. The tear-off ones are for when I’m really extra lazy. While the tempered glass one is a superb surface for mixing because of its super smooth surface and is quite a breeze to clean up as well. Mine has a grey backing that I like and helps me visualize my color mixtures better. Though this can be on the heavy side and is best just staying put on the table.
Wood is very traditional and beautiful, and has withstood the test of time. It is strong but light enough to be held while painting compared to glass ones. You’ll just need to oil it out with linseed oil and let it dry or varnish it before using it. This is so the porous surface of the wood won’t absorb all the oil out of your paints and will also keep the paint from overly staining your palette.
Gesso
Most store-bought canvases and other supports come pre-primed with gesso. But sometimes it needs an extra layer or two more to make sure it has perfectly sealed the canvas. Or if you want an even smoother finish to your support before you start painting on it. Lightly sand each layer after it has dried before adding a new layer if you want it to be nice and smooth. Nowadays, acrylic gesso is readily available in stores. If you’re going for the more traditional approach, then there are also oil-based gessos you can get.

I’m quite happy with using acrylic gesso as it allows me to use acrylic for my underpainting if I’m in a hurry for my first layers to quickly dry.
The next step is answering the question…
Do I need a solvent for painting?
The answer is no, not really, you can do away with solvent altogether if you don’t want to use it. There are also eco-friendly alternatives nowadays that you can use. You can use your oil paints straight from the tube and that’s perfectly okay.
I personally only use one kind of solvent, OMS (odorless mineral spirits). I sometimes use it for thinning the paint for my first layer. But usually, it’s more often used for my second step in cleaning my brushes. The thing to remember about solvents is that even the odorless ones still emit fumes – they’re just odorless. I always have mine sealed in a jar and only open it when I need to use it.
ZenART’s co-founder, Ardak Kassenova, recommends the Zest-it Dilutant and Brush Cleaner and the Bristle Magic Brush cleaner for more eco-friendly options.

You can also clean your brushes without using any kind of solvent. Wipe off as much paint as you can on your rag or paper, swish and rinse in oil (I usually use linseed), wipe off again as much as you can, and finally use a brush cleaning soap for a thorough cleaning. Here’s an in-depth guide on how to clean oil paint brushes.
Besides solvents, there are other mediums you can use with your oil paints to manipulate their characteristics. Let’s go briefly over them below just so you’ll have a general idea of them.
Mediums
As I mentioned earlier, oil paints can be used on their own straight from the tube. But there are ways to alter the consistency of the paint if needed. Mediums can be mixed with your paint to make them more transparent, thicker, or to hasten drying time.
Oil paints already come with a mix of oil, hence the name. The most commonly used is linseed oil which dries quicker compared to other oils but tends to slightly yellow over time. White and other delicate colors are sometimes made with poppy or safflower oil. They don’t yellow as much as linseed oil, but dry much slower.
Painting mediums already come in a ready-mixed form that may contain a mixture of various oils, drying agents, or waxes. The type of mediums you need will depend on the finish that you’re looking for.

I personally just use a handful at the moment and find them more than enough for my needs. I use Liquin for the first few thinner layers as it makes the paint dry faster. I also have an alkyd gel medium for when I need a thicker and more textured look. For oils, I use linseed oil, refined linseed oil, and walnut oil. Linseed for the darker colors and walnut oil for the whites and other lighter colors.
I hardly use my solvent, except for the first two layers where I need very thinned out paint for the initial staining of the canvas or for sketching and blocking in my composition. For your beginners supplies for oil painting, you can start with just having one of the oils. Then you can slowly try out the others just to see if you want to add them to your painting process in the future.
Here’s a handy oil painting mixing guide to help you understand the oil painting process much better. Find out what ‘fat over lean’ means and other useful information.
Rags or paper towels and recycled paper
I find that they are quite useful to have around. You’ll definitely need somewhere to wipe off excess paint. Or to wipe off as much paint as you can when switching to a different color or before cleaning your brushes after painting.

Oil paint brushes from the Turner Collection, ZenART Supplies.
You’ll easily have any of these at home. Just cut up any old t-shirt or clothing and you’ll have instant rags.
Washer pot or jars for holding your solvent or medium
I have a few metal clip-on pots that are fairly inexpensive to get at the store. I like the small size and the fact that I can clip them on my palette. But you can re-use the jars that you already have at home. My favorites are the jam jars as they are just the perfect size for me to store my solvent in and the lid screws on well enough to keep the fumes in.

Brush cleaning soap
If you want to stay away from solvents, having a good brush cleaning soap is a must for deep cleaning your brushes after a painting session. Between painting sessions I just rinse off my brushes in my odorless mineral spirits or my jar of linseed oil. And I leave it at that if I know I’m going to paint again in the next few days.
But if you won’t be painting for quite a while, it’s best to give your brushes some good deep cleaning. And a brush cleaning soap or any other mild soap is the best for me. It can really get a lot more paint out than you thought it would. This way, your brushes won’t stiffen from the leftover stuck paint in between the bristles. And you’ll get to use them for much, much longer.

Don’t forget to check out our step-by-step guide on how to clean oil paint brushes.
Other optional oil painting supplies for beginners
Easels
This is optional at the start of things but you will find having one helpful over time. I started by just propping my canvas against the wall, but eventually got an easel for a more secure hold and the more convenient adjustments I can make with the height and angles. And since oil takes time to dry, you do want stability so your painting won’t accidentally fall over and get ruined.
The type of easel you get will again depend on the size you like to paint and the location. My first easel was a french easel as I can use it at home and bring it to another location as well if needed. There are many kinds of easels to choose from: table top, studio, and field easels. Here are my three most used below:

Table top easels are usually smaller and portable and are placed on top of a table. They are perfect for those who like to paint sitting down and for painting smaller works. Studio easels come in a variety of sizes and styles and are the best for medium to big-sized works. While field easels are designed to be collapsible and extremely portable, allowing them to be brought on location for plein air painting and such.
French easel
A very versatile option as you can open it fully or keep the legs tucked in and place on top of the table. It’s perfect for plein air painting as it has a built in storage for the painting implements you need to bring and usually comes with a detachable shoulder strap. The regular size can be a bit on the bulky and heavy side, but there are smaller and narrower sized options as well.

Table top easel
These are perfect if you’re painting smaller sized works and prefer to paint on the table. They are also very affordable and some even come with storage.

A Frame field easel
Very compact, portable and can be easily stored. It can be used sitting down or standing up when painting outdoors or at home. A popular choice with beginner artists as it’s also cheaper compared to other easels. You can also find aluminum versions of this if you want to have an even lighter one.

Studio easels
These are not for bringing along and mainly stay in the studio. They can handle small to large sized works and are the most stable for heavier supports, especially the H Frames. Some are even convertible and can be adjusted to lie horizontally if needed.

Pochade box
This is the one to have if you like to do plein air painting. It’s designed to be able to hold your support and some supplies. There are many different designs and it will all depend on the size you prefer as well as the extra accouterments. Below is ZenART’s co-founder, Ardak Kassenova’s very own awesome pochade box complete with panels that open into a brush holder and another side for extra surface.
Painting in oil can get a bit messy, I personally don’t mind it at all. It’s part and parcel of any sort of painting activity after all. But you can also avoid having all your clothes splattered and smeared with paint.
Apron
If you don’t want to have a closetful of paint-stained clothing, then you should probably wear an apron when painting. I myself just stick to my good old already-stained house clothes as I find it too hot to wear an extra layer of apron. But if you like to keep all your clothes pristine, then this can even be considered as one of the must-have oil painting supplies for beginners.

Rolling cart, trolley, or side table
With all the different oil painting supplies and whatnots, you’ll need an extra surface near you to have them within easy reach while painting. I find that rolling carts, trolleys, and small side tables with storage or shelving are very convenient. To be able to easily move them to where you want is essential. My painting process varies and sometimes I start out standing, then sitting or vice versa. And I move my easel here and there, so it’s important that I can move my cart easily as well. I also don’t always hold my palette, half the time it’s resting on my side cart.

It also makes it easier to organize your supplies and have a more seamless painting process. Not having to look for where things are every time you need them is a relief. And having a dedicated surface for them means you don’t have to pack up and clear the space for other uses.
Varnish
You don’t “have to” varnish your oil painting once it’s finished. It’s not necessarily on the list of must-have oil painting supplies for beginners. But varnishing it gives your painting a non-porous layer of protection so dust and grime won’t settle on the actual paint that is porous. Varnishing also helps give your painting a more unified finish. Modern varnishes are especially created to be a protective top layer that can be removed (by an expert) for cleaning and have a new layer applied. Through the years it will accumulate dirt and the color may change as well.
Traditional old school varnish is hard to come by these days, but there are modern ones available that mimic the effect like the dammar varnish. Some painters like to mix this in with their oil for the final glazing layers. There are many kinds of varnishes available in either liquid or aerosol form nowadays. You can also choose the type of finish: matte, satin, or gloss. The choice is yours depending on your own personal preference. Gloss is the most popular choice for those who want to give their paintings an added depth and color saturation.
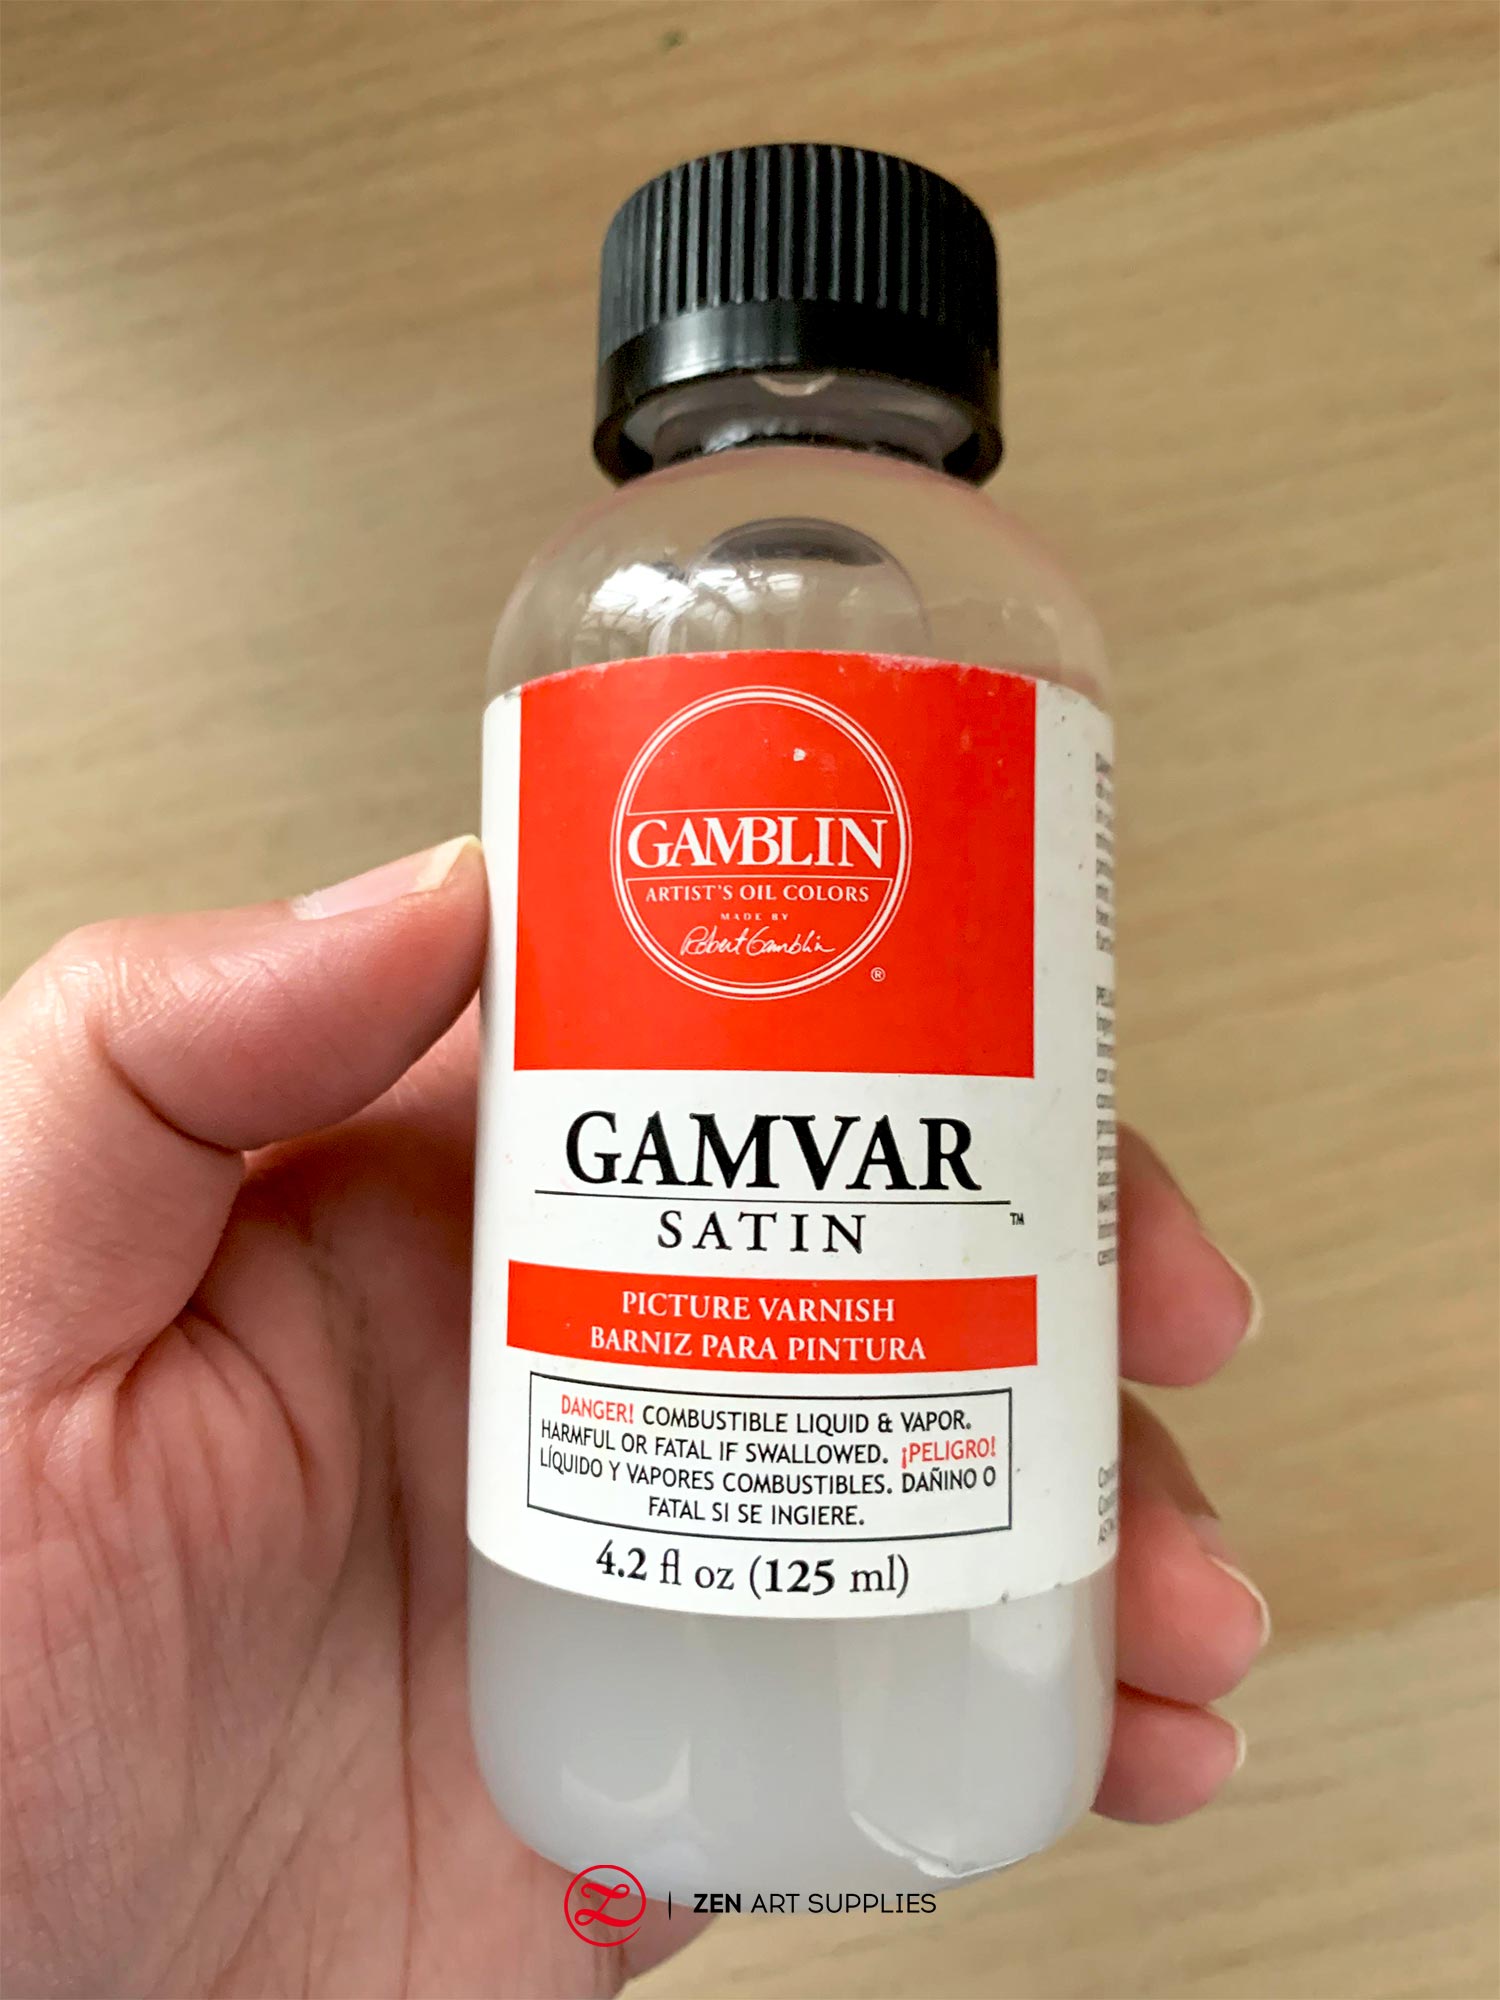
Before you can varnish a painting, it must be dry. With a lot of varnishes, it must be dry and cured or at the very least hard to the touch (for the very thick applications). Paintings can take as short as two weeks to as long as 2 years to dry. This will all depend on the colors you used (some colors dry longer than others) and the thickness of your applications. I’m quite impatient so I use a specific varnish (Gamvar) that allows me to apply it as long as the painting is dry to the touch and thick layers are firm enough when pressed. It’s formulated in a way that allows the layers below to still dry even with the already varnish on top.
Whew, that was quite a list!
And that’s it for my oil painting supplies list for beginners. All the other extra things like special brush holders, paint organizers, etc. can come later if you decide you want to have them as well. But really you can repurpose a lot of things around the house for such purposes. The four most important supplies will always be your oil paints, oil paint brushes, supports, and palette. So don’t stress about all the other extras and optional supplies. You’ll get to them in due time once you feel the urgent need to have them.
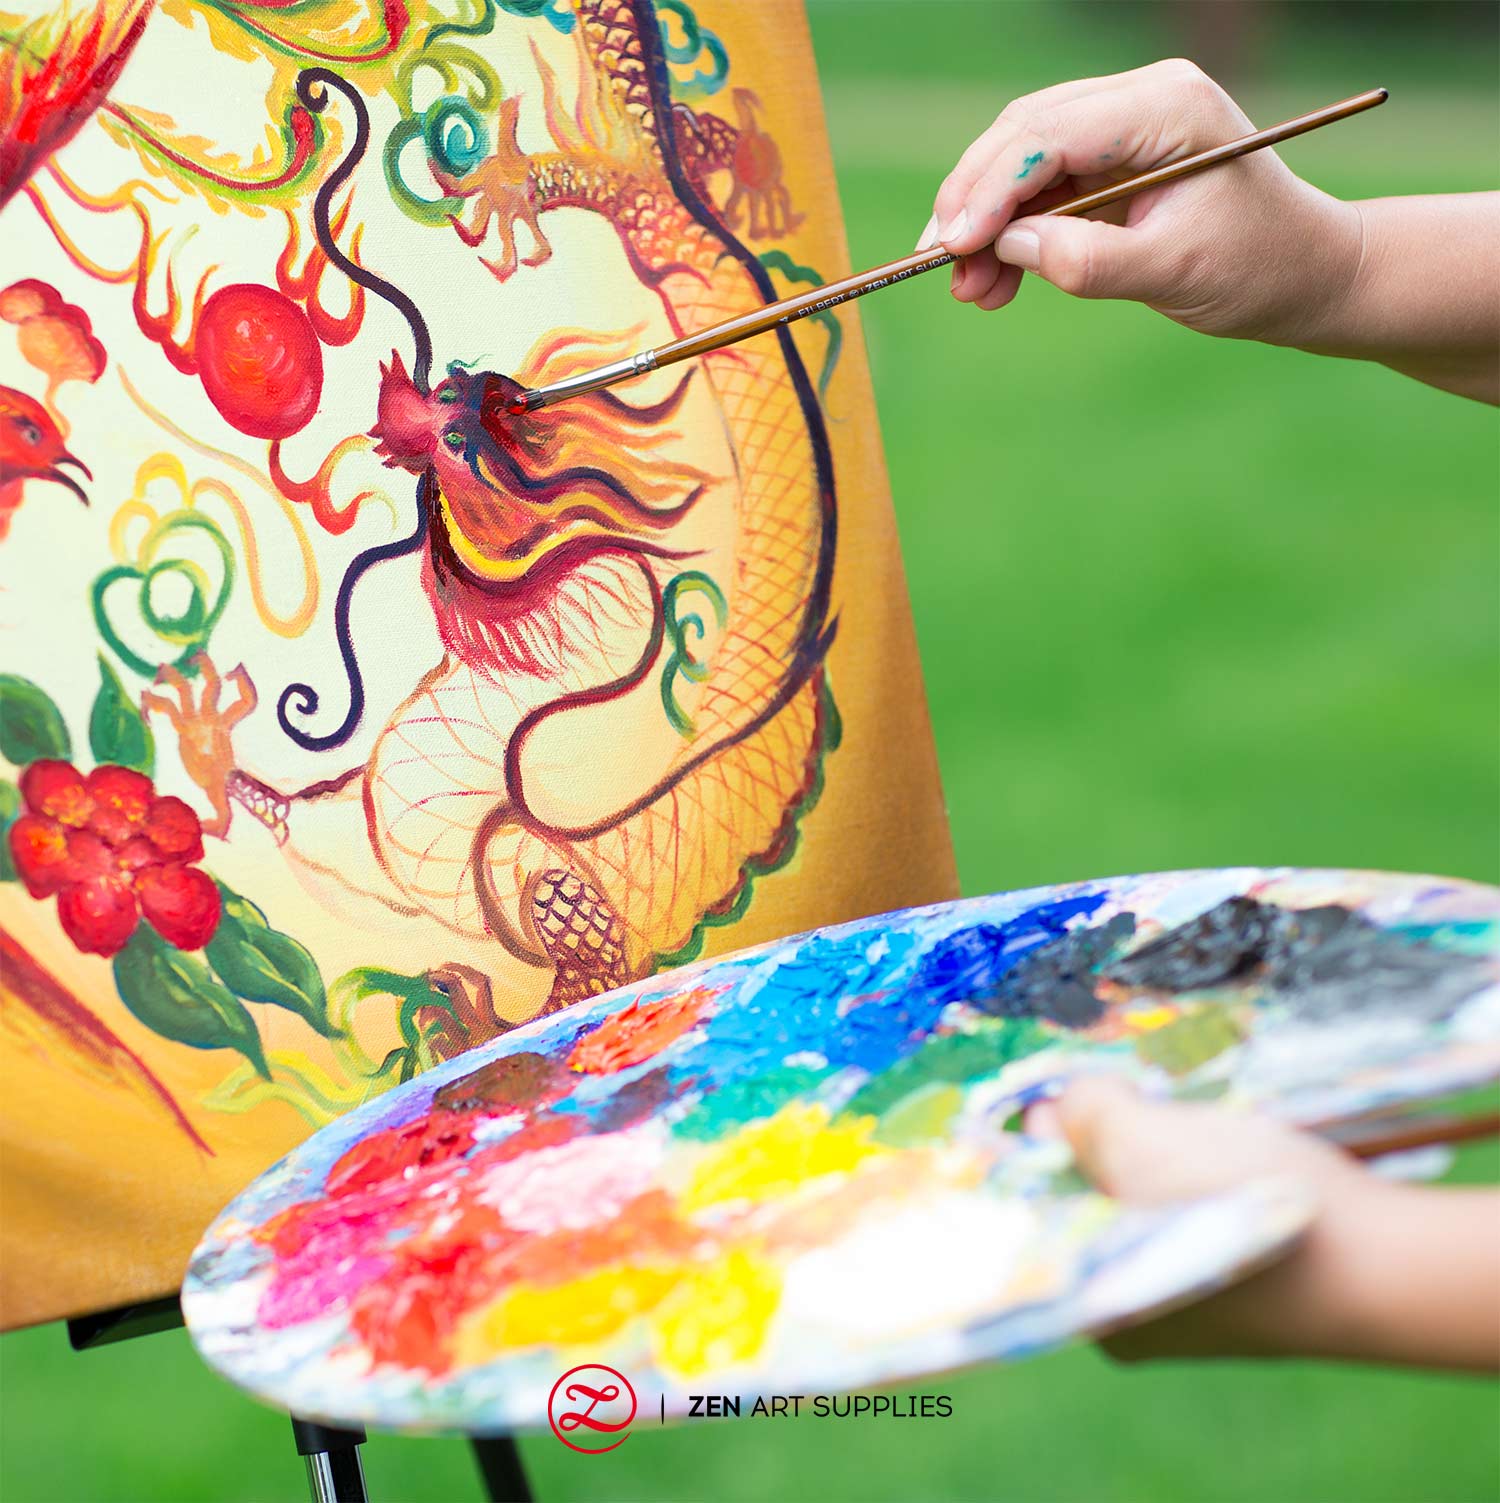
Oil paints from the Essential Palette and the #4 Filbert Badger-Synthetic mix brush from the Artist’s Choice brush set.
I hope this helps you sort out the essential supplies you need to start out. Once you’ve compiled them and find yourself at a loss for what to paint, here are some oil painting ideas for beginners and beyond for you to check out.
We’d love to hear back from you!
Have you tried oil painting before? What made you decide to try out painting in oil? Are you looking for something in particular that we haven’t covered yet? I would love to hear your thoughts, so do let me know in the comments below! Join our friendly art community Painting Inspiration Daily on Facebook. You can share your art and ideas, watch LIVE tutorials, and be inspired to paint!
Have fun compiling your beginners supplies for oil painting and good luck on the start of your oil painting journey!
- MEET THE AUTHOR -

Kathleen is the Wordsmith at ZenART, resident artist and art editor. When God sent a shower of talents, Kathleen made sure she got a basketful of them! She's a visual artist with practical knowledge on various fields from painting and sculpture, to costume and set design which comes in very handy when writing about various art techniques and theories. She also shares her passion for the arts through teaching. She runs her own brand of handmade wirework jewelry designs.


