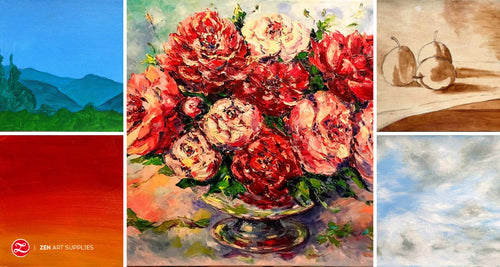
Gouache Roses Painting | Narcissus Gouache Flowers | Gouache Painting Tips and Tricks
Painting flowers is an all-time classic theme. Every painter wants to capture the beauty of nature in their work and I am sure you do, too. So, I picked two of my favorite flowers, one that I think is very easy and one that is a little more challenging. Thus, I will show you step-by-step how to paint two different gouache flowers - roses and narcissus.
Gouache has proven to be a popular medium, one I am sure you would like to experiment with if you like using water-based media. It can be described as something between watercolor and acrylic. As it is opaque like acrylic when used on its own and behaves like watercolor when diluted with enough water. But keep in mind when using gouache paint that it can be reactivated with water even when it has fully dried. So even if you’ve applied it thickly ala acrylic, it won’t be unmovable like acrylic.
Gouache Roses Painting
Before we start the first of our gouache flowers, I’ll list down the materials I used to paint this bevy of roses.
Materials
Brushes from the Verbena brush set from ZenART Supplies
Jelly Gouache
Acrylic paint
Watercolor paper - from a watercolor block/pad from ZenART Supplies (Cold-pressed, 300gsm, 100% cotton)
Jar/s of water for rinsing brushes and diluting paints

Step 1 - Background and painting in the first layer of the roses
I selected a Deep Cadmium Yellow Hue acrylic paint to paint the background. This step is optional, it’s just my personal preference to paint in the background first when painting with gouache. Orange will complement the color of the roses and give us some contrast as well. I am using the #1 Slant flat brush to paint it as it is always best to use a flat wide brush for such purposes.

Tip: Since gouache reactivates with water as mentioned before, I would not recommend that you use it for painting your background. Instead, you can use acrylic paint that is opaque and will remain firm. However, the acrylic background has its limitations as it works really well when we paint with layers of gouache that are barely diluted and very thick. But if you prefer to use it for painting in a more watercolor effect, you should avoid the acrylic background. In this case, however, it works perfectly well.
Next, with the #8 Angled brush from the Verbena set from ZenART Supplies, we start painting circles. I used a Cadmium Red gouache paint color. Paint them near each other but still keep an even spacing more or less. Don’t worry about making them perfect as you actually want a more organic looking shape for your gouache flowers.

Tip: When you want to paint circles, use an Angled brush - keep the brush straight on the paper and twist it around to form the circular shape. It’s much easier than drawing a circle and then filling it in with paint.
Step 2 - Adding the second layer of color to the roses

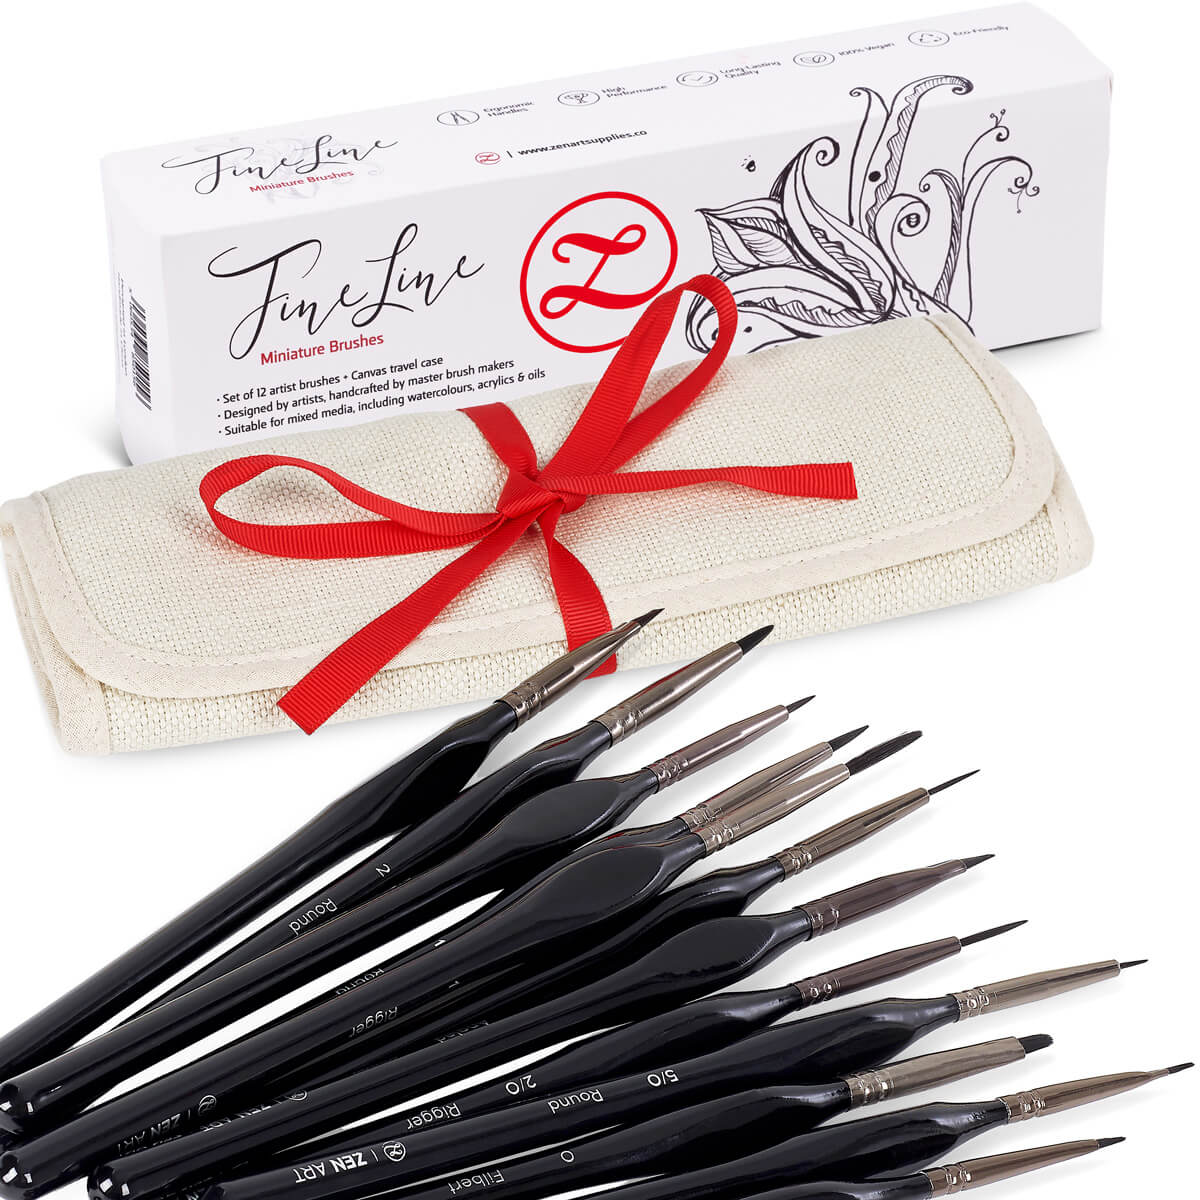
After we finish painting all our circles with the Cadmium Red gouache, we will take some white gouache and the #1 Round brush from the Fine Line miniature brush set from ZenART Supplies. We paint small semi-circles starting at the center of each circle. And as we move to the outside, the semi-circles become bigger and bigger - we do the same for each circle. Some of our semi-circles can interconnect here and there to give an even more subtle illusion of petals overlapping each other.

Here they are all painted with the first layer of white semi-circles.

Step 3 - Adding the final details to finish off the rose gouache flowers
After we finish our semi-circles, we can apply some more of the same white paint on top to fill in some gaps. This will make our roses look fuller, but keep in mind that we still want some of the red to show.

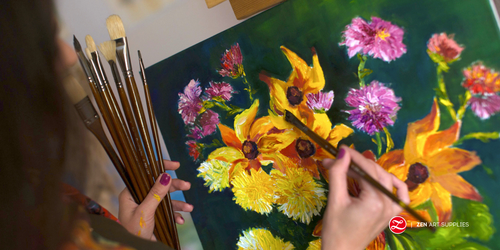
If you want to add some extra color and detail to your drawing, you can paint some leaves sporadically. You can use a round brush with a nice point to paint them. Here, I am using the number one Round brush from the Fine Line detail brush set of ZenART Supplies. Then switched to the #4/0 Rigger brush from the same set to paint the veins of the leaves. Using a lighter shade of green, start by painting a line at the center of the leaf. Then paint lines branching out from the center line - the main vein - forming a V-like progression from the base to the tip.
Tip: Rigger brushes are very useful to have around as they are great for painting thin, straight lines and outlines.

Narcissus Gouache Flowers
Painting the narcissus flower may seem too complicated when compared to the roses we just finished. But don’t worry, I’ll show you how it can be broken down into simpler steps that you can easily follow.
The materials to be used are the same as the roses above.
Step 1 - Painting the background and sketching the narcissus flowers
I have used the same Dark Cadmium Yellow Hue acrylic paint to paint the background of this painting as well. This color will also complement nicely with the yellow narcissus that we will be painting. Another one that I would recommend for the background is a light blue color. Once the background is dry, we can lightly sketch our gouache flowers. If you are a beginner, it's best to always have a sketch done in pencil underneath to help guide you along. And it will also help with the composition and placement of the flowers.

I have included a small drawing template that I hope will help you draw the flowers. Narcissus flowers have a soft conical-like shape at the center and the petals are wide and oval-shaped. So we will start by drawing a wide elliptical shape (horizontal), then draw a vertical line across it at the center - dividing it in two. Have the lines go beyond the elliptical shape above and below. Add another smaller elliptical shape above and slightly overlapping the bigger one. The smaller one will be the mouth of the cone-like center shape of the flower with its base just a little under the center of the bigger elliptical shape. Once you have that down, it will be much easier drawing in the petals. Setting up these basic shapes and lines will help us to achieve better proportions and geometry.

You can download this narcissus sketch for FREE and use it as a guide.
Step 2 - Applying the first layers of color
We start by applying a light yellow gouache mixture to the petals. I have made a yellow mixture by mixing some Lemon Yellow with Yellow Ochre for the inside of the cone. At the center, we add some Burnt Umber by painting a few lines that will later help with the volume.

When the yellow layer is dry, we will take some orange gouache and paint a few lines near the center of the flower. This will also help us achieve more volume. I suggest using a small round brush for this. I am using a #1 Round brush from the Fine Line miniature brush set from ZenART Supplies.

Step 3 - Painting in more lines
When the orange at the center of the flower is dry, we will take some Burnt Umber and paint in some even smaller lines on top. But don’t overdo it, we still want some of the orange to show at the edges. Then with a Rigger brush, we will add a light blue outline around the petals. I created this light blue by mixing Cerulean Blue with White, and a little bit of Black.

Tip: You cannot do much blending with gouache especially when you are painting with dry brush strokes on top of a previous gouache layer. It’s best to layer the colors on top of each other to paint the different values, highlights, and shadows. Otherwise, you will reactivate the previous layer and cause it to mix with the layer you are working on. You can end up with muddy colors instead and you especially don’t want that with your gouache flowers.
Step 4 - Adding in outlines and working on the next bloom

With the Rigger brush, we also paint a deep red outline around the cone of the flower at the center. To create that shade, you can mix Cadmium Red with a little bit of black to create a deep burgundy color. We also add some Yellow Ochre to the inside of the same cone. Leaving this flower to dry, we move to the one next to it that hasn’t fully bloomed yet. For this flower, we add more white to our Lemon Yellow and Yellow Ochre mix to make it lighter. This will help create the impression that it’s nearer to the source of light.
Step 5 - Working on the third and first flower, and the greens

We paint the same light color on the third flower as well. As we leave it to dry, we add some finishing touches to the first flower. A few highlights to the petals using white gouache, but not too much since this flower is more in the shadows than the others. We also add a few details to the cone at the center of the flower with a Rigger brush, a few white lines, and a little detail of a dark blue cross at the center for depth.

Using some green paint, play around with the mixtures for painting the stems and leaves. I mixed a light green shade with a little yellow ochre and a little bit of black to get this more subdued kind of green.
Tip: Be careful when you add black to your mixtures since it’s a very strong and dark color. You don’t want to inadvertently darken your color several shades darker than planned. You should slowly add by dabbing just a little bit of paint with the tip of your brush and add that to your mix. If you want to go darker, add a little more until you reach the desired result.
Step 6 - Working on the final details
Similar to the first flower, we add the same details to our third which is also in full bloom. We add the Orange near the center, the Umber on top of the blue outline, and the outline of the deep red mixture around the cone. However, the third flower has a petal that’s slightly folded inwards. We paint the underside of that petal an orange to give it the shadowing it needs, adding more dimension to it.

With a lighter green mixture than the one we previously used, add a few highlights to the leaves and stems to give them more volume. Making them perfectly complement the gouache flowers.

Some trivia about the narcissus flower
Here’s a small trivia about narcissus flowers for those who love Greek mythology as much as I do. Narcissus flowers are associated with the god of the underworld, Hades. It was the flower he planted for Persephone to lure her into the underworld. As planned, Persephone picked the flower, and then a portal to the underworld opened. Hades appeared, leading Persephone into the shadows and to his kingdom of the dead. You might have also heard of a young handsome man with this same name who rejected all romantic advances. According to the myth, he fell in love with his own reflection upon seeing it at a stream. As he was reaching out to touch it, he kept trying to reach it and stretched out too far. He tragically fell in and drowned.
And here are my finished narcissus gouache flowers.

And here are the two final works, I hope you found these step-by-step instructions easy to follow and helpful. If you do try them out, don’t forget to share your creations on Instagram using the #zenartsupplies. We’d love to see them and feature them on our social media channels!
For another gouache painting how-to, check out my other article, moon landscape with gouache tutorial.

We’d love to hear back from you!
Have you tried painting gouache flowers? Which flowers have you painted? How do you find painting them in gouache compared to other mediums? What future content would you like to see from us? Let me know in the comments below! Join our friendly art community Painting Inspiration Daily on Facebook. You can share your art and ideas, watch LIVE tutorials, and be inspired to paint!
Looking for some guidance on how to blend acrylic paint? Watch out for our next upcoming article for some useful tips on that and more!
- MEET THE AUTHOR-

Theodora is the Dynamic Social Integrator at ZenART, resident artist and content creator. She is the one who's been admiring your work through our social media channels and the one who's been motivating you by giving you tips and inspiration. Being born and raised in Athens, Greece, her work as an artist often depicts charming bejeweled and modernized Greek mythological characters rendered on big canvases and inspired by Renaissance aesthetics. When she's not creating content, she fills her days with endless hours of painting.


