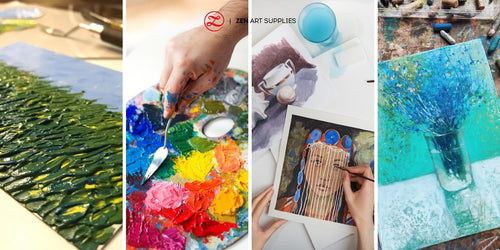
What is it? | How to use it? | Basic Gouache Painting Techniques | Useful Tips
Curious about gouache but unsure how to go about using it? The good news is that it’s super easy once you understand the basics of it. They are water-based colors that are a perfect mash-up of watercolor and acrylic. I find them to be beginner-friendly paints and kinda regret trying them out more seriously just the last few years to be honest.
Below are some tips on how to use gouache, plus answers to common questions that might be on your mind. This is not a paint to be fearful of. It is a fun medium that should be enjoyed and fully explored. The many ways of using and playing with it are limitless.
Gouache Painting For Beginners
This versatile paint comprises many of the characteristics we love in our other paints making it the perfect middle ground. Plus you don’t need a lot of supplies to start painting with gouache.
What is gouache?

ZenART’s B6 Artist’s Sketchbook, brushes from the Verbena brush set, mixing plate, and gouache tubes. The bull clip is for ensuring the sketchbook stays flat for double page spreads.
Gouache is a kind of paint with pigments that are quite similar to that of watercolor and is also re-wettable when dry - whether on the support or the mixing palette. What makes it different is that it has an additive mixed in (binder that’s usually gum arabic or dextrin) that makes it more viscous, similar to acrylic paint but on the tackier side.
It’s designed to be opaque just like acrylic paint but dries with a matte finish. But FYI, you’ll also encounter a specific kind called “acrylic gouache” (also called acryla gouache) which you won’t be able to reactivate once dry – just like acrylic. So unless that’s the specific property you’re looking for, be careful when buying your paints.

Gouache has a long history and has been around for more than 10 centuries, the Egyptians were known to have used it as well. It has long been favored for commercial use in painting posters, comics, illustrations, and in all sorts of design work.
The matte-ness, opaqueness, and vibrancy of the paints lend well to reproducing such works in print or digital form without having to do difficult edits. Its matte finish makes it much easier to scan or photograph as you don’t need to worry about lighting glares.
How to use gouache?
Quite easily, you can use it straight out of the tube. But where’s the fun in that? The nice thing about gouache is the wide range of applications that you can do. From the lightest wash ala watercolor transparency to very thick and opaque like acrylic. All you need is to add water to create the various consistencies that you’re looking for.

And don’t worry if your paint ends up drying on your palette, just reawaken it with water! Below are the basic gouache painting techniques that you need to be familiar with.
Gouache Painting Techniques
Washes
For a wash, you need to create a thin layer of color - simply use more water in your mixture until you get a very liquid and runny consistency. Then, apply the mixture evenly across your surface. You can have a wash that’s as transparent ala watercolor where you can see your surface’s color peeking through or go thicker. Below are three examples from a very pale wash to a more pigmented one.

Blending
Learning to blend colors is an important technique to master. You’ll find it essential for creating value and color changes both for subtle and bold effects. Apply one color and spread it towards the new/other color that it will change into. Overlap the edges of the two colors until you get the desired blended effect, ideally a smooth color transition. Fortunately, gouache colors blend really well, so you’ll be able to achieve beautiful blending results quite easily.

Painted using the #12 Round brush from the Verbena brush set. It spreads the color evenly, I just prefer a more textured finish. To get a smoother look, just swipe your brush back and forth, up and down until you like what you see.
But it doesn’t have to be an ultra-smooth blending, you can have more textural blending effects, too.
Dry brush
For this technique, you need to use a dry brush and thick paint. Scoop some paint with your brush and remove the excess paint by swiping it across your palette. Then brush the remaining paint on your surface to create a scratchy texture.

Splatter
A most fun technique to use! Flick paint onto your surface using your brush loaded with paint. You want a consistency that’s not thick but not too runny. This can be used to create interesting textural effects such as stars in the galaxy, to add interest to your painting, and wherever you’d like to add it really.

Gouache Painting Tips
Choosing the right surface and prepping it properly
You can paint on so many different surfaces: watercolor paper, illustration board, Bristol board, cardboard, and even on sketchbook paper. That’s the nice thing about gouache, it can be used in a loose and fluid kind of application where the color of your paper shows through or in a more controlled and opaque way.

Prepping your surface with a background of color or colors is a good place to start. You can even do more abstract mixes of color if you want to.
For thinner surfaces, you can opt to prime them with gesso or matte acrylic before painting with gouache. I do this when I want to be able to paint thicker and several layers without having to worry about the surface breaking down on me. Since the support has been covered/protected by the gesso or acrylic primer, the gouache paint won’t be easily absorbed. This gives you more time to work with as your paint stays wet longer, too.
Play around with different brushes - various bristles and brush shapes
I like synthetic brushes best for gouache painting, they have the snappiness that I need. Since the paint is much thicker than watercolor, I find that natural soft-bristled brushes are too soft and make it that much harder to spread the paint. While brushes with harder bristles easily lift off or reawaken previous layers that you paint over.
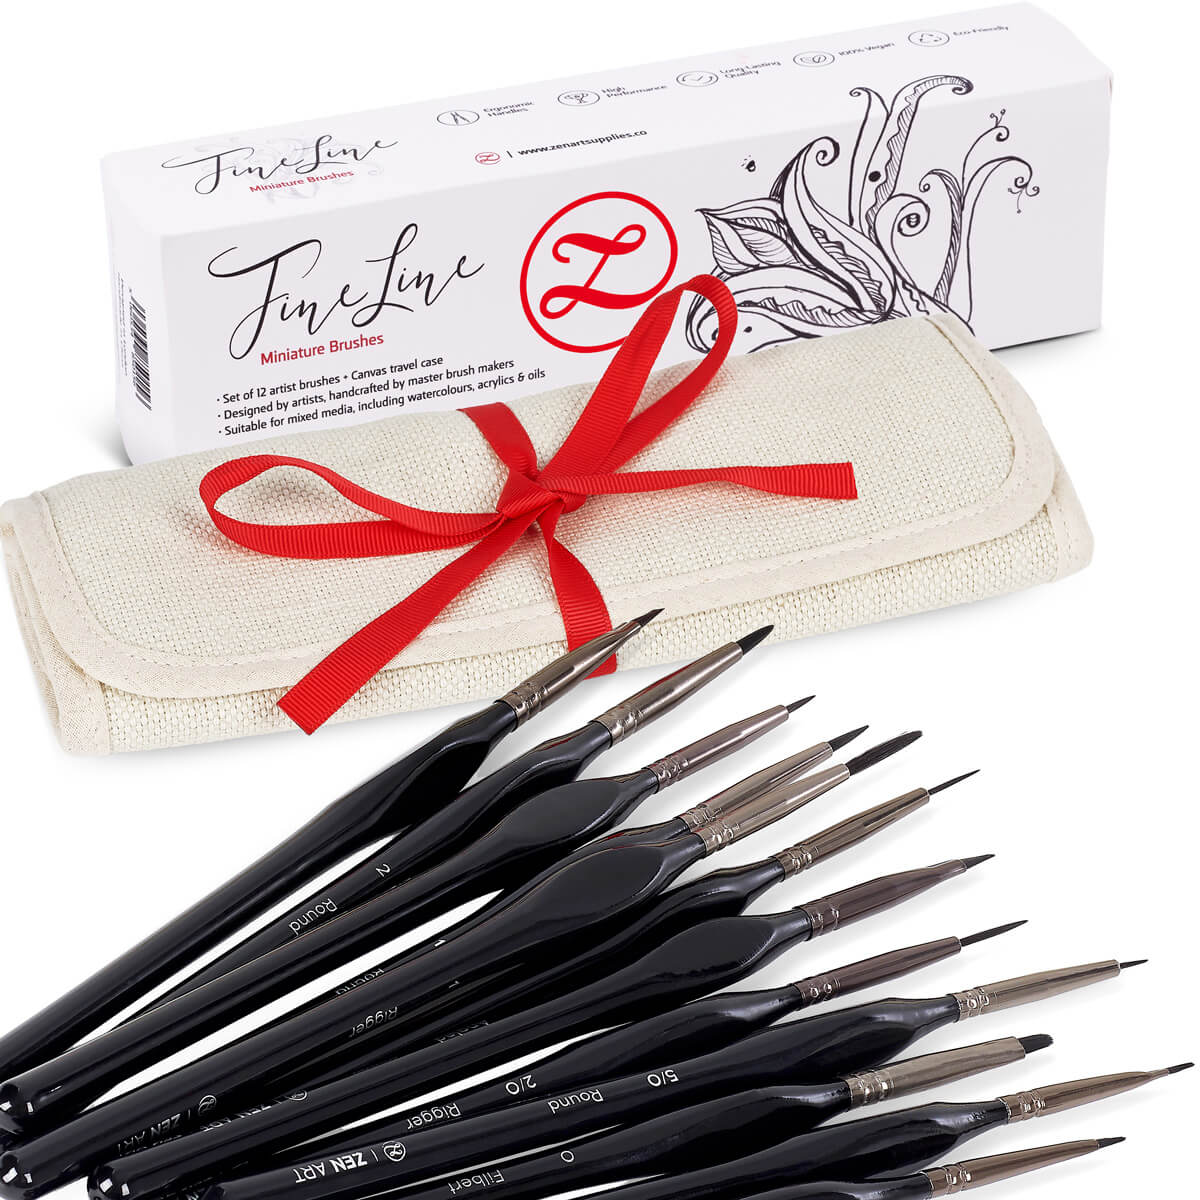
My favorites are brushes from the Verbena brush set, they are purely synthetic. I just reach for the whole brush roll/set and I’m sure to find one that’ll fit whatever needs. The short handles are another thing I absolutely love as I usually like to paint in a more controlled style.

Verbena is a 17-pc brush set that comes in this lovely bamboo roll-up case.
Depending on the size that I’m working on, I would either use a ½ inch or ¾ inch flat brush first for laying down the background layer. Then switch to smaller brushes for the succeeding layers - rounds, smaller flats (regular flat, angled), brights, filberts, and riggers.
Flat brushes are fantastic for painting crisp edges and make it much easier to get into the tiny edges and spaces. Round brushes are useful for smaller details and the rigger for long and thin lines. The choice really depends on what I’m painting and whether I’m painting more loosely or highly detailed.
Try various brushes to find out which ones work best with your style. You don’t need the most expensive brushes to be able to make gouache work for you.
Confidence is key with your brush strokes
Visualize the strokes you plan to do and be confident when applying them. Over-scrubbing and repeatedly going over and over an area will work against you. The layers underneath will be reactivated and get mixed with the current layer that you’re working on. And you can easily end up with a muddy mix of colors instead of getting vibrant layering.
You can do soft layering or thicker and more pronounced layers. There are so many different textural effects you can play around with.

If you’re not satisfied with your latest layer, don’t despair! Just wait for it to be fully dry and then you can add another layer on top of it.
For working towards an opaque build of colors. Always start with the wettest applications at the bottom and paint the upper layers with a thicker consistency of paint. You can of course do thinner layers (or more transparent) over thicker ones (or opaque) if you’re going for a glazed effect.
You don’t need too many colors, work with a limited palette
Just like with any medium, learning tonal values first is the best way to get better at painting. By removing colors, you can pay more attention to becoming more familiar with how the paint works and behaves. Start with just black and white and study the characteristics of gouache.
Tonal values become much more challenging when there are a number of different colors involved. Having a thorough understanding of values will help you create dynamic and more realistic paintings. If you find that your work looks too flat, more often than not the culprit is having value ranges that are close to each other and without much contrast. Heighten the contrast of your light and shadowed areas. Darken your shadows and make your highlights further pop out. Because gouache dries matte, you lose the added depth that you would normally get with paints that dry with a glossy or satiny finish.
Once you get the hang of things, you can move on to using colors. I started with just 5 colors following the CMYK color mixing: Cyan, Magenta, Primary Yellow, Black, and White. Learning to mix your colors from a limited palette is important. First, you don’t need to buy a mountain of colors. But most importantly, you’ll have a better chance of achieving a more harmonious composition of colors.

Using these three primaries, you can easily mix any of the other colors. Then simply add white, black, or both to change the tints, shades, tones, or chroma of the colors. Explore color-mixing and you’ll find that you’ll end up with more harmoniously colored paintings when working with limited palettes.
Your sketchbook will be your best friend for these color explorations. Some artists even have dedicated sketchbooks for color-playing and color-recording. I love my B6 Artist’s Sketchbook for this as I always have it with me wherever I go.

Keep your paints wet while painting
Gouache in tubes is very convenient. You only need to squeeze out however much you need when you’re ready to paint. There are two ways that I keep mine moist once I’ve squeezed them out on a palette: I use a stay-wet palette or I have a small spritz bottle filled with water that I spray on the paints every now and then when I see them starting to dry out and I’m not done painting.
You don’t need to finish up the paint in one sitting. Just re-wet them on your next painting session and you’ll be able to use whatever leftover paint you had.
Try not to overly scrimp on your paint
Yes, gouache is on the pricey side of things. But you don’t want to over-economize and not squeeze out enough paint - especially if you’re mixing colors. You don’t want to find yourself running out of paint in the middle of painting a section. By the time you've mixed a new batch, the previous one has dried and you’ll find it very hard to get an exact match.
Keep in mind that colors will dry darker or lighter compared to when they were wet. It’ll be even more expensive when you end up with a painting that you’ll be scrapping instead because you scrimped and ended up with a weird-looking one.
Instead, you can opt to paint smaller-sized works. This way, you’ll get to fully appreciate the wonders of gouache without having to compromise on the amount of paint you’ll use.
Start from the background and paint your way toward the foreground
If you’re painting a landscape, paint the sky first and the base color of the ground, add the middle ground details in succeeding layers, and leave the finest details for last, especially the ones in the foreground. If you’re painting a house, paint the walls first, then the windows and door, and the fine details last again.
Keep in mind the rules of perspective. Objects that are farthest from you will have the least details and the colors will also be more muted or hazier. The ones nearest will have the most details and the colors will be deeper or more vibrant as well.
For lighter colors to show opaque when painted over darker colors, mix a nice creamy consistency. If you find that it's still not opaque enough, wait for the layer to fully dry and layer another over to help make it reach the opaqueness you’re aiming for.
Remember to paint those strokes with confidence! You can always add more layers when needed, just as long as you wait for each one to be well and truly dry before adding on top.
Here’s an overview of the process of a quick and easy landscape gouache painting I did on my B6 Artist’s Sketchbook:
A super light wash for the sky, a bit darker for the mountains and the rolling fields. For the next layers, I made use of the dry-brush technique to add texture.

Then I start to add the other details and layer the lighter colors over the dark, and also vice versa. Don’t be afraid to experiment and find your own style!

Or work in sections, then layering
Here’s another easy painting using basic gouache techniques but with a more controlled and clean-edged style.
I started with a rather opaque blue background mix using Primary Cyan and White. My favorite brush for this is the Angled brush from the Verbena set. I can easily get into nooks and crannies with superb precision.
Followed by a base green for the leaves, a mix of Ultramarine Blue and Primary Yellow. Make sure each layer or area previously painted is completely dry before doing the next one beside it or on top of it. I usually use a round brush for softer details like these long and thin leaves.

Then I painted the pot and the surface where the pot is on. For the terracotta color I mixed Pure Red + Primary Yellow + White. For the surface: Pure Red + Ultramarine Blue + White.
Making sure the base green is dry, I added the pale yellow details on top (Primary Yellow + White).

The final details are then added such as the texture on the leaves, the marbling on the pot, and the cast shadow on the surface. For the darker greens and purples, I just used more Ultramarine Blue than Primary Yellow/Pure Red. And just White layered over the orange for the marbling.

And this quick painting is finished. You’ll see that I kept a record of the colors I used and color mixes I made from them on the left. This is a good habit to practice so you can easily recall the colors you used for future reference.
Can you use colored pencils over gouache?
Yes, you can! The matte surface finish of gouache makes it highly receptible to accepting other media applied over it. I’ve used colored pencils, pastels, gel pens, pen and ink, and acrylic applied over gouache quite successfully.
You can easily draw over the top of your gouache paintings with pencils, pens, pastels, and even markers.

Can you use gouache with other paints?
Another yes! Gouache works with water-based paints such as acrylic, ink, and watercolors. The best way to find out if you like the effects is to experiment with them.
When used in conjunction with watercolors, I usually use it to apply more opaque details over previous watercolor applications. It’s perfect for creating white highlights and details that go over very well on top of watercolor. Or when you decide you need more opaque details and other sections.
Below, white gouache was used to paint the frothy waves over the blue sea and sandy shores painted in watercolor.
And I usually use acrylic paint as a background base color for gouache to layer on top off. But you can most definitely apply acrylic paint on top of gouache, too.
I hope the tips in this guide will help you jumpstart your gouache journey. Remember not to compare it to your watercolor or acrylic experience. It’s a completely different and wonderful medium with its own unique characteristics.
Here are some gouache articles for some painting ideas you can try out to start you off!
Moon Landscape With Gouache
Two Gouache Flower Paintings - Step By Step
We’d love to hear from you!
Which water-based mediums have you used before? What made you want to try out gouache? If you’ve used gouache before, what did you find most challenging about it? Let me know your thoughts in the comments below! Join our friendly art community Painting Inspiration Daily on Facebook. You can share your art and ideas, watch LIVE tutorials, and be inspired to paint!
Have a wonderful time exploring and experimenting with the different gouache painting techniques!
- MEET THE AUTHOR -

Kathleen is the Wordsmith at ZenART, resident artist and art editor. When God sent a shower of talents, Kathleen made sure she got a basketful of them! She's a visual artist with practical knowledge on various fields from painting and sculpture, to costume and set design which comes in very handy when writing about various art techniques and theories. She also shares her passion for the arts through teaching. She runs her own brand of handmade wirework jewelry designs.


