Moon Landscape Color Palette | Step-by-Step Painting Process | Tips and Techniques
You will never go wrong when choosing to paint a moon landscape. There are so many ways to go about it that there's always something new to explore. Plus the moon will always carry that sense of mystery, no matter that we have been to it and back already. Earth has only one moon and it serves as our one and only natural satellite. It's size is about the same as Australia's width. One of the earliest depictions of the moon (that has been discovered so far) is a 5000-year-old rock carving at Knowth, Ireland.
TABLE OF CONTENTS: Looking for something in particular? Jump ahead using the links below:
Color Palette For Moon Landscape
Full Moon Landscape Step-by-Step Painting Process
Painting The Background In First
Moon Landscape With Stars - Painting Them In
Painting The Moon In The Moon Landscape
Adding The Foreground In - Silhouette And Trees
Finished Full Moon Landscape And How To Add Protection
Here are some illustrations of the moon dating back to more than 400 years ago. The beautiful craters on the surface of the moon are drawn in great detail.

Above is Johannes Hevelius' Map of the Moon from his Selenographia, printed in 1647. Below are Galileo's sketches of the different phases of the Moon from Sidereus Nuncius, where he used an early form of the telescope in 1609 to make his detailed observations.

And now it's our turn to paint our very own depictions of the moon!
Full Moon Landscape Painting
Each of the four phases of the moon makes for an interesting subject to paint. For this tutorial, the full moon will be painted in all its luminous glory. This is a very easy and fun scenery to paint for beginners demonstrated and explained in detail below by ZenART's very own in-house artist, Theodora Augusta Lionti.

Materials Used:
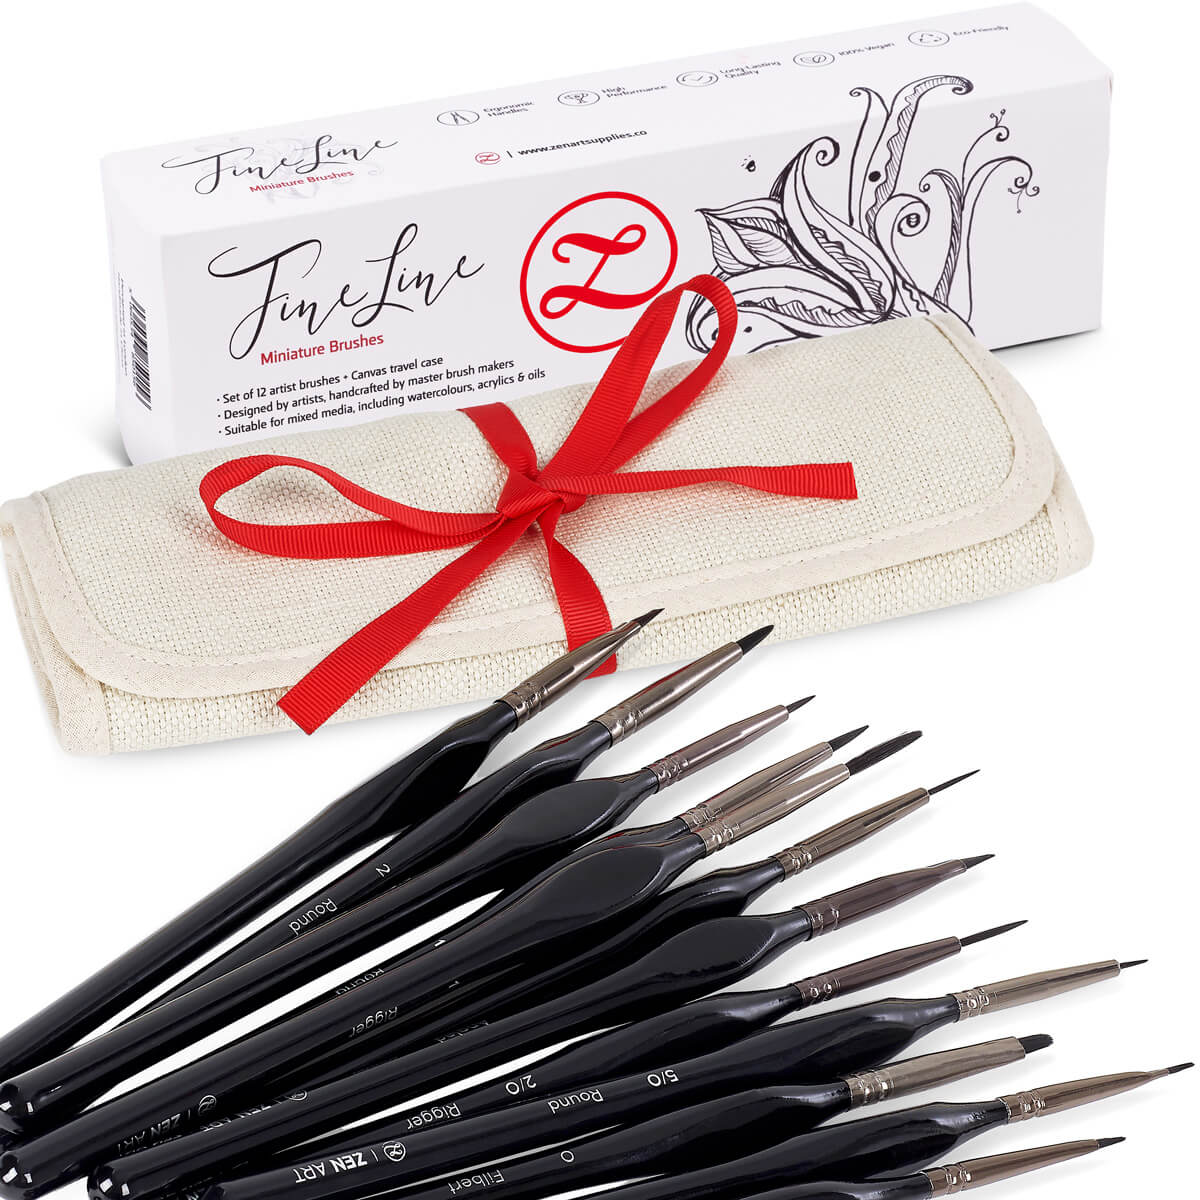
- Brushes from ZenART's Fine Line Miniature Set
- Brushes from ZenART's Black Tulip Set
- Gouache
- Watercolor paper
- Masking tape
- Jar of water

A Little Background On Gouache
Most people that are starting out painting find watercolor and gouache to be easier to use over others, and indeed I believe they both are great beginner mediums. Gouache has been around for thousands of years and is considered to be one of the oldest painting mediums. Thus, it is adored by many painters since it possesses many advantageous material qualities.
More specifically, for me gouache has the best qualities of all the other types of paint. For instance it is as opaque as oil paint while it dries as quickly as watercolor. With the advantage (or disadvantage for some) that the paint reactivates with water, making it easy for alterations and corrections. It can also be worked in layers similar to acrylic painting. In other words, gouache is opaque with good coverage, has vivid colors, dries quickly, and can be easily corrected if you do not like the end result.
Color Palette For Moon Landscape
Before you start painting with watercolor or gouache on paper, it is best to stretch your paper with masking tape. Do it for all four sides just like I did in the picture below. This is to ensure that your paper will remain straight and will not curl or buckle once you start wetting it.
And it's also a good idea to add the colors that you are going to use on your pallet. Planning them out beforehand will give you time to alter your color choices if you don't end up liking what you see on your palette.
The colors I am using are as follows:
- Titanium white
- Ivory black
- Ultramarine
- Sky blue
When you are a beginner, you should opt for a limited palette. So you can focus on the tonal values and get more accustomed to the use of this particular medium. And remember the less colors you use, the more harmonious your paintings will be.

Full Moon Landscape Step-by-Step Painting Process
And now on to the painting part, beginning with the background!
Painting The Background In First
The sky is always darker on top and as we move downward, the sky gets lighter and lighter. With that in mind, we start by mixing ultramarine with black. And with the Flat Brush from the Black Tulip set, we cover the top section, almost 1/4 of the paper. We want to get a nice gradated effect, so as we move downwards we add some white in increasing increments to our ultramarine and black mix. And we blend it in with the previous shade we added.
Useful Tip:
In order to blend them in more easily, it is good to add some water by dipping the brush into the jar of water.
To get a more even gradated look or ombr'e tone effect, it is best if you paint on top of the previous color's edge and start blending from there.


Moon Landscape With Stars - Painting Them In
If you are pleased with your gradated sky, it's time to add some stars. Before doing so, you should ensure that your painting is dry. If you want to speed up the process, you can use a hairdryer for a minute or two. Then with the 5/0 Round Brush from the Fine Line miniature set you can paint them one by one with white paint where you want them to be. Or by diluting the white paint with water, you can take the brush loaded with the mixture and lightly tap it against your finger or another brush. You can create splatters of white paint that resemble the stars. But be extra careful when doing this because as previously mentioned, gouache reactivates with water. Just make sure not to overdo it.

I suggest you wait for the stars to fully dry before working on the next part. That way, you won't accidentally smudge them and ruin their effect.
Painting The Moon In The Moon Landscape
Now we need to bring to life the beautiful full moon. Take a small circular object you can find at home and trace around it. Or you can use a compass (the drawing tool) to draw the circle in.

The moon will be more realistic if it is not painted completely opaque with white. So by dipping your brush in your jar of water, you ensure that your top layer of white is going to reactivate the background paint underneath. Make sure to paint in circular motions and add lighter paint here and there. This will make it look more mysterious and have a three dimensional effect.
Adding The Foreground In - Silhouette And Trees
Using black paint, we'll be covering the bottom section of the painting, again using the Flat Brush from the Black Tulip set of ZenART Supplies. Don't be afraid to use a lot of paint as we need this area to be really dark and as black as we can get it to be - it's a silhouette. This part is also where we're going to be adding the trees to later to finish off our moon landscape.

Now it's time to paint the trees in. It's much easier to paint the thin, straight lines of the tree trunks using the 4/0 Rigger Brush from the Fine Line miniature set. Just place your lines at an appropriate distance from each other - not too close because we still need to add the branches of the trees. And for that we need enough space so that they do not completely overlap each other.
Start painting them in, then we'll paint on each tree trunk short diagonal lines. They will start shortest from the top, then slowly growing longer and longer as you move downwards till you reach the bottom. Forming a tall isosceles triangle-like shape.
Finished Full Moon Landscape And How To Add Protection

If you wish to add protection to your painting, you could frame it yourself or have it framed with a protective glass on top. Even better if there's a matting between the glass and the artwork so the paint doesn't stick to the glass. Remember, if you accidentally spill water on your painting, it will reactivate the paint and quite possibly ruin your precious work. Another option will be to varnish it. There are several kinds of varnishes that are suitable for gouache, either in liquid or spray form. It's a matter of personal preference whichever one you choose to go with.
And Theodora's tutorial is now at an end, wasn't that a fun and very doable painting process? Just remember to not be too hard on yourself if you don't get things right on your first try. Just press on and keep at it, it's the best way to learn. Blending can be a challenging and delicate technique to master, but it's well worth the time and effort once you achieve it. You can also create your own composition if you want to do something besides the trees. Check out our Golden Rules Of Composition In Art and Tricks Of The Composition Trade to help guide you through the process of creating your very own original compositions.
We'd love to hear back from you!
Which phase of the moon is your favorite? Will you be doing a full moon landscape as well or are you thinking of painting a half-moon or a crescent moon instead? Do you enjoy using gouache as a medium? What future content would you like to see from us? Let me know in the comments below! Join our friendly art community Painting Inspiration Daily on Facebook. You can share your art and ideas, watch LIVE tutorials, and be inspired to paint!
Interested to learn How To Draw A Cornucopia, that's next on our Toolkits. Meanwhile, I hope this inspires you to create your very own moon landscape paintings!
- MEET THE AUTHOR-

Theodora is the Dynamic Social Integrator at ZenART, resident artist and content creator. She is the one who's been admiring your work through our social media channels and the one who's been motivating you by giving you tips and inspiration. Being born and raised in Athens, Greece, her work as an artist often depicts charming bejeweled and modernized Greek mythological characters rendered on big canvases and inspired by Renaissance aesthetics. When she's not creating content, she fills her days with endless hours of painting.


