What Are The Basic Watercolor Brush Strokes? | Various Techniques | Practice Exercises
Before going into the different watercolor brush strokes, maybe you'd also like to check out our previous Toolkit article - How To Clean Oil Paint Brushes. It covers how to clean them the quick and easy way, the deep cleaning way, and other tips as well.
TABLE OF CONTENTS: Looking for something in particular? Jump ahead using the links below:
What can affect your brush strokes?
What are the Basic Watercolor Brush Strokes?
List of Materials
Thick and Thin Strokes
Flick Away and Towards You Strokes
Loose and Painterly Strokes
Linear and Hard-edged Strokes
Dry Brush Watercolor Strokes
To paint brush strokes, try to imagine the brush as an extension of your hand. At first it can seem tough, but it becomes instinctive once you become familiar with it. You can manipulate the brush in so many ways to create different effects, patterns, and washes. Just like your hand, you have to learn how to control it to achieve great brush stroke results.
As a child you learned that squeezing an egg too hard will break it. And as an adult, holding a hammer too weakly will take you many tries before you fully pound the nail in. It's good to learn proper control of your brush so you'll have more freedom when painting. Through continuous practice and experimentation, you will get the hang of it and even discover techniques that are special to you. I promise you, it's really very exciting!
What can affect your brush strokes?
The amount of wetness
How wet or dry your brush is will affect how your brush strokes will come out. If your brush is too wet than you intended it to be, it will create a stroke that is too light. On the other hand, if it's too dry your brush runs out of the mixture before you can finish your full stroke. With continuous practice, you'll learn to find the right balance.
The intensity of your mixture
When creating mixtures, I myself like to have a separate scrap paper on the side for sampling each one out before I use it on my painting. That way, I can still adjust the intensity or make changes before it's too late. Unlike painting in oil or acrylic, it's much harder to erase or fix mistakes in watercolor. Swatch it out first and you'll save yourself from a lot of heartache.

The amount of pressure
How much pressure you apply to your brush while against the paper will influence the type and size of your watercolor strokes. If you press down hard, it will leave big and wide strokes. Now if you just lightly press the tip of your brush, that will leave thin strokes. Figuring out how to use the right amount of pressure is crucial, a single brush can give you all kinds of brush strokes once you learn how to play with it.
The speed and direction of your stroke
When you do quick strokes, it creates certain marks and effects. Like painting tall grass with quick strokes and in specific directions, you convey the idea of movement. Similarly when you use slow strokes. Imagine painting a puddle of water in slow strokes and in a curving motion. Depending on the outcome you're looking to achieve, different speeds with different directions each have their own merits.
The placement of your hand on the brush
Holding the brush close to the ferrule gives you more control when creating fine or detailed strokes. When you move your hand further away from the bristles you can create looser strokes. If you hold the brush at the end of its handle, you can create sweeping strokes. Now if you use the side of the bristles, you can produce fat and thick lines. Try experimenting with the various ways of holding the brush and the different kinds of watercolor brush strokes you can make.

The amount of brush strokes
How many brush strokes you use will depend on the effect you want to achieve. If you want to create a loose painting, then you shouldn't overdo your strokes. But if you want to create an energetic looking work, then you can use more. Just keep in mind that if it's too busy, it can ruin the effect that you might have wanted to show.
What are the Basic Watercolor Brush Strokes?
There are so many kinds of brush strokes you can make with your brushes, and the various ways you can use them, apart or combined together. To start out you need a good mid-sized round brush, a flat brush, and a mop brush. The best way is really to test them all out and see the countless ways that you can do with each one. So let's start with the basics which you can easily practice with and use right away for your watercolor paintings. Check out the list below for the materials you'll be using.
List of Materials:
- A set of watercolor paints - for this tutorial I'll be using the Sereno Palette from ZenART Supplies.
- Thick enough watercolor paper (300 g).
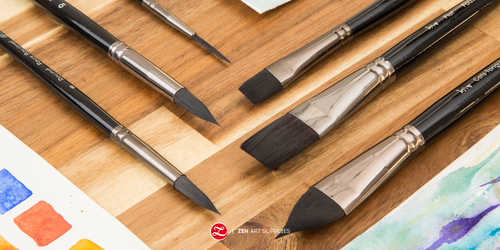
- A set of watercolor brushes - good sized round brush, mop brush, flat brush and a fan brush.
- Mixing plate for pre-mixing a certain amount of color or for color mixing.
- A jar or two of water for dipping and rinsing your brushes in.
- Paper towels or sponge to absorb excess water.

Thick and Thin Strokes
Amazingly, you can create both thick and thin lines using one brush, the best one for this is the round brush. I recommend you begin with the thin lines. With the fine tip, rest the tip lightly on the paper in an upright position and create your strokes. Try starting out with the simple lines - vertical, horizontal, wavy, zigzag, broken lines/dashes. You can also do some scrolls if you're feeling more adventurous. Maintain good control of your brush strokes and try to keep your lines thinness and distance from each other as consistent as you can.
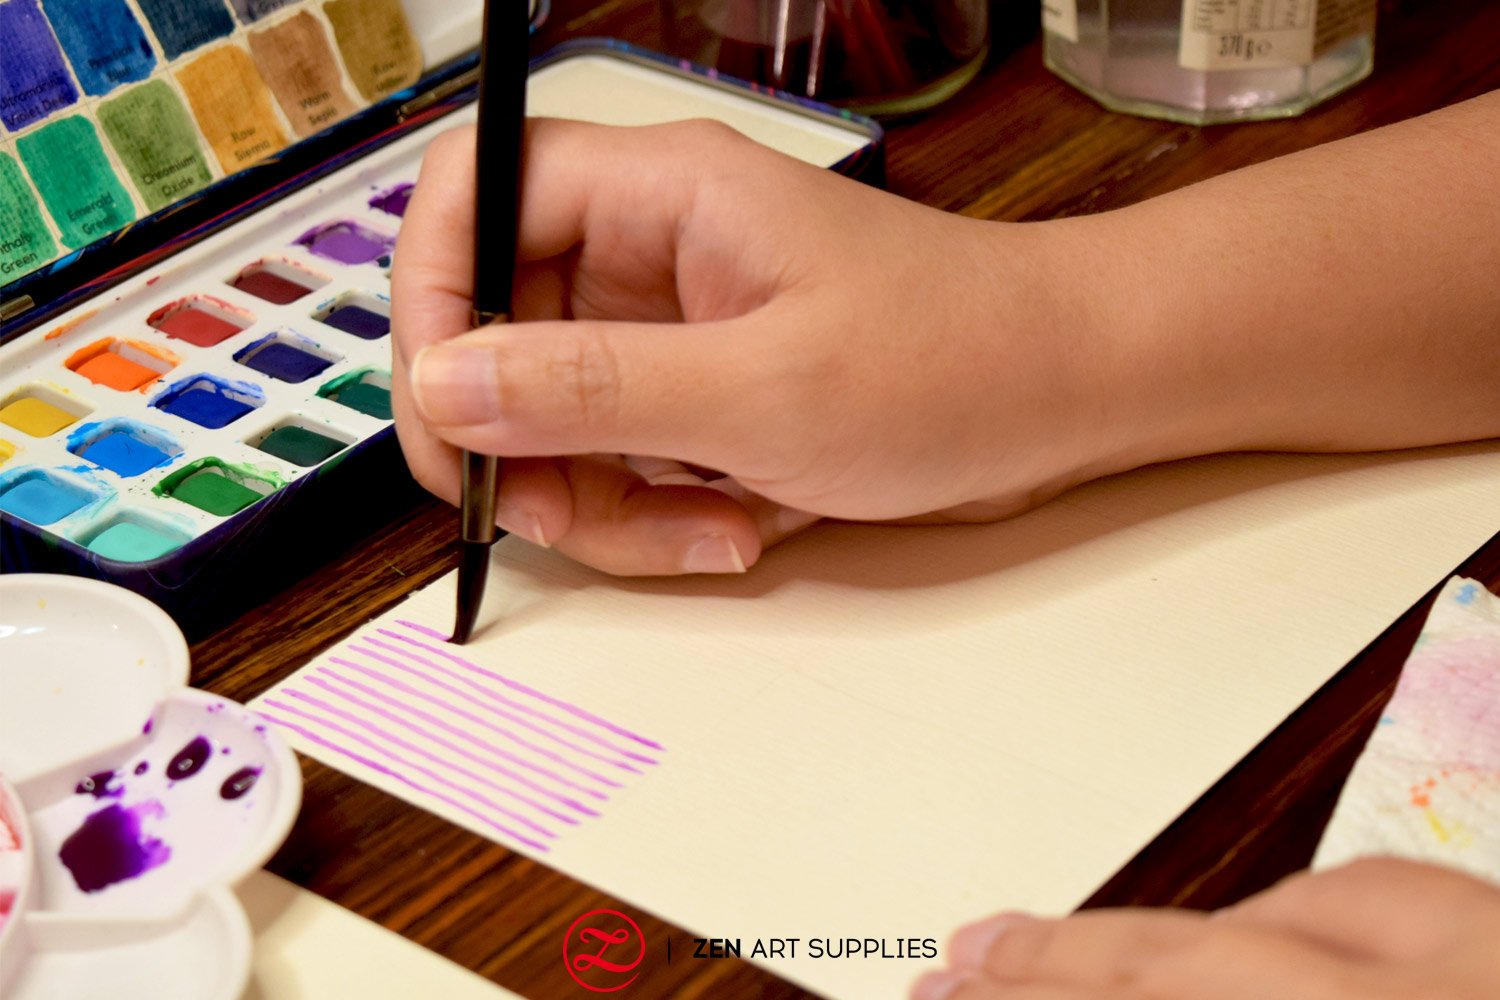

For semi-thick watercolor paint strokes, slant your brush and apply more pressure than you did with the thin lines. Keep in mind to test as well what the effect is for different speeds.


Now let's move on to the thick lines. This time you'll be using the belly of the brush to create thicker lines. Apply more pressure to your brush so its belly fully touches the surface of your paper and swipe it in the direction you want. Use the same practice lines you made with the thin lines. And remember to keep them as consistent as you can.


Next, it's time to combine the two in one single stroke. Alternately push and lift your brush up and down to create a continuous line that seamlessly joins thick and thin watercolor brush strokes.
Fill up your whole paper with these lines as close to each other as you can make them, but make sure not to let them touch each other or overlap. If they do, don't worry too much about it, that's part of the learning process! In this exercise, you're teaching your hand to have good control over the brush. Remember to take breaks if your hand is feeling tired.

Flick Away And Towards You Strokes
This time, there's more focus on the direction and speed of your brush stroke. Most people instinctively paint with the brush going towards them. But it's also good to try doing the opposite - away from you. To create loose and fluid flicks, make sure your wrist is relaxed and not tense as it will be responsible for the flicking action. Otherwise it will be harder to create brush strokes flicks with fine tips and in the direction you wish.

This technique creates a different effect that is quite useful when painting grass and foliage. Experiment with both and see what the difference is, so you'll have a better understanding of when to best use these watercolor strokes.
If you have a fan brush handy, try it out using the flick away technique and create grass-like strokes.

Loose and Painterly Strokes
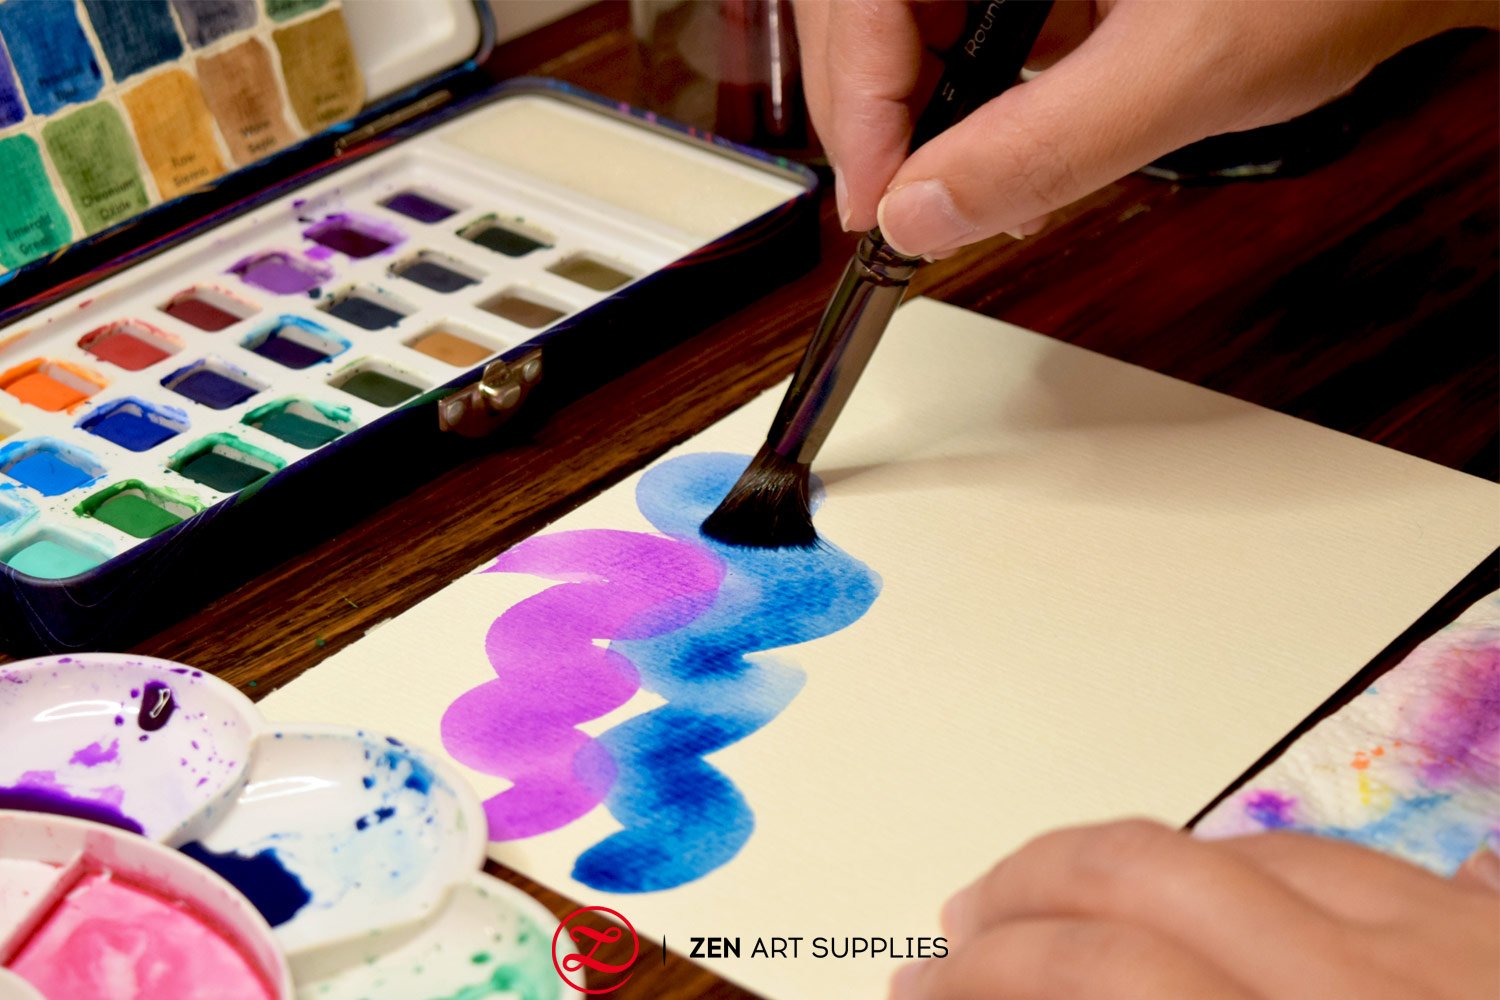
A painting is considered painterly if the end result shows visible brush strokes. Instead of a linear style used for drawings, it relies on the use of colors, texture, and strokes to show the form. Think Impressionist paintings. To achieve this, you paint loosely and freely with just a degree of control.
Try out this watercolor brush stroke technique with a mop brush and a round brush. Use the mop brush to create thicker and juicier loose strokes, and the smaller round brush for the thinner painterly strokes to create variety. It's good to mix them up so you can play around with the different textures and effects you can create.

Linear and Hard-edged Strokes
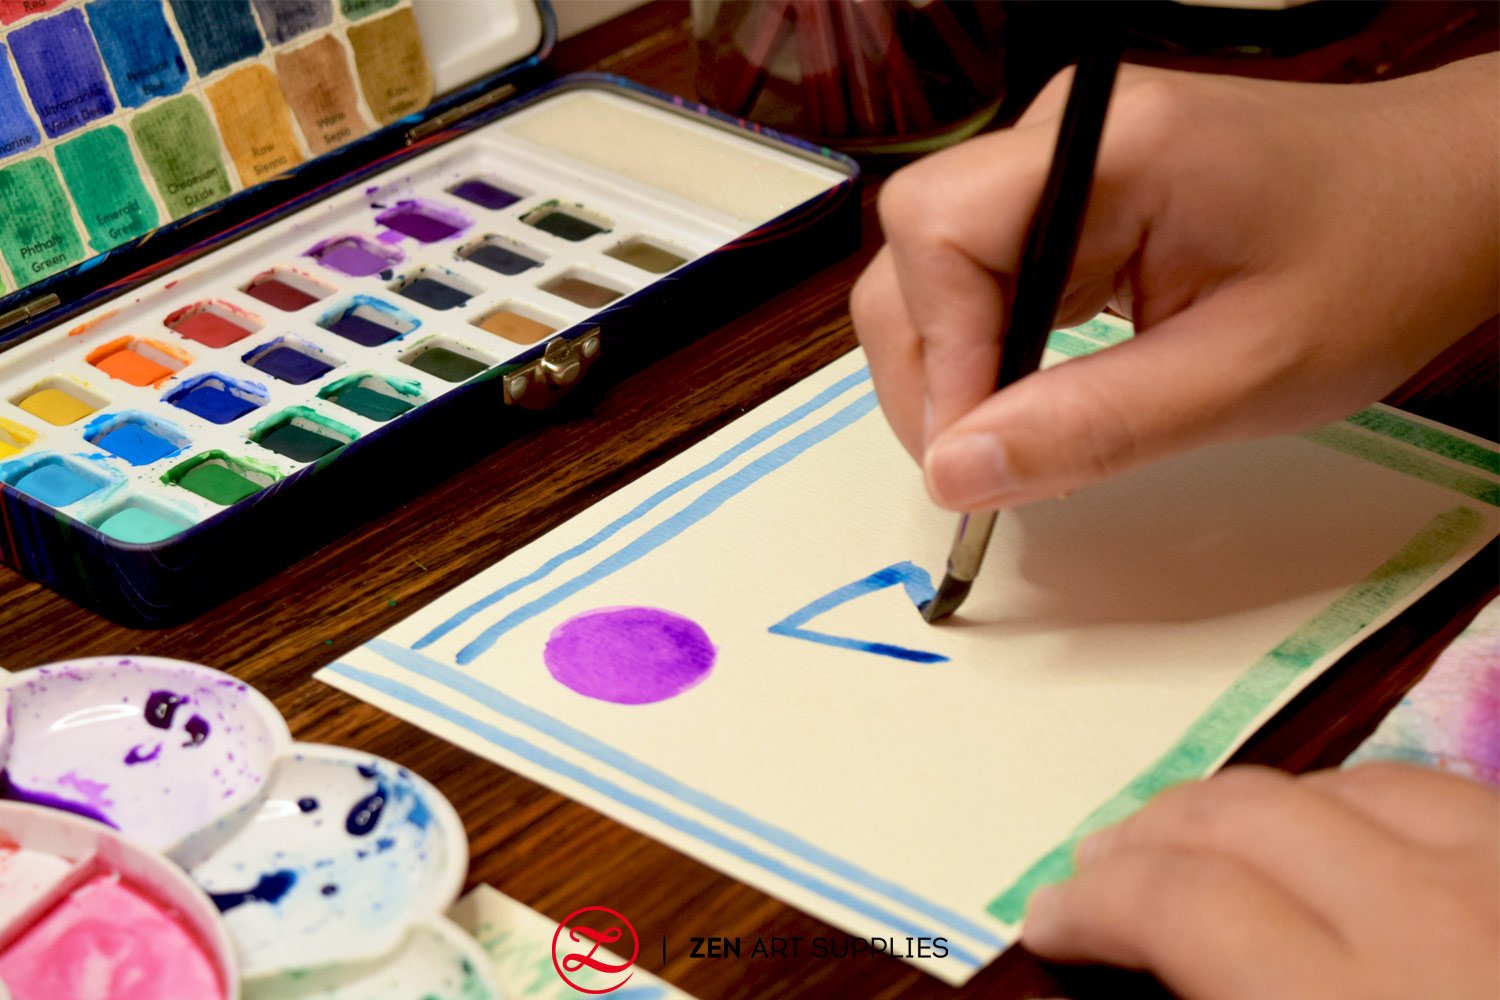
This is like drawing, the edges of your lines are crisp and polished. There will be times when you need sharp edged strokes, so it's good to practice this. Try to paint these using both the flat brush and the round brush. Start with lines, then move on to geometric shapes, followed by biomorphic shapes, and then try mixing them together. Explore with larger sized brushes and with smaller ones as well, they both offer their own certain challenges that can help you develop your control.

Dry Brush Watercolor Strokes
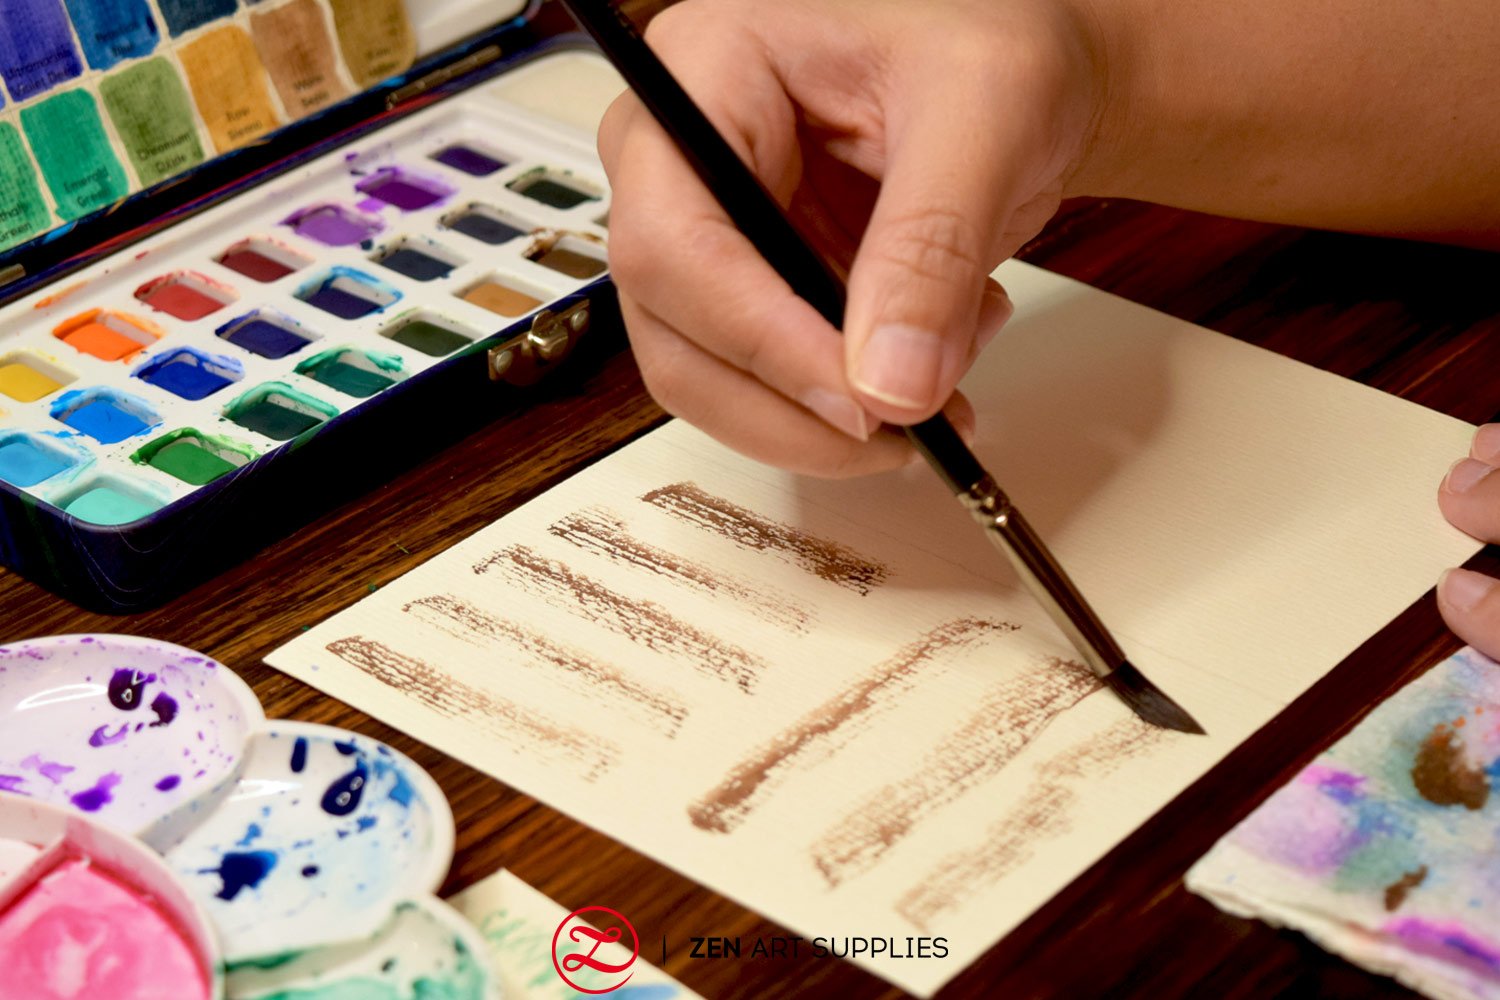
And last on this basic list is the dry brush effect strokes. You can create this using any brush. What's essential is the state of the brush and the amount of paint. The brush should not actually be dry, but it shouldn't be dripping wet. It must be just the right amount of dampness. Then you load it with a thicker than normal paint and brush it on your surface. The dry brush look is best achieved on a dry surface. Test it out loaded with a lot of paint, a little paint, and blotted out paint to see what sort of textures and effects you can create. You can use this to paint the texture of tree trunks!

I hope this helped you learn the basic watercolor brush strokes you'll need to begin your watercolor painting journey. Don't be discouraged if you don't get things right or to your liking right away, it really truly is a learning experience that you must go through. After all, every mistake you make and learn from takes you one step closer to mastering the different techniques. Just keep practicing and experimenting, and before you know it, you'll be creating your own masterpieces!
We'd love to hear back from you!
Which brush stroke did you find challenging to do? How about the easiest one? Which ones did you have the most fun with? Let us know what you think, we'd love to hear back from you. Feel free to leave a comment, and we'll be happy to answer any queries you have.
Learn the secret behind mixing watercolors beautifully on our next Toolkit article - How To Mix Watercolors - Essential Guide. Until then, have a great time painting and exploring the different watercolor strokes!
- MEET THE AUTHOR-

Kathleen is the Wordsmith at ZenART, resident artist and art editor. When God sent a shower of talents, Kathleen made sure she got a basketful of them! She's a visual artist with practical knowledge on various fields from painting and sculpture, to costume and set design which comes in very handy when writing about various art techniques and theories. She also shares her passion for the arts through teaching. She runs her own brand of handmade wirework jewellery designs.


