Drawing the entire body | Breaking down complex forms | Drawing a dog's face
Dogs are just the cutest and sweetest, aren’t they? I've been surrounded with dogs my whole life and I they're just the best part of my day. Maybe you have one that you’d like to draw or maybe you just want to draw dogs in general. I’ll show you how to draw a dog step-by-step: by drawing the whole body and then two different faces to help start you off.
As with drawing anything that seems challenging, breaking it down into simpler forms is always the key. Let’s start by drawing the full body.
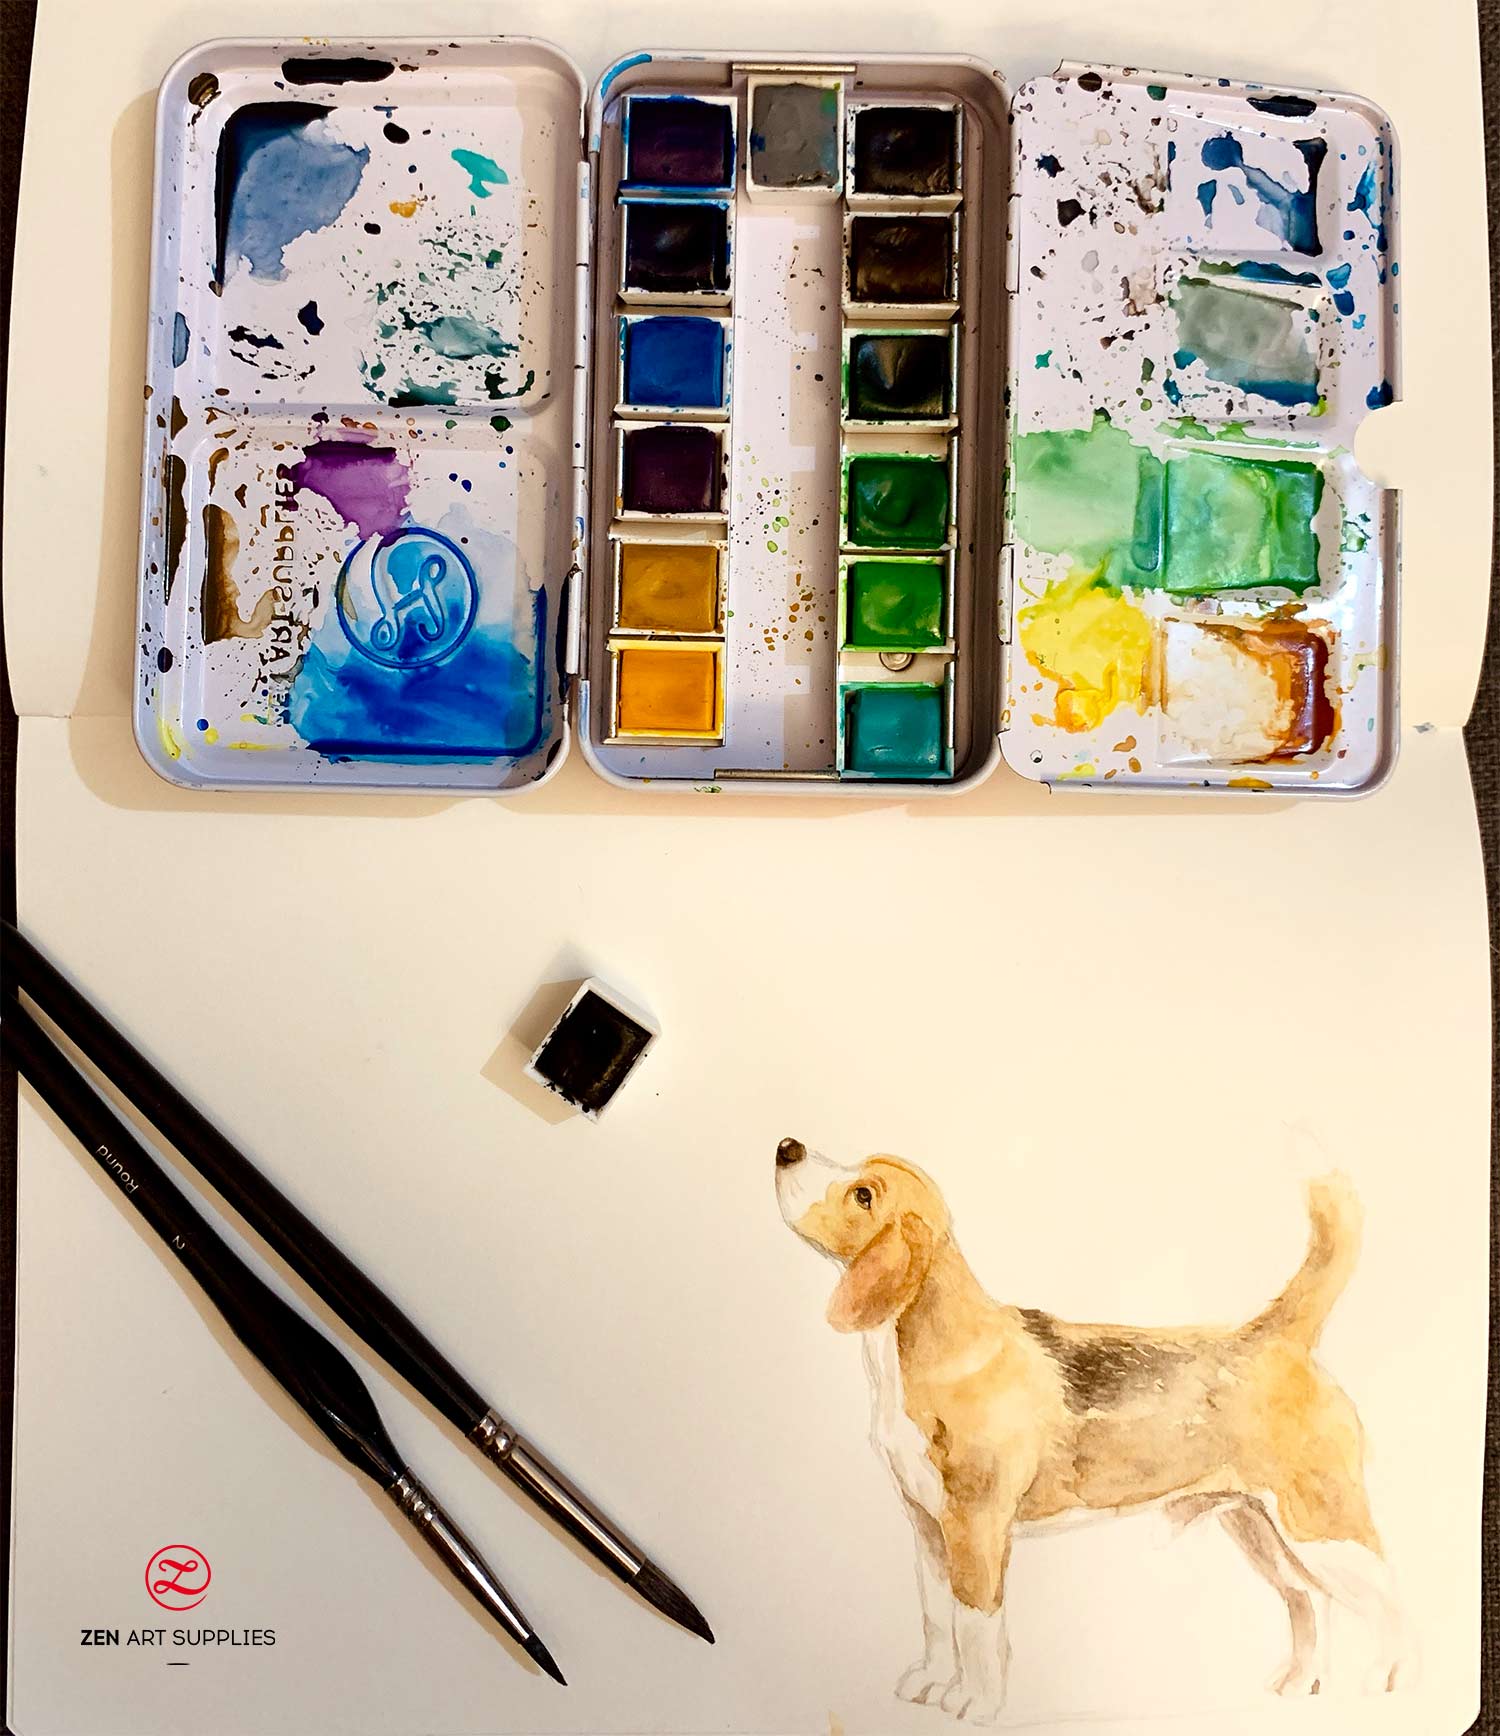
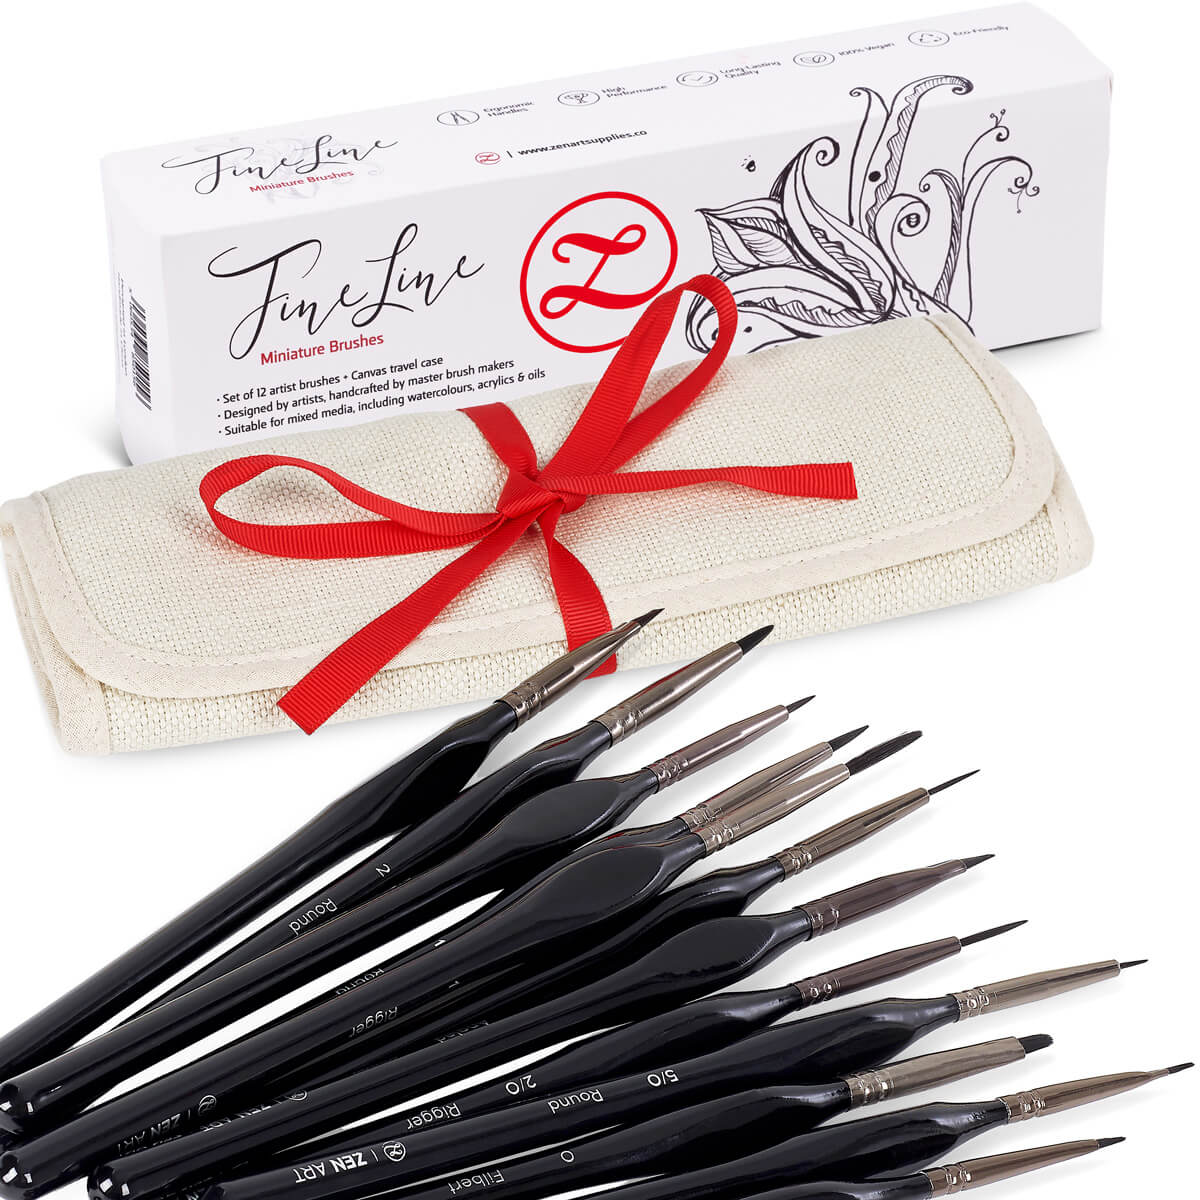
A beagle drawn using the steps below and painted in watercolor on my B5 Artist’s Sketchbook. Colors used are from the Vista and Classico Palette, #5 round brush from the Turner Collection, and the #2 detail round brush from the Fine Line set, all from ZenART Supplies.
How To Draw A Realistic Dog Body
Dogs have been bred into all shapes and sizes. You’ll find dogs with long bodies, but short legs. Dogs with long legs and with proportional body lengths. There are also dogs with stout bodies and short legs, dogs with more muscled upper bodies, and so on. But they will all have a body, four legs, a neck, and a head.
Depending on which dog you’re going to draw, the step-by-step guide will show you how it can be easily adjusted to fit any dog. I find Jack Hamm’s teachings on how to draw animals very helpful, highly instructional, and very easy to understand and follow.
As children, we start by drawing people and animals in stick figures. Then we slowly add the form and identifying characteristics. We’ll do the same with the dog, based on a greyhound dog’s body type.
Step 1 - Stick Figure Dog
Draw a very simple stick figure of the dog viewed from the side. Circle for the head, then lines for the neck, body length, two legs (the other two will be added later), and the tail.
Step 2 - Adding the spine
Add the spine from the base of the head to the tail. The spine is curved like a reverse S-shape, no animal will have a straight backbone when the head is up. The tail curve can be modified depending on what you plan to draw.
Step 3 - Ribcage and snout
Draw an oval for the ribcage which usually takes up at least half of the body length and is the bulkiest part. It protrudes slightly beyond the front leg line and is angled towards the middle section. Then a cone-like shape with the tip cut off at an angle for the snout.

Step 4 - Adding the pelvic bone and shoulder-blade
Add the bones that connect the spine to the legs, still just using simple lines (in orange above). The pelvic bone and the shoulder-blade when viewed from this angle slant down and outwards from the central area of the body.
Step 5 - More details to the legs
And finally, we can add more detail to the structure of the legs. Both the front and back legs are broken into three lines. Most animals' forelegs are shorter than their back legs. The forelegs are quite close to following the previously drawn straight line and serve as the supporting pillars. They support a big chunk of the body’s weight as they are located nearer to the center than the back legs. Animals with bigger central areas usually have even shorter forelegs. While the back legs are angled and function as the animal’s “push-off” legs, much like springs.
Step 6 - Adding the two other legs on the other side
Then, using the two legs already drawn as a guide, add the two other legs on the left side of the body that's away from you.
Step 7 - Refining and fleshing out the dog
And now we can finally flesh out the dog’s body! Here’s more from Jack Hamm’s superb instructions that are really very useful for simplifying the animal into its various parts and is perfect for learning how to draw a dog.

And when put together, the various simplified parts form a basic whole animal. Each part can be easily modified for any animal. Some animals that have thick long fur/hair will have a body nearer to the oval shape. While other animals that have shorter fur/hair will have more defined torsos.
Legs can be made longer, shorter, thinner, or thicker. And the same with the neck and feet as well. The beauty of the basic simplified structure is that it gives you a solid starting point that you can easily modify to fit any animal.

Here are some drawings by Jack Hamm showing how his method works. As you can see, it can be used to draw all sorts of animals.

Using a mixture of the two ways of simplifying animals, or whichever one you prefer, we can now complete the dog. Here it is fully fleshed out.

It might seem to be a lot of steps on how to draw a dog’s body, but it’s worth it because you can also use the same steps for many other animals.
How To Draw A Dog Face
There are so many different kinds of dogs with different face types: long and short snouts, long and short ears, perky or droopy ears, big bulging eyes, wrinkly skin or not, and the list goes on. But the basic shapes are pretty easy to adjust depending on the dog face type that you need to draw. Here’s a dog with a medium length snout, long drooping ears, and beautiful soulful eyes to start off with.

Step 1
Just like drawing a human face, we can create a gridline to guide us with the placement of the various features. And use basic lines and shapes to simplify the form before. Let’s start by drawing a circle for the head.
Step 2
Let’s add a central vertical line to divide the face straight down the middle.
Step 3
Now, let’s add two more lines on either side of the central line. They all have the same distance from each other.

Step 4
Then a horizontal line dividing the center of the circle. We’ll be using these lines to guide us with the placement of the eyes, snout, nose, etc.
Step 5
Draw in the snout shape below the horizontal center line. The snout shape, length, and size will vary depending on the dog you’re drawing.
Step 6
We can now add the nose, right below the top line of the snout. This will also vary in shape and size. Then the eyes will be placed on top of the two lines on either side of the central vertical line. Sometimes it will be a bit in or out depending on the dog. But it will certainly be around that area. Start with just two small circles for the eyes, and just add the V-shapes to create the almond-like shape. Dogs’ eyes are much rounder than our eyes.

Step 7
Draw in the shape of the snout connecting from the area between the two eyes down to the front snout shape already drawn earlier.
Step 8
And finally, we can refine all the other details. Add the brow and under eye demarcations, the mouth opening, the shape of the head, and the ears. If the dog has long fur, the shape of the head will not be too defined. And the ears will greatly vary as there are so many different kinds of dog ear shapes.
Here’s a side-by-side look of the dog and the guide lines:

And here’s another dog with long perky ears, short fur, long and thicker snout. You can see that the placement of the snout is a bit down compared to the first dog. And the eyes are a bit smaller, this can be due to the bright sun that made the dog squint a little.
The face is more defined as the fur is quite short.

How To Draw a Dog’s Nose
Here’s a quick breakdown of how you can draw a dog’s nose. Use it as your basic guide and make adjustments as needed. Bigger dogs will have bigger noses.

For the nose facing front, start with an axis to help you keep both sides symmetrical. Then start with the top part in a wide and short U-shape, curling inwards for the nostrils. And finally add the bottom part. Sometimes you can visibly see that there’s a line connecting the V (at the bottom) to the top of the mouth and sometimes not.
For the nose from the side, I like to start with a triangle to guide the placement and angle of the nose. Then a line starting from the top that gently curves down and slightly inwards towards the top of the mouth. Add the curve for the nostril and then fine fur at the bottom - you don’t see a defined line from this angle.
How To Draw A Dog’s Eyes
For the dog’s eyes, just a few easy steps as well. Again, some dogs will have more bulbous eyes than others. While most eyes have lids that cover the upper white outer area of the eyeball (sclera). Below are two eyes, one from the front (big, bulging eyes) and one viewed from the side.

Always start with the circle for the eyeball for any angle. Then add the shape of the lids and finally the pupils - much larger than ours. If the lighting is bright, the pupils will be smaller, and when it’s dark, they will be bigger. Adjust the size and shape of the lids depending on the dog, the angle, and the opening. Dogs squint too or sometimes have sleepy eyes.
And that’s how you can draw an easy dog face. Start with a face that’s head-on and get acquainted with the placement of the features and the different shapes and lengths. Then you can move on to slightly angled faces in the future.
The best way to learn is really to keep practicing. Your sketchbook will be your best friend for learning all the different drawing skills. Have one with you all the time so you can practice anywhere. You can take a walk outside and find different dogs to draw. It’s also great to learn from live subjects.
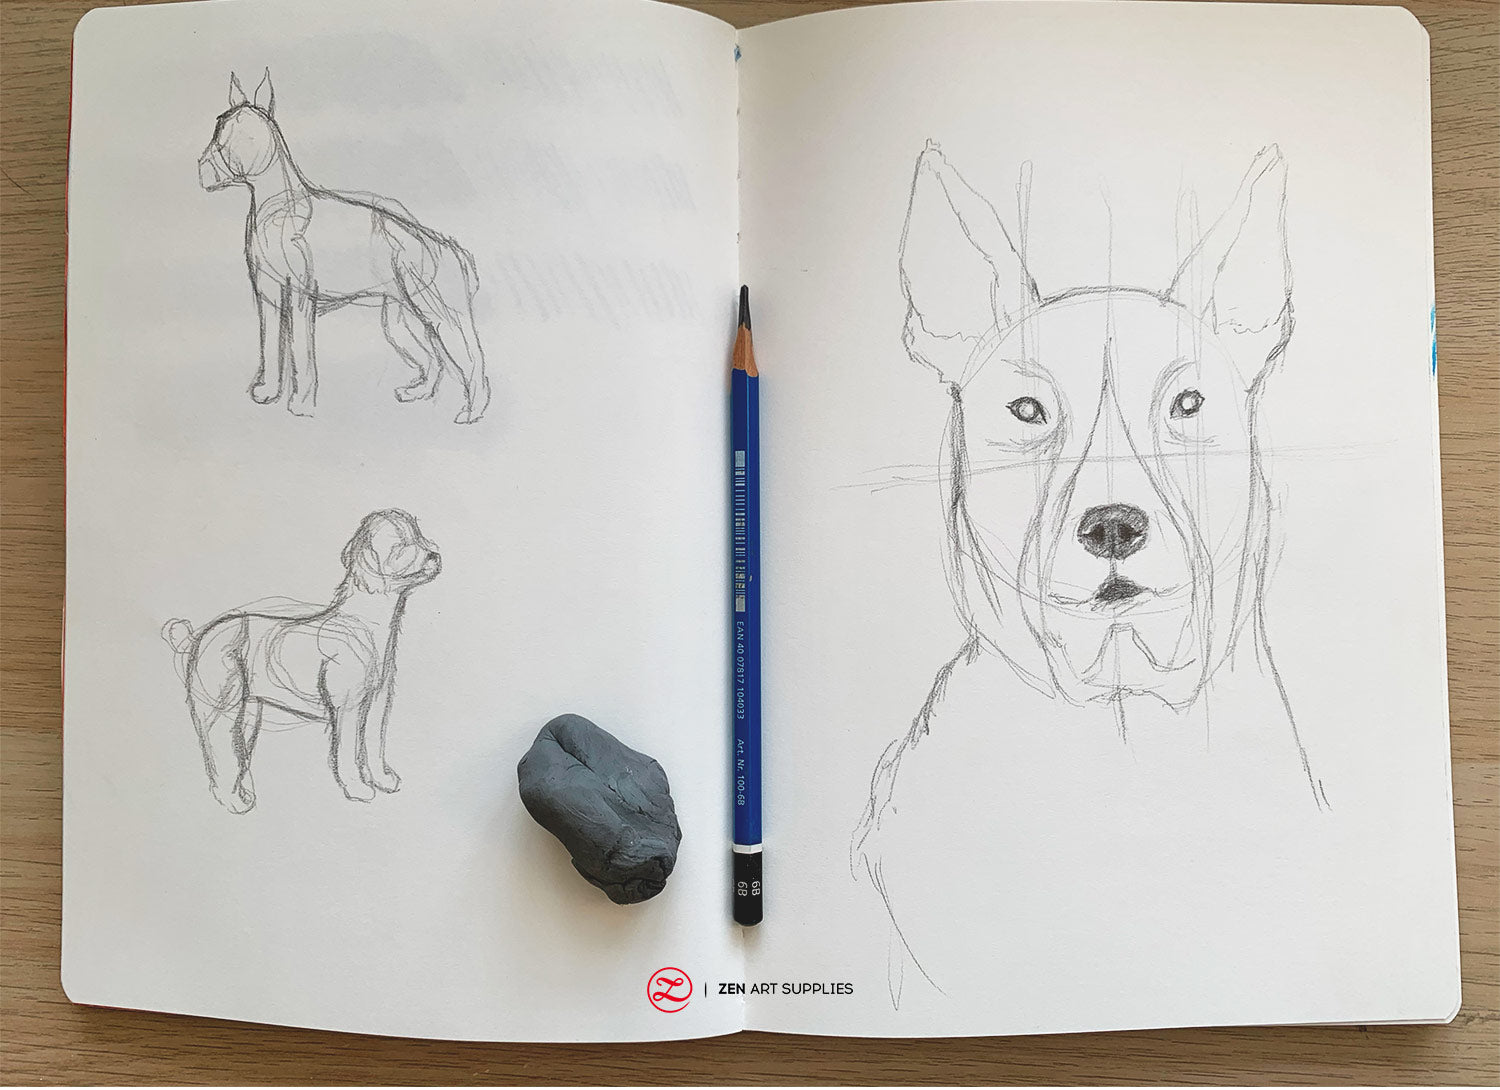
Practice dog drawings on a B5 Artist’s Sketchbook from ZenART Supplies.
I hope the step-by-step instructions above will help you learn how to draw a dog - any dog and all kinds of dogs! Don’t be afraid to make mistakes, you’ll learn from them, and you can always keep trying again. Just remember to try to visualize the basic shapes and forms first and you’ll find everything else will be much easier to add later on.
Here are our other drawing tutorials that you might find interesting as well:
How To Draw a Reindeer
Sketching Techniques for Beginners
How To Draw a Basic Portrait
How To Draw Feet Properly
How To Draw A ¾ View Face: Step-by-Step
We’d love to hear back from you!
What other animals have you drawn before? What other animals would you like us to show you how to draw? I would love to hear your thoughts, so do let me know in the comments below! Join our friendly art community Painting Inspiration Daily on Facebook. You can share your art and ideas, watch LIVE tutorials, and be inspired to paint!
Up next on our drawing tutorials - how to draw a cat! Meanwhile, have fun drawing dogs!
- MEET THE AUTHOR -

Kathleen is the Wordsmith at ZenART, resident artist and art editor. When God sent a shower of talents, Kathleen made sure she got a basketful of them! She's a visual artist with practical knowledge on various fields from painting and sculpture, to costume and set design which comes in very handy when writing about various art techniques and theories. She also shares her passion for the arts through teaching. She runs her own brand of handmade wirework jewelry designs.


